
I recently consulted on a luxury pool project where improper pipe laying caused constant filtration issues and required complete system replacement just one year after installation. This expensive lesson highlighted how crucial proper pipe installation is for pool performance and longevity.
Proper pool pipe installation requires careful planning, material selection based on specific systems, precise slope calculation, and rigorous testing. The process involves creating detailed layouts before excavation, choosing corrosion-resistant materials for different applications, maintaining consistent slopes for drainage, and implementing comprehensive pressure and flow testing before backfilling.
A successful pool piping system ensures efficient water circulation, easy maintenance, and years of trouble-free operation. Let’s explore the key steps that separate professional installations from problematic ones.
What is the Proper Planning Process Before Installing Pool Pipes?
When a community pool developed persistent leaks, investigation revealed the original installer had failed to account for soil settlement and thermal movement. The repair costs exceeded the initial installation budget, demonstrating how proper planning prevents future problems.
Proper planning involves creating detailed system diagrams, calculating pipe sizes based on flow requirements, marking underground utilities, and accounting for future maintenance access. This preliminary work ensures efficient water circulation, prevents damage to existing infrastructure, and simplifies troubleshooting throughout the pool’s lifespan.
Comprehensive Planning Steps
Successful projects begin with thorough preparation:
System Design and Layout
Create detailed schematics showing pipe routes, fitting locations, and equipment placement. Determine optimal pipe sizing based on pump capacity and flow requirements—typically 1.5-inch to 3-inch diameters for residential pools. Identify all connection points including skimmers, returns, main drains, and cleaning systems.
Site Assessment and Preparation
Conduct soil testing to determine compaction requirements and identify potential drainage issues. Mark all existing underground utilities to prevent damage during excavation. Plan for proper equipment access during installation and future maintenance, ensuring adequate space around all components.
Regulatory Compliance Check
Review local building codes for pool piping requirements and depth specifications. Obtain necessary permits before beginning work. Document the entire plan for inspection purposes and future reference.
Critical Planning Considerations
Several factors require special attention during planning:
Expansion and Contraction
Account for temperature-related movement in above-ground piping sections. Plan expansion joints in long straight runs to prevent stress damage. Allow for seasonal ground movement in below-ground installations.
Future Maintenance Access
Install valve boxes for easy access to critical shut-off points. Include cleanouts at directional changes to facilitate clearing blockages. Ensure equipment room layout allows component replacement without pipe modification.
Which Pipe Materials Work Best for Different Swimming Pool Systems?
A high-end pool installation used incompatible materials that resulted in galvanic corrosion within six months. The subsequent rebuild taught me that material selection must consider chemical compatibility, durability, and installation requirements specific to each pool system.
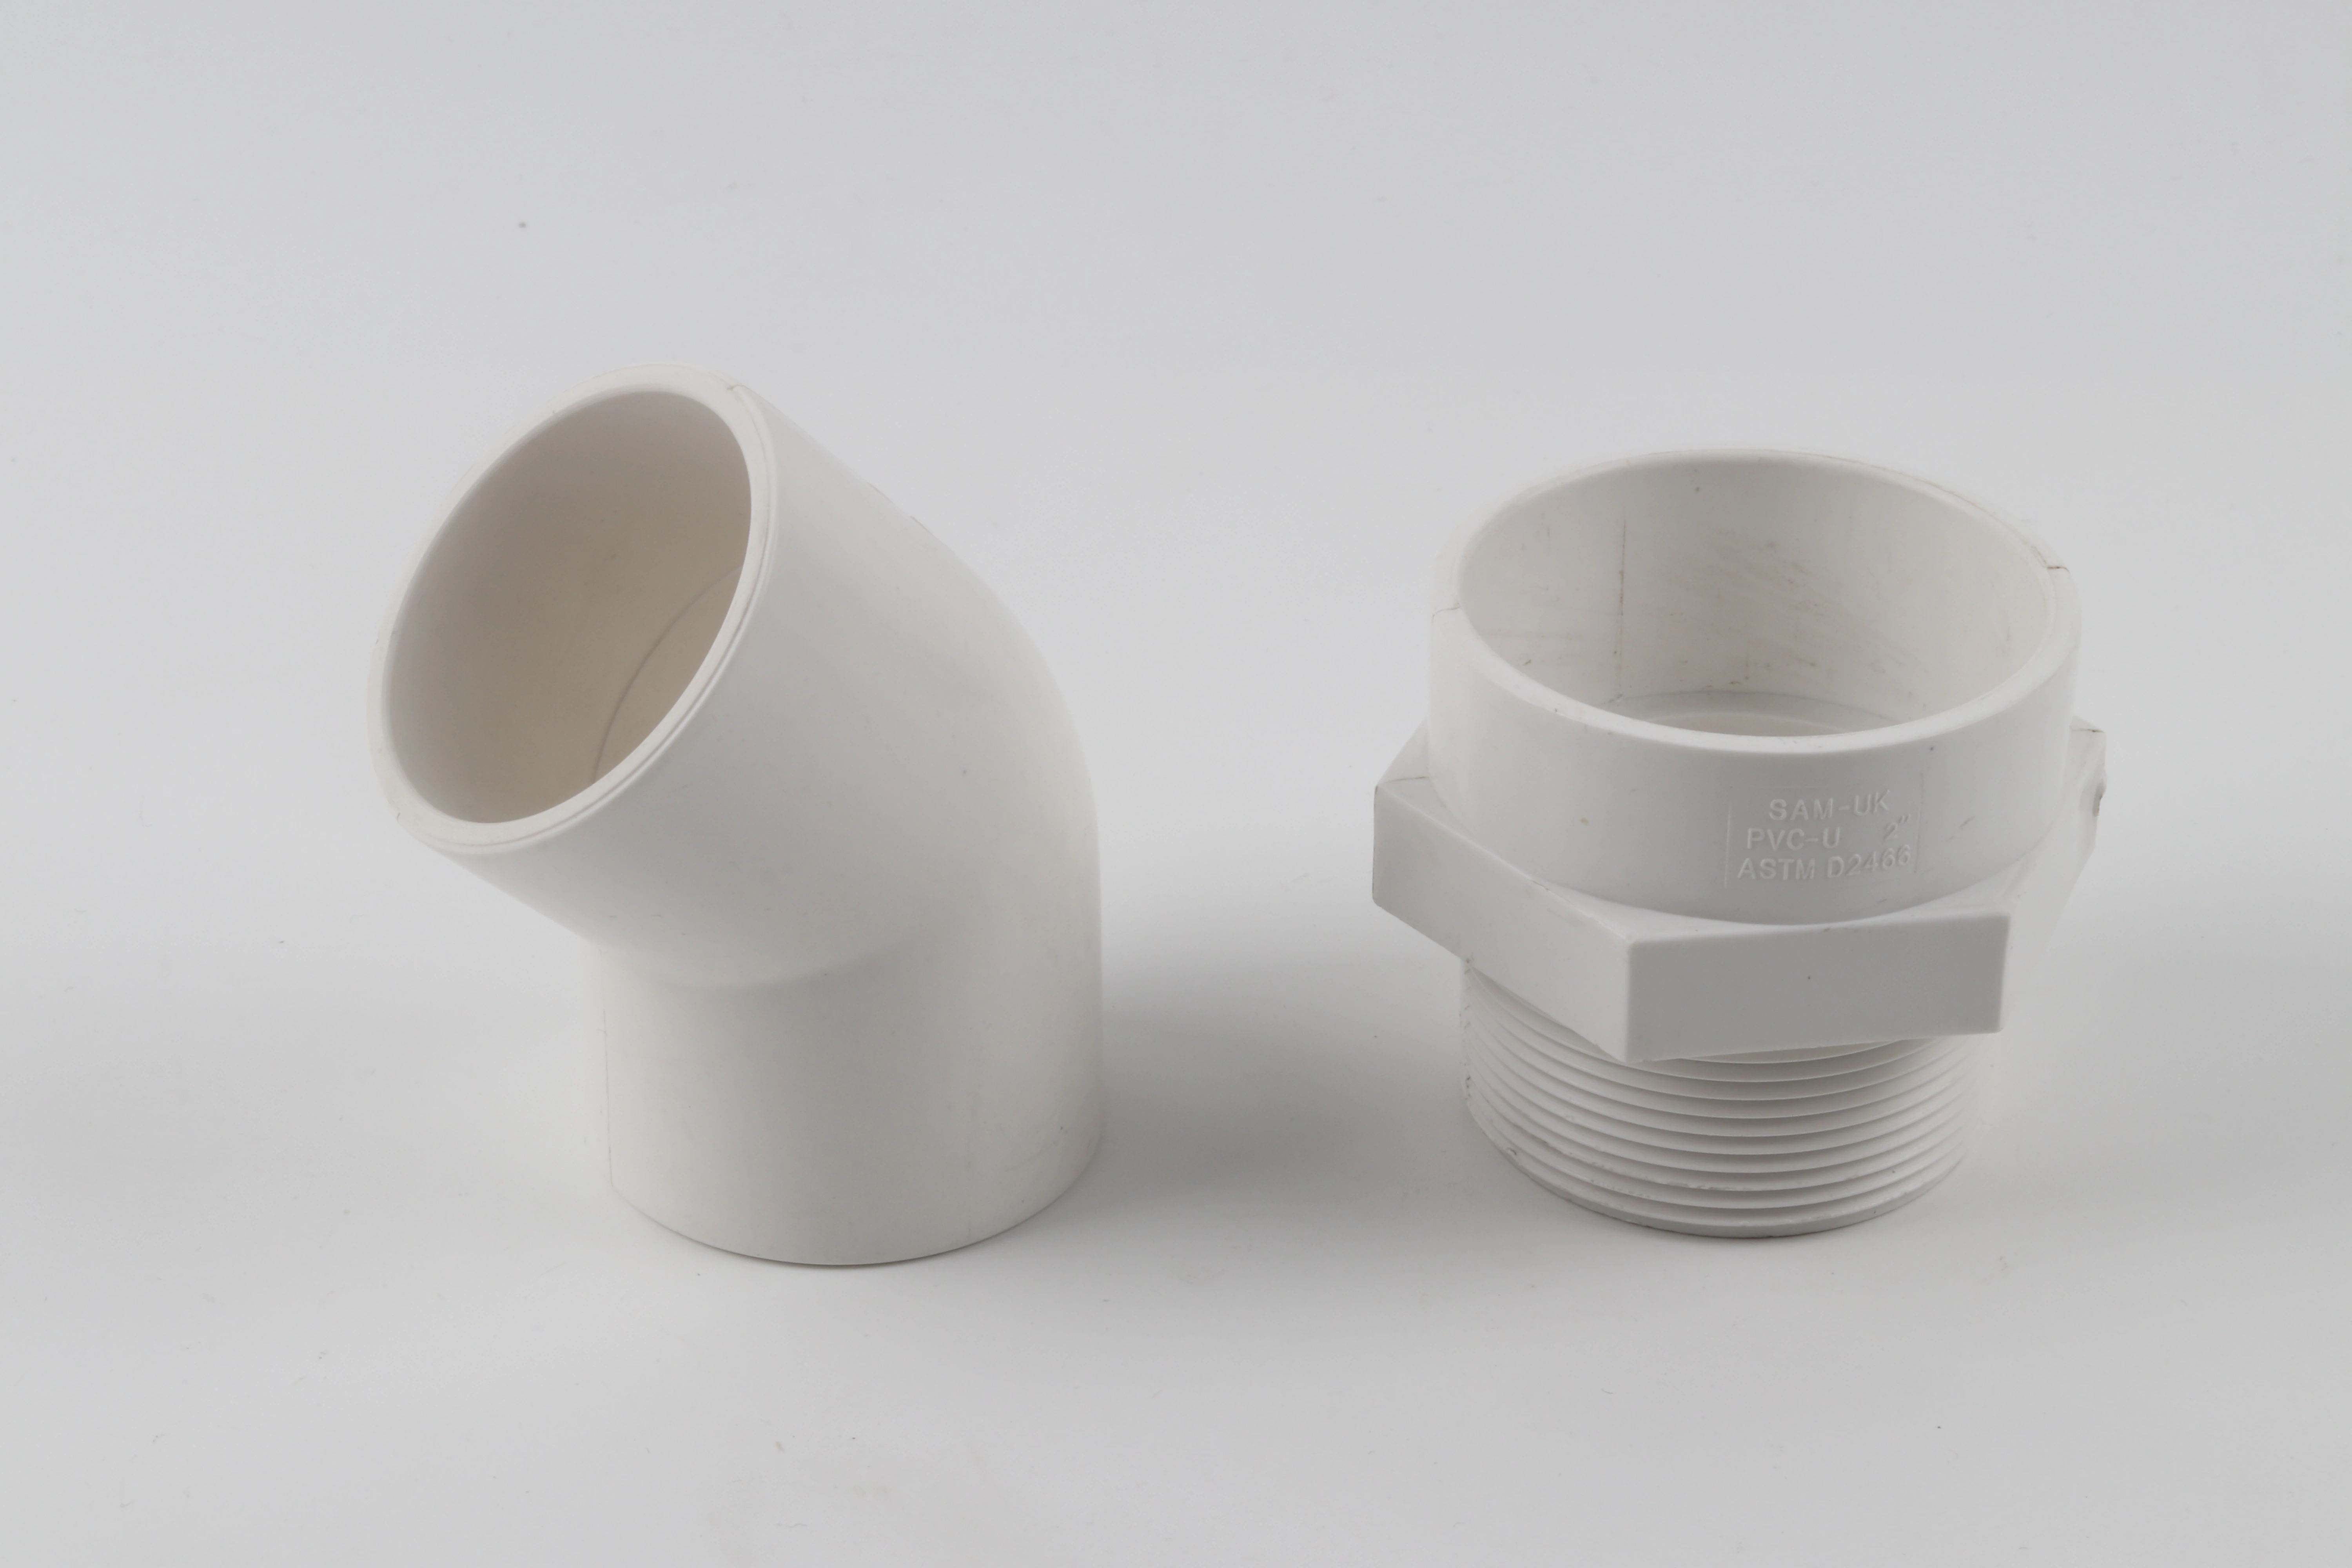
Schedule 40 PVC works best for most pool plumbing due to its chemical resistance and durability, while rigid PVC suits straight runs and flexible PVC accommodates complex layouts. For heated pools, CPVC handles higher temperatures, and for saltwater systems, corrosion-resistant materials like specific plastic compounds prevent premature degradation.
Material Selection Guide
Different pool systems have specific material requirements:
Circulation System Piping
Schedule 40 PVC provides the standard choice for main circulation lines due to its pressure rating and chemical resistance. Its rigid nature maintains consistent flow characteristics and withstands burial stresses. However, it requires precise measurement and multiple fittings for directional changes.
Filter and Pump Connections
Flexible PVC works well around equipment where vibration isolation is beneficial. Its ability to absorb minor movement reduces stress on pump and filter connections. However, it requires proper support to prevent sagging and flow restriction.
Special Application Materials
For heated pools, CPVC handles temperatures up to 200°F while maintaining chemical resistance. Saltwater pools need materials specifically rated for chloride corrosion resistance. In freezing climates, materials must withstand freeze-thaw cycles without becoming brittle.
Material Comparison Table
This table compares common pool piping materials:
| Material | Best Application | Ventajas | Limitations |
|---|---|---|---|
| Schedule 40 PVC | Main circulation lines | Chemical resistance, cost-effective | Requires precise fitting |
| Flexible PVC | Equipment connections | Vibration absorption, easier installation | Higher cost, needs support |
| CPVC | Heated pools, spas | Higher temperature tolerance | More expensive, special cement required |
| ABS | Waste lines | Impact resistance | Limited chemical compatibility |
How Do You Ensure Correct Slope and Alignment During Pipe Installation?
A commercial pool’s drainage system failed because pipes were installed without proper slope, causing standing water and constant clogging. The correction required breaking up the deck and重新安装 the entire drainage system at significant cost.
Ensure correct slope and alignment by using laser levels for grade establishment, installing temporary supports before backfilling, and frequently verifying alignment during assembly. Maintain minimum 1/8-inch per foot slope toward drains, use straight edges to check alignment, and test each section before proceeding to the next.
Slope Establishment Techniques
Proper drainage requires precise slope control:
Laser Level Implementation
Set laser levels to establish consistent grade reference points throughout the installation area. Transfer elevation marks to trench walls or stakes at regular intervals. Verify slope continuity before placing pipes, checking every 10 feet for consistency.
Support and Alignment Methods
Install temporary pipe supports at regular intervals to maintain position during assembly. Use alignment tools to ensure straight runs between fittings, checking both horizontal and vertical alignment. Make final slope verification before applying any permanent backfill.
Practical Installation Tips
These techniques ensure accuracy during installation:
Trench Preparation
Excavate trenches slightly wider than pipes to allow proper alignment. Compact trench bottoms to prevent settling that alters slope. Create smooth trench beds without rocks or debris that could create high spots or damage pipes.
Assembly Verification Process
Assemble above ground when possible to verify alignment before placement. Check each joint for proper insertion depth and alignment. Conduct visual sighting along pipe lengths to detect deviations, using string lines for long runs.
What Testing Methods Verify Proper Pool Pipe System Functionality?
We discovered a major leak in a resort pool’s main return line during final testing, just before the grand opening. The pressure test identified the problem while repairs were still accessible, preventing a catastrophic failure after the deck was completed.
Comprehensive testing includes pressure testing to identify leaks, flow testing to verify performance, and chemical compatibility testing to ensure longevity. Conduct pressure tests at 1.5 times operating pressure for 30 minutes, flow tests to confirm design specifications, and visual inspections of all connections before backfilling.
Pressure Testing Protocol
Pressure testing identifies leaks and weak points:
Test Preparation
Isolate sections using test plugs or caps for individual evaluation. Remove air from the system completely by filling slowly from the lowest point. Install calibrated pressure gauges at high points and low points to compare readings.
Testing Procedure
Increase pressure gradually to 1.5 times operating pressure (typically 30-40 PSI for residential pools). Maintain pressure for 30 minutes while monitoring for drops. Inspect all joints, connections, and visible piping during the test period.
Performance Verification Methods
Multiple testing approaches ensure complete system validation:
Flow Testing
Measure flow rates at various points to verify design specifications. Check for significant pressure drops indicating restrictions or undersized piping. Verify balanced flow between multiple returns or suction points.
Chemical Compatibility Testing
Circulate pool water chemistry through the system before final approval. Check for material degradation or discoloration after 24-48 hours of circulation. Verify no chemical leaching affects water quality.
Documentation and Validation
Proper testing requires thorough documentation:
Test Recording
Document all pressure readings at beginning and end of tests. Record flow rates and pressure drops across different system sections. Photograph critical connections and testing setups for future reference.
Problem Resolution Protocol
Depressurize completely before repairing any identified leaks. Repair one issue at a time, then retest the entire section. Document all repairs and subsequent retesting results.
Conclusión
Proper pool pipe installation requires meticulous planning, appropriate material selection, precise installation with correct slopes, and comprehensive testing before final approval. Following these systematic approaches ensures efficient, reliable pool operation while minimizing future maintenance problems and expensive repairs.


Comentarios recientes