
PPR (Polypropylene Random Copolymer) pipes are essential for carrying hot and cold water in homes, schools, and commercial buildings. How to Use PPR Pipes Well is a key skill to prevent leaks and ensure the system lasts for decades. This easy-to-follow guide breaks down the process into simple steps.
Pre-Installation Preparation: Setting the Stage for Success
Good preparation prevents common mistakes and saves time. Complete these two steps before starting any work.
1. Inspect Pipes and Fittings
To ensure a leak-free install, start by checking the quality of your materials:
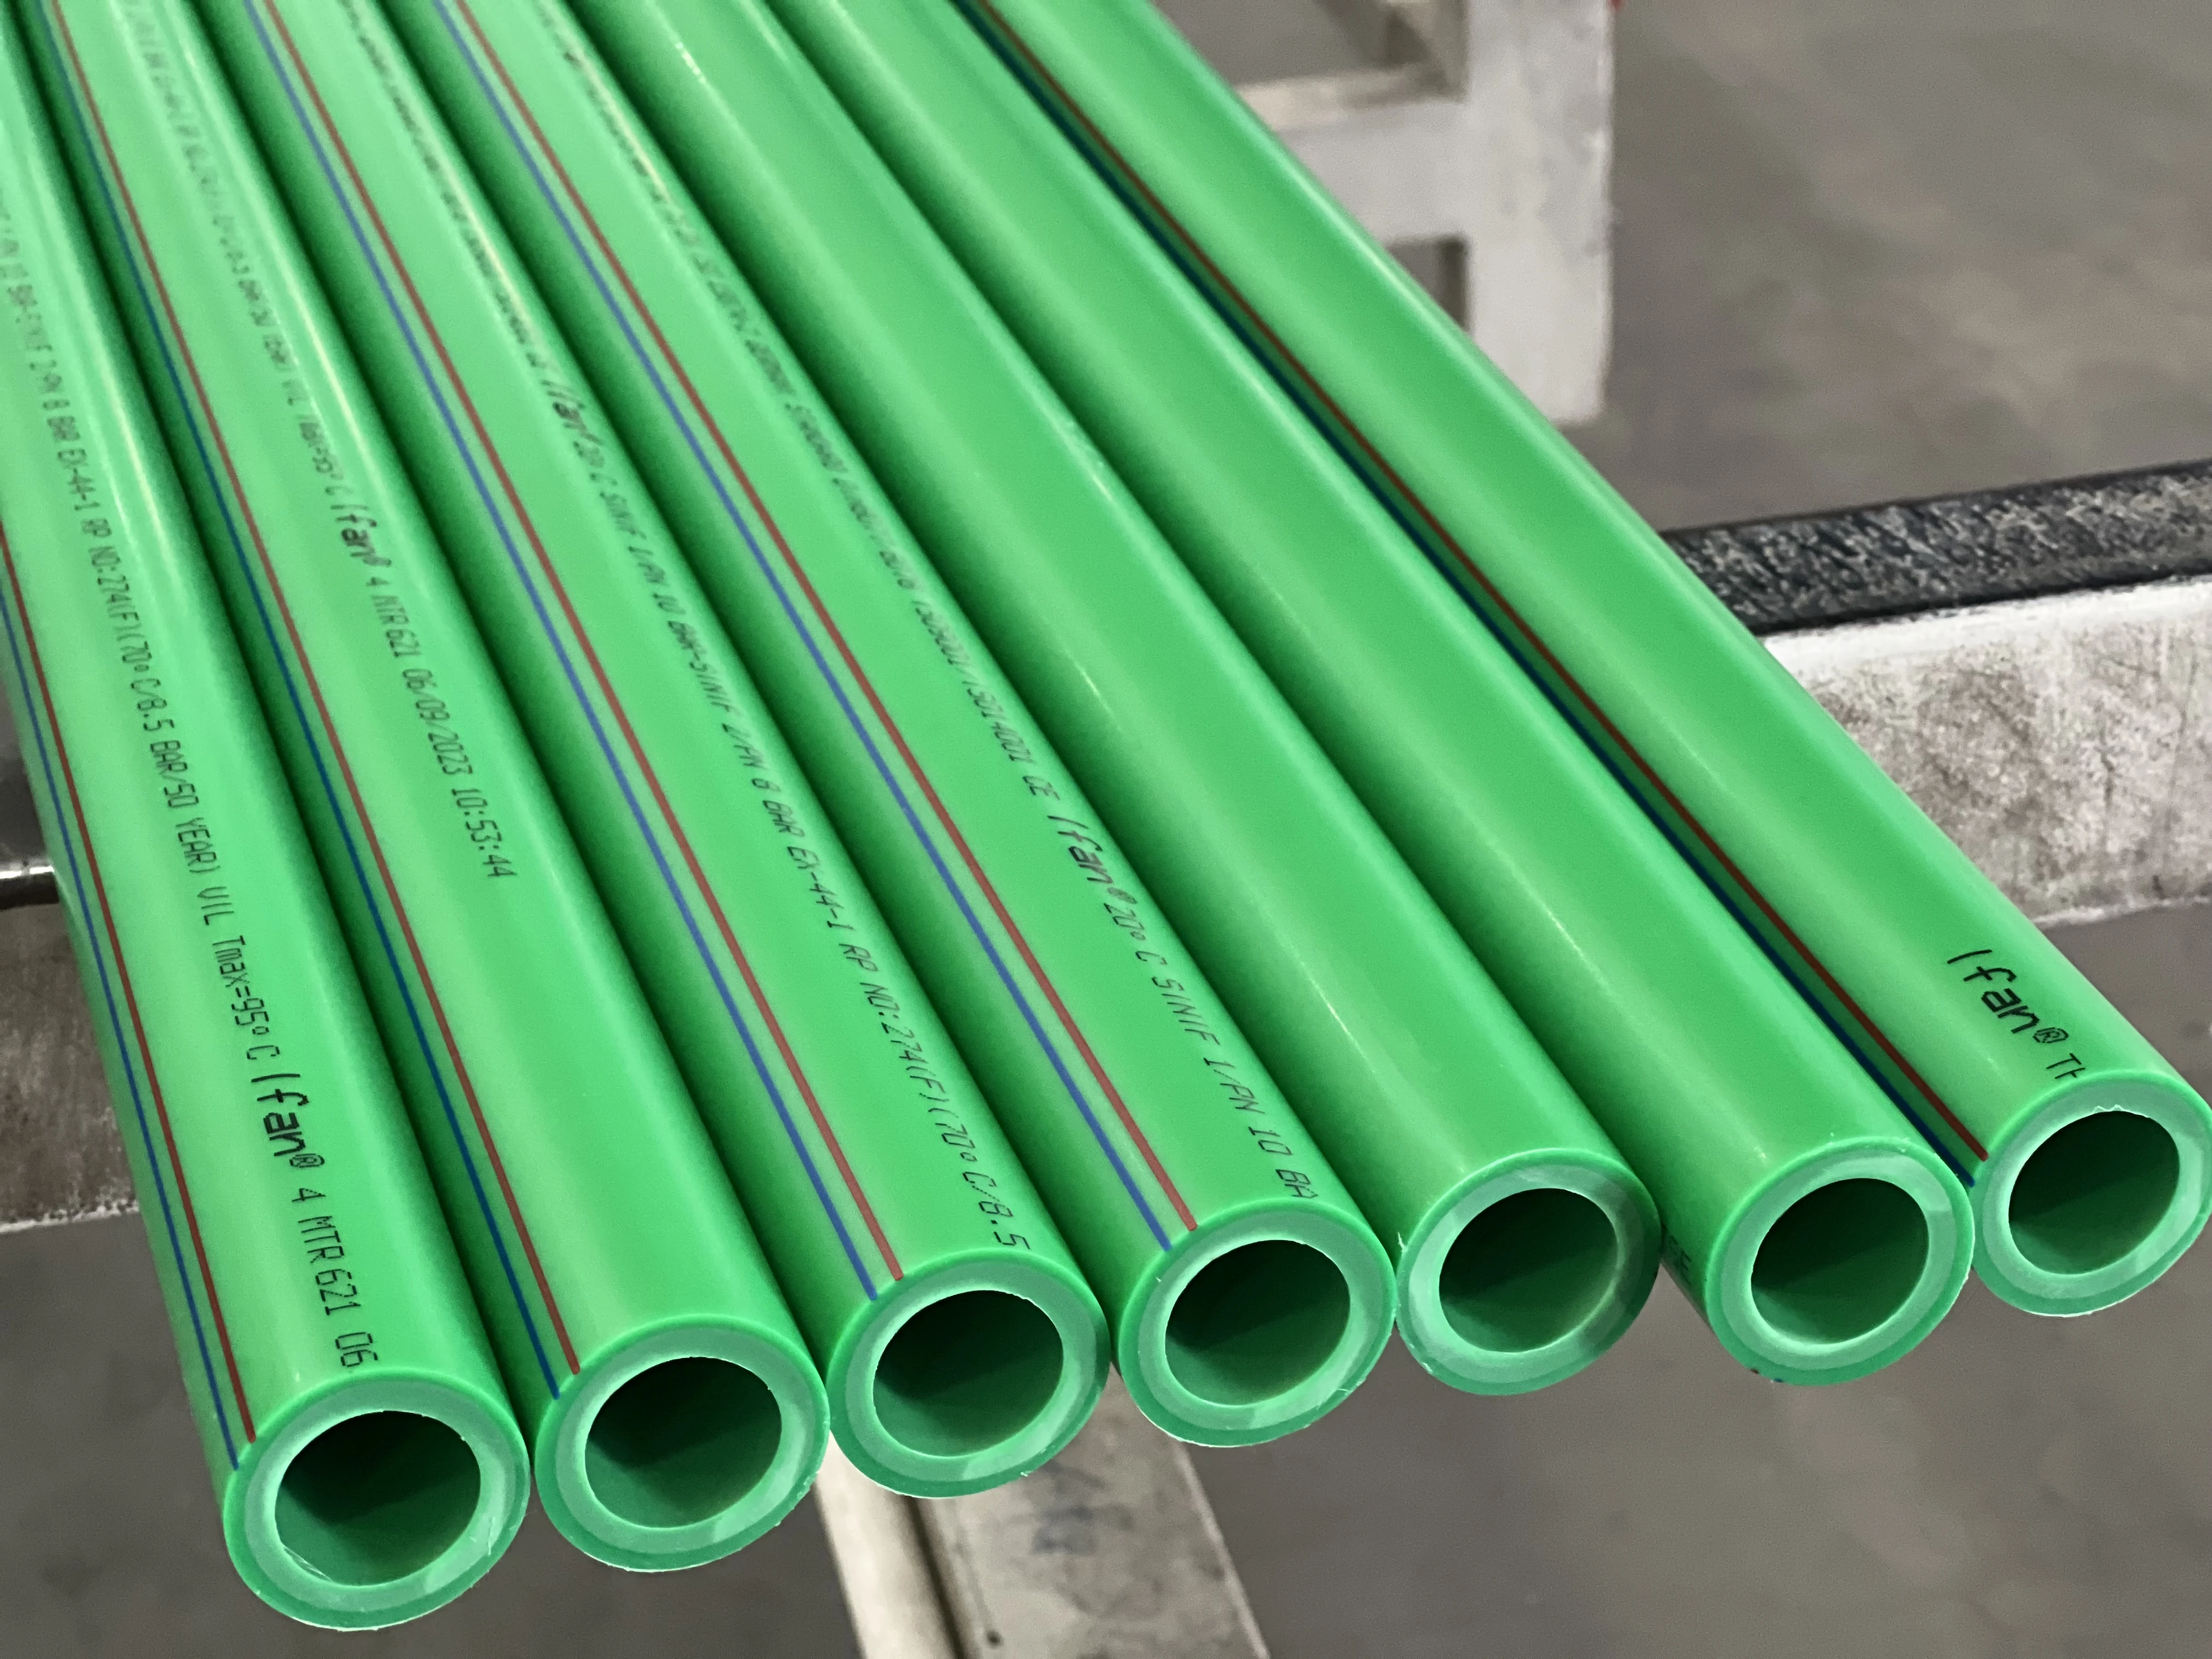
- Check for Quality Certifications: Look for marks like ISO 15874, an international standard that guarantees PPR durability for water systems.
- Examine the Surface: Pipes should be free of bubbles, cracks, or deep grooves. The ends must be smooth and undamaged—imperfections here cause weak seals.
- Match Sizes Correctly: Ensure the outer diameter of the pipe matches the fittings. Mismatched sizes are a primary cause of leaks
2. Gather Your Tools and Materials
Having the right tools on hand makes the job smooth and efficient. Here’s what you need:
| Tool / Material | Purpose |
|---|---|
| PPR Fusion Welder | Heats pipes and fittings to melt and join them seamlessly (choose a model with temperature control for accuracy). |
| PPR Pipe Cutter | Ensures a perfectly straight cut (critical for a good seal—never use a regular saw unless you sand the end thoroughly). |
| Pipe Clamps (Metal) | Secures pipes firmly to walls or floors to prevent movement that could break joints. |
| Pressure Test Pump | Checks the completed system for any leaks (a must-have for verifying your work; learn how to use one at Plumbing Institute’s guide). |
| Sandpaper & Clean Rag | Cleans burrs from cut ends and removes dirt or grease, which ruin fusion bonds. |
| Marker/Paint Pen | Marks cutting lines and pipe routes on walls to avoid future damage during renovations. |
Core Installation Steps: A Step-by-Step Walkthrough
Follow these four steps in order. The fusion welding process is the most critical step—pay close attention!
Step 1: Cutting the Pipes
Precise cuts are the foundation of a good connection:
- Use a dedicated PPR pipe cutter for a clean, square cut. If you must use a regular saw, carefully sand the cut end with 120-grit sandpaper to remove all burrs and create a smooth surface.
- Always measure twice (with a tape measure) and mark the cutting line with a marker before cutting. This avoids wasting materials.
Step 2: The Fusion Welding Process (The Most Important Step!)
This process fuses the pipe and fitting into a single, leak-proof unit. Precision is key.
| Step | Key Actions | Important Notes |
|---|---|---|
| 1. Heat the Welder | Set the temperature to 260°C (500°F). Wait for the indicator light to show it’s ready (most welders take 5–10 minutes to heat). | Too hot = pipe deforms; too cold = weak connection that will fail. Refer to your welder’s manual for exact temps. |
| 2. Clean Surfaces | Wipe both the pipe end and the inside of the fitting with a clean, dry rag. | No dirt, oil, or water—contamination prevents the plastic from melting together properly. |
| 3. Heat the Parts | Push the pipe and fitting onto the heated welding tool simultaneously. Do not twist them. | Insert to the depth mark on the welding tool (usually marked on the welder’s die). Hold steady for 5–7 seconds. |
| 4. Connect Quickly | After heating, remove both parts at the same time and join them together in one smooth motion—without twisting. | You should see a small, uniform bead of molten material (a “bulge”) around the joint. This bead means the weld is successful. |
Step 3: Fixing and Supporting the Pipes
Proper support keeps pipes stable and joints intact:
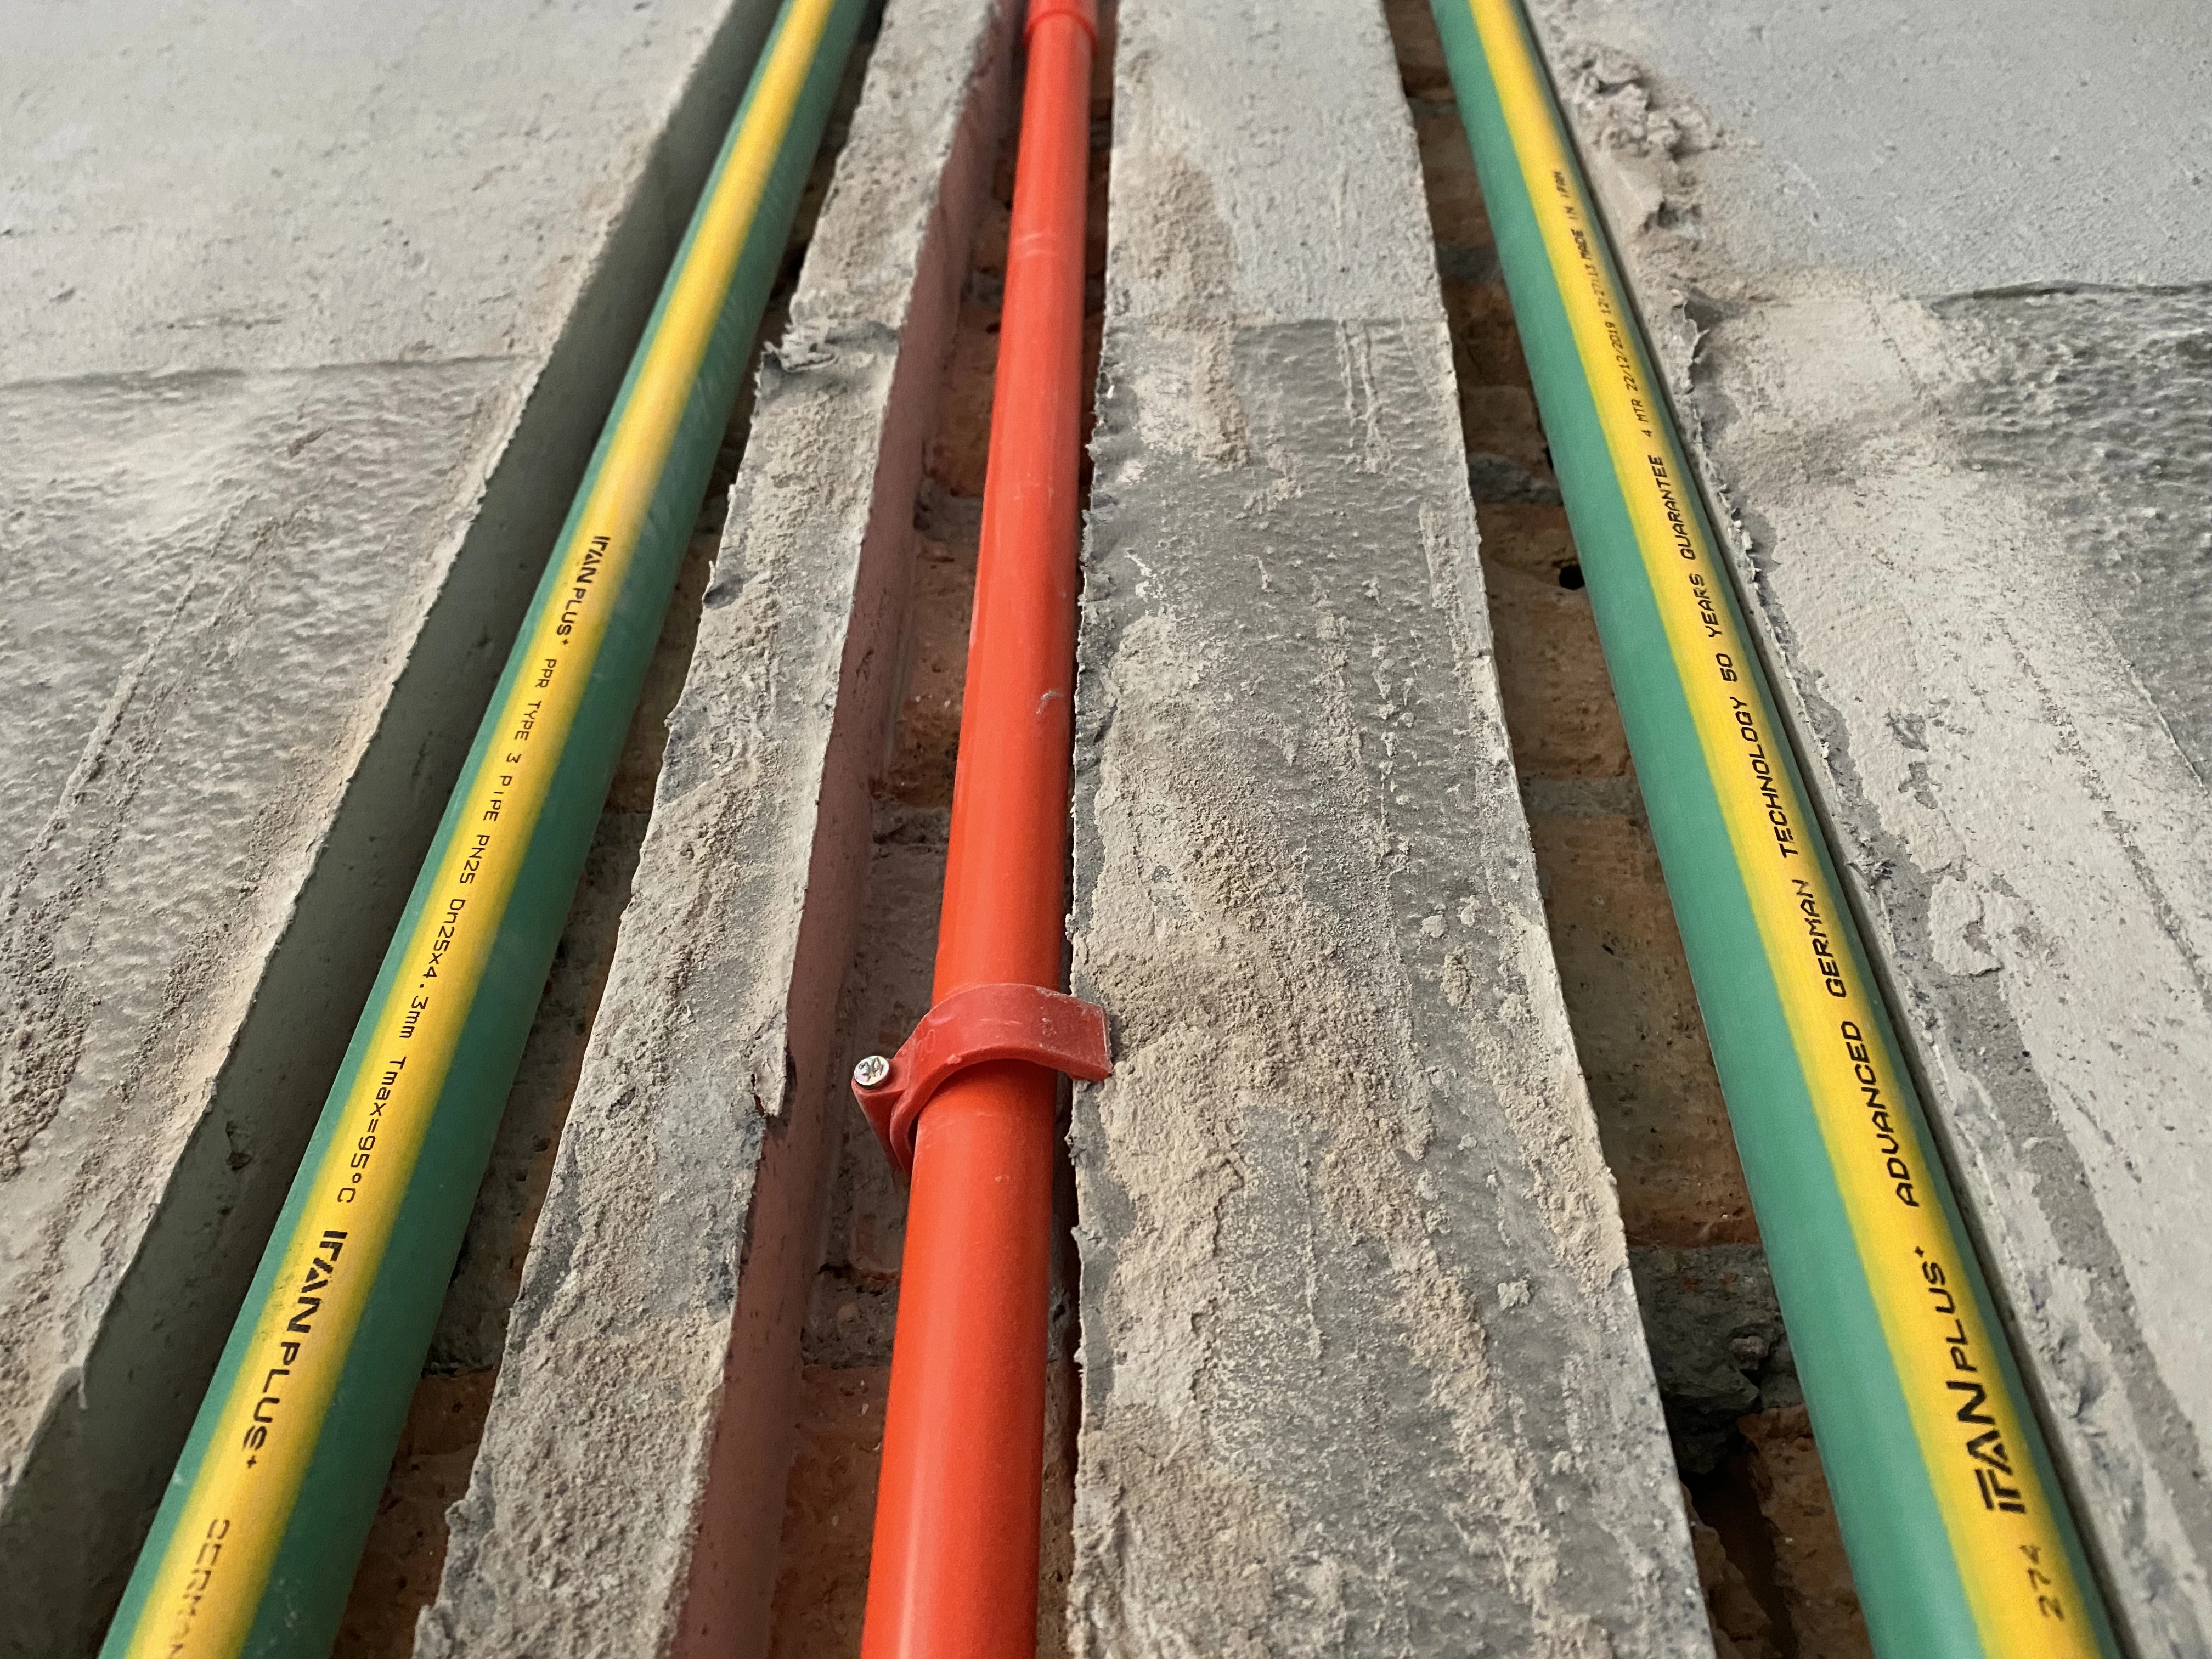
- Secure pipes every 800mm (approx. 32 inches) using metal pipe clamps. For vertical pipes, clamp every 1–1.2 meters.
- Add extra support clamps near fittings (elbows, tees) and corners, as these are stress points where pipes are more likely to shift.
- If pipes are embedded in walls, seal the gaps with cement mortar after pressure testing (so you can fix leaks first if needed).
Step 4: Handling Special Situations
PPR has quirks—here’s how to manage them:
- Thermal Expansion: PPR expands when hot. For long, straight runs, create expansion loops (L or Z shapes) to absorb movement.
- UV Exposure: Direct sunlight degrades PPR over time. For outdoor pipes, use UV-resistant PPR pipes or wrap them with protective tape (like this UV pipe wrap from a trusted supplier).
Testing and Final Checks: Don’t Skip This Part!
Installation is not complete until the system has been thoroughly tested for leaks.
1. Pressure Testing (Mandatory!)
This step verifies your system is leak-free:
- Close all outlets and valves. Connect a pressure test pump to the system (we recommend models like the XYZ Pressure Tester for accuracy).
- Fill the system with water and pressurize it:
- Cold water systems: Test at ≥ 0.8 MPa (116 psi).
- Hot water systems: Test at ≥ 1.2 MPa (174 psi) – always check local plumbing codes for exact requirements.
- Maintain the pressure for 30 minutes. If the pressure drop is less than 0.05 MPa (7 psi), the installation is successful.
- If pressure drops rapidly, inspect all joints for leaks. The faulty section must be cut out and re-welded (there’s no way to repair a bad fusion weld).
2. Avoiding Common Mistakes
Learn from others’ errors to save time and hassle:
| Common Mistake | Why It’s a Problem | How to Fix It |
|---|---|---|
| Twisting During Connection | Twisting breaks the molecular bond of the melted plastic, creating a weak spot that will leak. | The joint cannot be fixed—cut out the section and replace with new pipe and fittings. |
| A Gap in the Joint | Gaps let water escape immediately or fail under pressure over time. | Cut out the faulty section and re-weld using new parts (ensure surfaces are clean this time). |
| Not Marking Pipe Routes | Unmarked pipes get drilled into during renovations, causing expensive water damage. | Use a paint pen to mark pipe locations on walls/floors right after installation. Include arrows to show direction. |
Key Tips for a Successful Installation
Keep these pro tips in mind for perfect results:
- No Second Chances: A fusion weld is permanent. Once it cools, you can’t “fix” it—so take your time during welding.
- Cold Weather Installation: In temperatures below 5°C (41°F), PPR becomes brittle. Cut slowly and consider pre-warming pipes with a heat gun (on low) before handling.
- When in Doubt, Ask for Help: If you’re unsure about pressure testing or complex layouts, consult a licensed plumber.
By carefully following this guide, your PPR piping system will provide safe and reliable water service for many years to come. For more plumbing DIY projects, explore our home plumbing tips section.


Comentarios recientes