
I once helped a homeowner whose DIY copper pipe repair failed, flooding their kitchen. That moment solidified why a reliable, simpler system like PEX is a game-changer for many projects.
To do PEX plumbing, you plan your layout, gather the right tools, learn a reliable connection method, and pressure test the system. It involves measuring and sketching your pipe runs, using specialized tools to secure leak-proof fittings, and finally checking all connections with pressurized water to ensure safety and reliability before closing up walls.
If you’re ready to tackle a PEX project, understanding each phase in detail is the key to a successful, worry-free installation. Let’s break down the entire process step-by-step.
What are the Essential Steps for Planning a PEX Plumbing System Layout?
A client once started cutting pipe without a plan, leading to wasted material and a confusing maze of tubes. Good planning prevents frustration and saves money.
The essential steps for planning a PEX layout are: mapping your entire existing water supply system, determining the optimal home-run or manifold-based design, accurately measuring all required pipe lengths, choosing the correct pipe diameters for each branch, and ensuring your plan complies with local plumbing codes. A detailed sketch is your most important tool.
Start with a Complete System Map
Good planning is the foundation of any successful plumbing project. You cannot just start cutting and hoping it works out. First, you need to create a map of your entire water system. Locate your main water shut-off valve, your water heater, and every fixture you will connect, like sinks, toilets, and washing machines. Understand where the water comes from and where it needs to go.
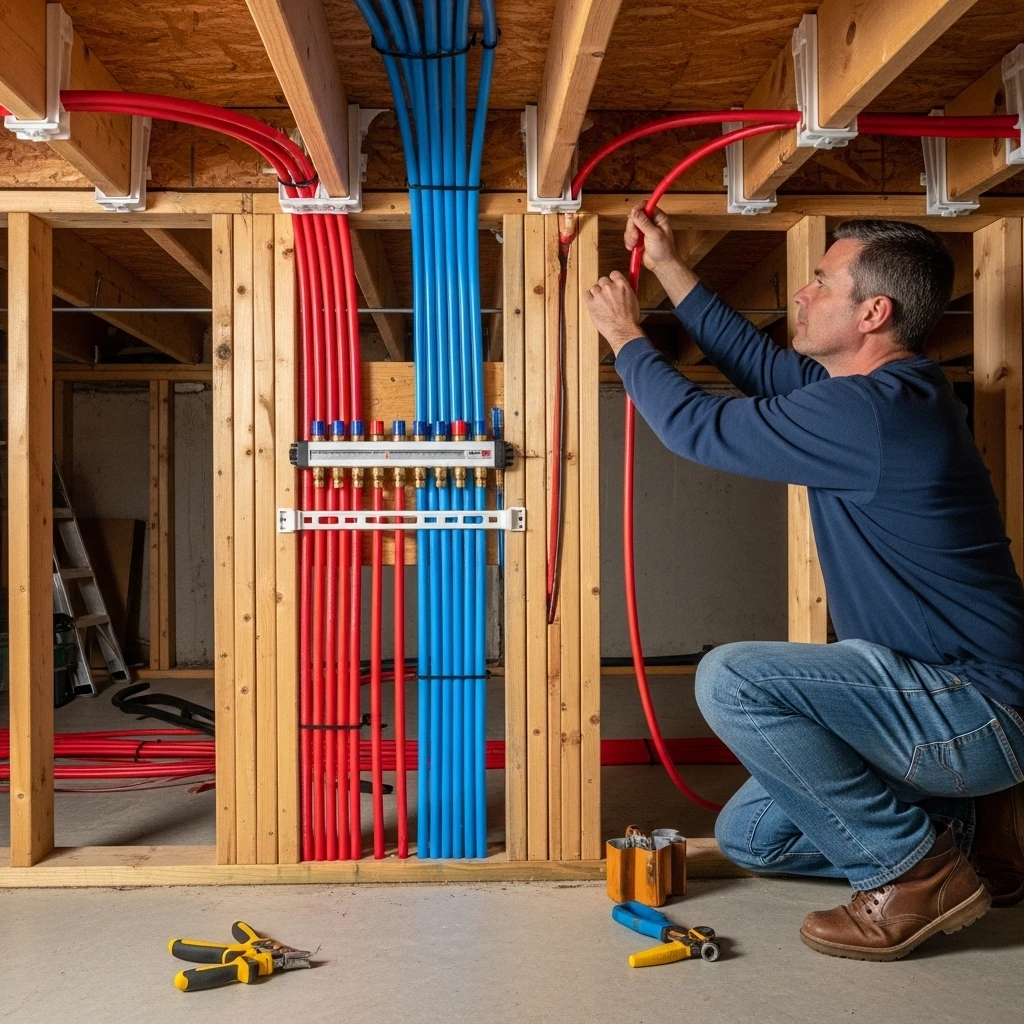
Next, decide on your system’s design. The two most common designs are the trunk-and-branch system and the home-run (or manifold) system.
- Trunk-and-Branch: This is like a traditional system. A main trunk line runs through the house, and smaller branch lines tee off to individual fixtures. It uses less pipe but can lead to pressure drops if multiple fixtures are used at once.
- Home-Run System: This method uses a central manifold. A separate dedicated line runs from the manifold to each fixture. This uses more pipe but provides balanced pressure to all fixtures simultaneously and allows you to shut off water to one fixture without affecting others.
Key Planning Considerations and Sizing
After choosing your design, you must determine the correct pipe size. Using a pipe that is too small will reduce water pressure. A common guideline is:
- Use 3/4-inch pipe for your main trunk lines.
- Use 1/2-inch pipe for branch lines running to most fixtures.
- Use 3/8-inch pipe for small supply lines to individual faucets (though many use 1/2-inch here as well).
You also must check your local plumbing code. Codes dictate important rules, such as how to properly support pipes with hangers, the required distance between hangers, and where you are allowed to run PEX (e.g., some areas restrict its use in unfinished basements or outdoors). Ignoring code can lead to failed inspections and unsafe conditions.
PEX Planning Checklist
Use this table to make sure you don’t miss a critical planning step.
| Planning Step | Key Questions to Answer | Why It’s Important |
|---|---|---|
| System Mapping | Where is the main shut-off? Where is every fixture located? | Avoids missing connections and helps visualize the entire run. |
| Design Choice | Trunk-and-branch or home-run manifold? | Determines material needs and impacts final water pressure performance. |
| Pipe Sizing | What diameter is needed for main lines and for each fixture branch? | Prevents low water pressure at fixtures due to undersized pipes. |
| Code Compliance | What are the local rules for support, spacing, and permitted locations? | Ensures the installation is legal, safe, and will pass inspection. |
| Material Takeoff | How many feet of each pipe size? How many fittings, hangers, and connections? | Creates an accurate shopping list to avoid extra trips and waste. |
Finally, create a detailed materials list from your sketch. Count every fitting—every elbow, tee, and coupling. Measure the exact length of each pipe run. Buying about 10% extra pipe is a good idea to account for mistakes. Good planning takes time upfront but saves immense time, money, and stress during the installation.
Which Tools are Necessary for a Successful Do-It-Yourself PEX Installation?
I’ve seen jobs stall because someone tried to use the wrong cutter or a cheap, wobbly crimping tool. The right tools make the work precise and safe.
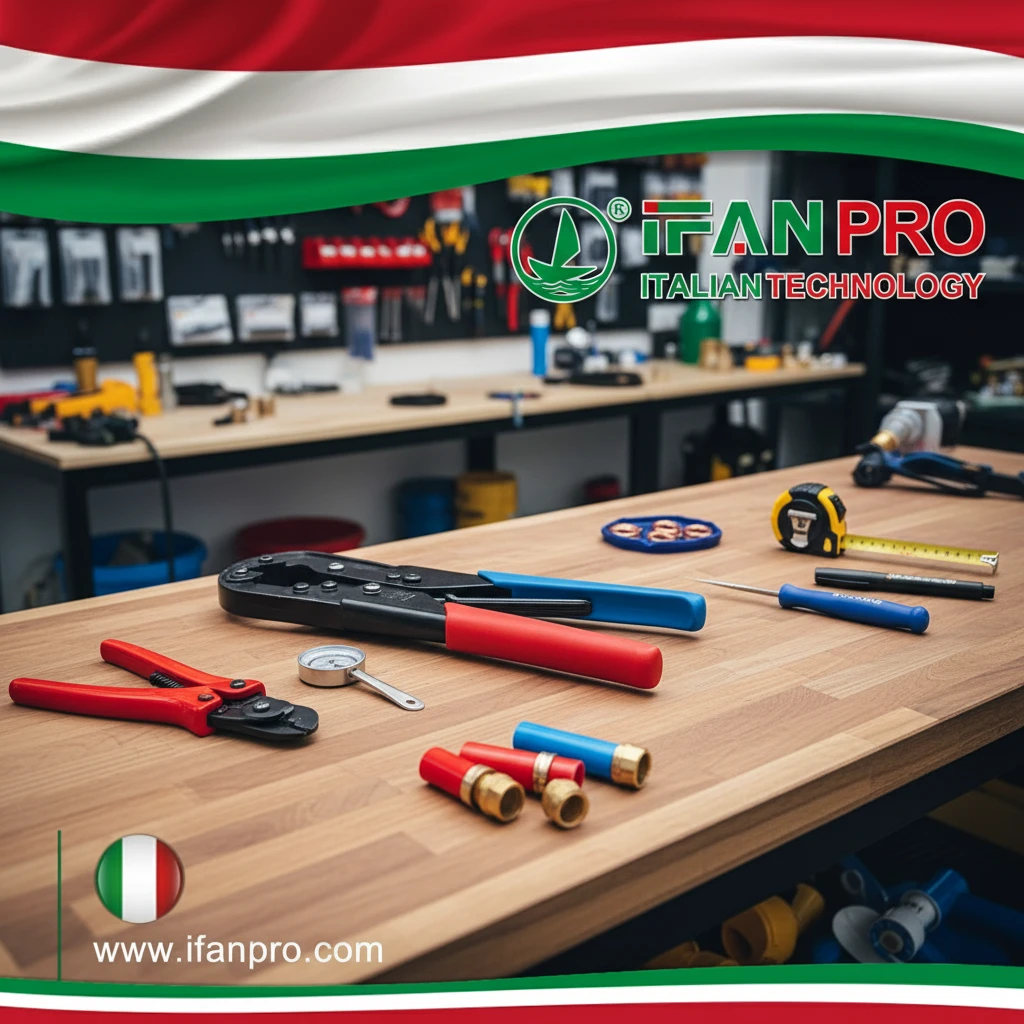
The necessary tools for a DIY PEX installation are a sharp tubing cutter for clean cuts, a deburring tool, a reliable PEX crimp or clamp tool specific to your fitting type, the corresponding crimp rings or clamp bands, a go/no-go gauge to check connections, and essential general tools like a tape measure, marker, and pipe-hanger supports.

Cutting and Preparation Tools
You cannot install PEX properly with tools meant for other materials. The first critical tool is a PEX tubing cutter. This is not a regular saw. A dedicated cutter makes a perfectly square, clean cut in one simple squeeze. A clean, square cut is absolutely necessary for a watertight seal when you add a fitting. A ragged or angled cut will cause leaks.
After cutting, you should use a deburring tool or a utility knife to lightly remove any small plastic burrs from the inside and outside of the cut pipe end. This ensures the pipe slides smoothly into the fitting and that no debris is inside to obstruct water flow.
The Crucial Connection Tools
The most important and specialized tools are for making the connections. The tool you need depends entirely on the type of fitting system you choose.
- Crimp System: This uses copper crimp rings. You need a PEX crimp tool. These are often color-coded (red for 1/2-inch, blue for 3/4-inch). You slide the ring over the pipe, insert the fitting, and use the crimp tool to compress the ring around the pipe.
- Clamp System: This uses stainless steel clamp bands and a different tool. You need a PEX clamp tool, which tightens the band until it clicks or locks.
- Push-to-Connect System: This requires no special tools at all. You simply cut the pipe, push it into the fitting, and it locks. While easiest, these fittings are significantly more expensive per connection.
For crimp or clamp systems, you must also have a go/no-go gauge. This is a small, simple metal gauge. After you make a connection, you slip this gauge over the crimped ring or clamp. It tells you instantly if your crimp is the correct size—not too loose (which would leak) and not too tight (which could damage the pipe or fitting).
Essential PEX Tool Kit
Here is a complete table of the tools you will likely need.
| Tool Category | Specific Tool | Its Purpose |
|---|---|---|
| Cutting & Prep | PEX Tubing Cutter | Makes clean, square cuts for leak-proof connections. |
| Cutting & Prep | Deburring Tool/Utility Knife | Removes plastic burrs for smooth fitting insertion. |
| Connection | PEX Crimp Tool or PEX Clamp Tool | Compresses the metal ring/band to secure the fitting. |
| Connection | Go/No-Go Gauge | Verifies every connection is crimped to the correct tightness. |
| General | Tape Measure & Marker | For accurate measuring and marking cut lines. |
| General | Pipe Hangers/Staples | To secure pipes every 32 inches (or per code) for support. |
| General | Tubing Bender (Optional) | Gently bends PEX around corners to reduce need for elbows. |
Do not try to use generic pliers or a makeshift tool for crimping. An improper crimp is the number one cause of leaks in DIY PEX systems. Investing in the proper, dedicated tools is the single best way to ensure your installation is reliable and professional.
How Do You Properly Connect PEX Pipes Using Different Reliable Methods?
A leak always starts at a bad connection. I’ve tested hundreds of joints, and the difference between a proper and an improper connection is stark.
You properly connect PEX pipes by ensuring the pipe end is cleanly cut and deburred, fully inserting it into the fitting until it bottoms out, and then using the correct, calibrated tool to secure the connection. For crimp rings, position the ring 1/8-inch from the pipe end and squeeze the tool firmly until it releases. Always verify with a go/no-go gauge.
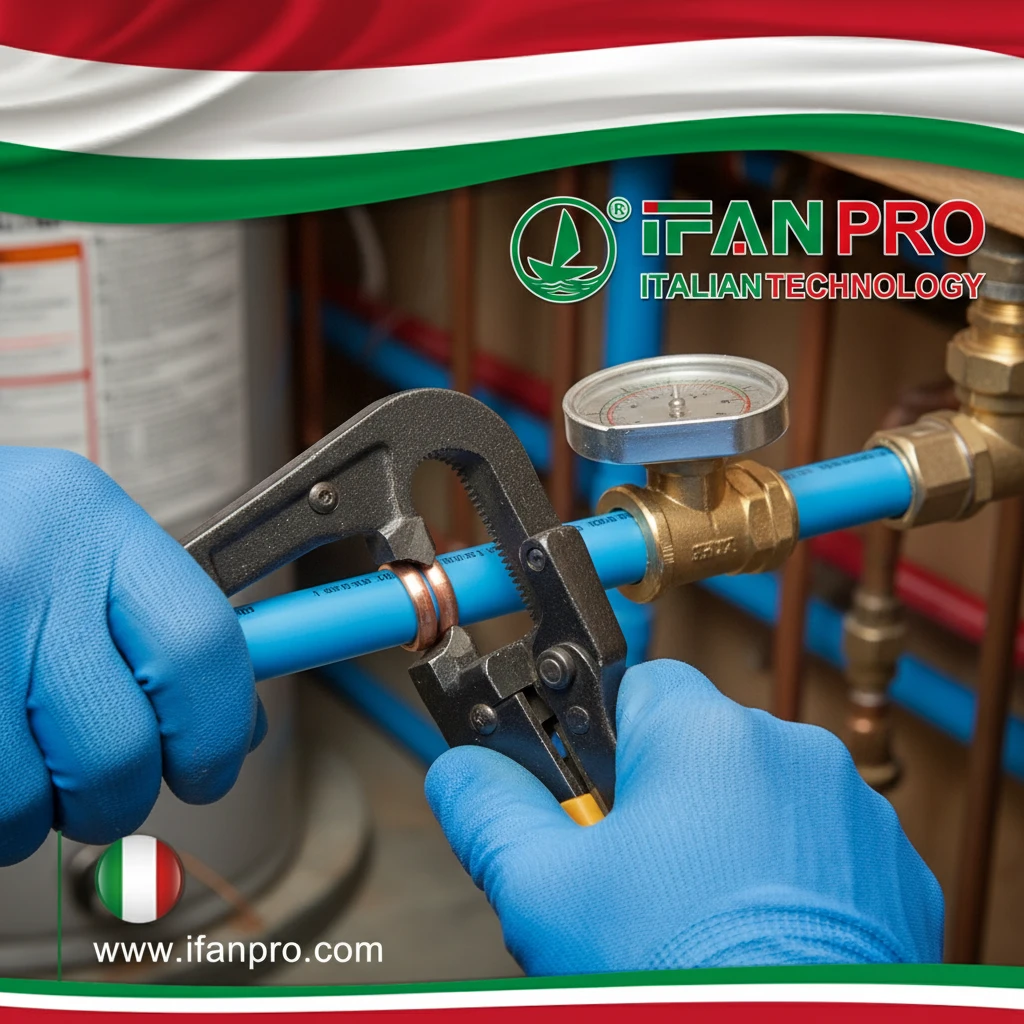
The Universal First Steps
No matter which connection method you choose, the first steps are always the same and cannot be rushed. First, use your PEX cutter to make a perfectly straight cut. Look at the cut end—it should be smooth and square, not angled or chewed up. Next, take your deburring tool or a utility knife and lightly smooth the inside and outside edges of the cut. This removes tiny plastic strands that could prevent a good seal or break off and clog a valve.
Now, slide the appropriate securing ring (crimp ring or clamp band) onto the pipe. Push it about 2 inches down the pipe so it is out of the way. Firmly push the fitting—whether it’s a coupling, elbow, or tee—into the end of the PEX pipe. Push it all the way in until the pipe cannot go any further and is seated against the fitting’s shoulder. You should feel it stop. This full insertion is critical.
Step-by-Step: Crimp and Clamp Methods
Now, here is where the methods differ slightly.
For a Crimp Connection:
- Slide the copper crimp ring back so it is positioned about 1/8-inch from the end of the pipe, centered over the fitting’s barbs.
- Place the jaws of your PEX crimp tool over the crimp ring. Make sure the tool is fully seated and straight.
- Squeeze the tool handles together firmly and steadily. Keep squeezing until the tool’s jaws fully close and release automatically (or until the ratchet releases, depending on the tool).
- Remove the tool. You will see a uniform, circular compression around the ring.
- Immediately check your work with the go/no-go gauge. The “Go” side of the gauge should slide over the crimped ring easily. The “No-Go” side should NOT fit over the ring. If it does, the crimp is too loose and must be cut out and redone.
For a Clamp Connection:
- Slide the stainless steel clamp band into position over the fitting.
- Insert the jaws of the PEX clamp tool into the two protruding ears of the clamp band.
- Squeeze the tool handles. For many tools, you will squeeze until you hear a definitive “click” sound, indicating it is tight enough. Others have a ratcheting mechanism.
- Remove the tool. The band’s ears should be pinched tightly together.
- Use your go/no-go gauge to confirm the clamp is within the correct tolerance.
Comparison of PEX Connection Methods
This table will help you choose the right method for your project.
| Method | Tools Required | Cost per Fitting | Skill Level | Key Advantage |
|---|---|---|---|---|
| Crimp (Copper Rings) | Crimp Tool, Cutter, Gauge | Low | Beginner | Most common; affordable fittings; very reliable. |
| Clamp (Stainless Bands) | Clamp Tool, Cutter, Gauge | Low | Beginner | Some find the tool easier to use; visually easy to inspect. |
| Push-to-Connect | Cutter Only | High | Easiest | Fastest installation; no special tools; good for tight spaces. |
| Expansion (PEX-A) | Expansion Tool, Cutter | High | Intermediate | Creates strongest joint; allows pipe to shrink onto fitting. |
Important Tip: Always do a few practice connections on some scrap pieces of pipe and spare fittings before you work on your actual system. This builds muscle memory and confidence. Remember, every single connection point is a potential leak. Taking your time to do each one perfectly is the secret to a leak-free system.
What is the Correct Way to Pressure Test Your New PEX Plumbing System?
Skipping a pressure test is the biggest mistake a DIYer can make. I’ve seen systems hold water for days, then fail spectacularly when the pressure was finally applied correctly.
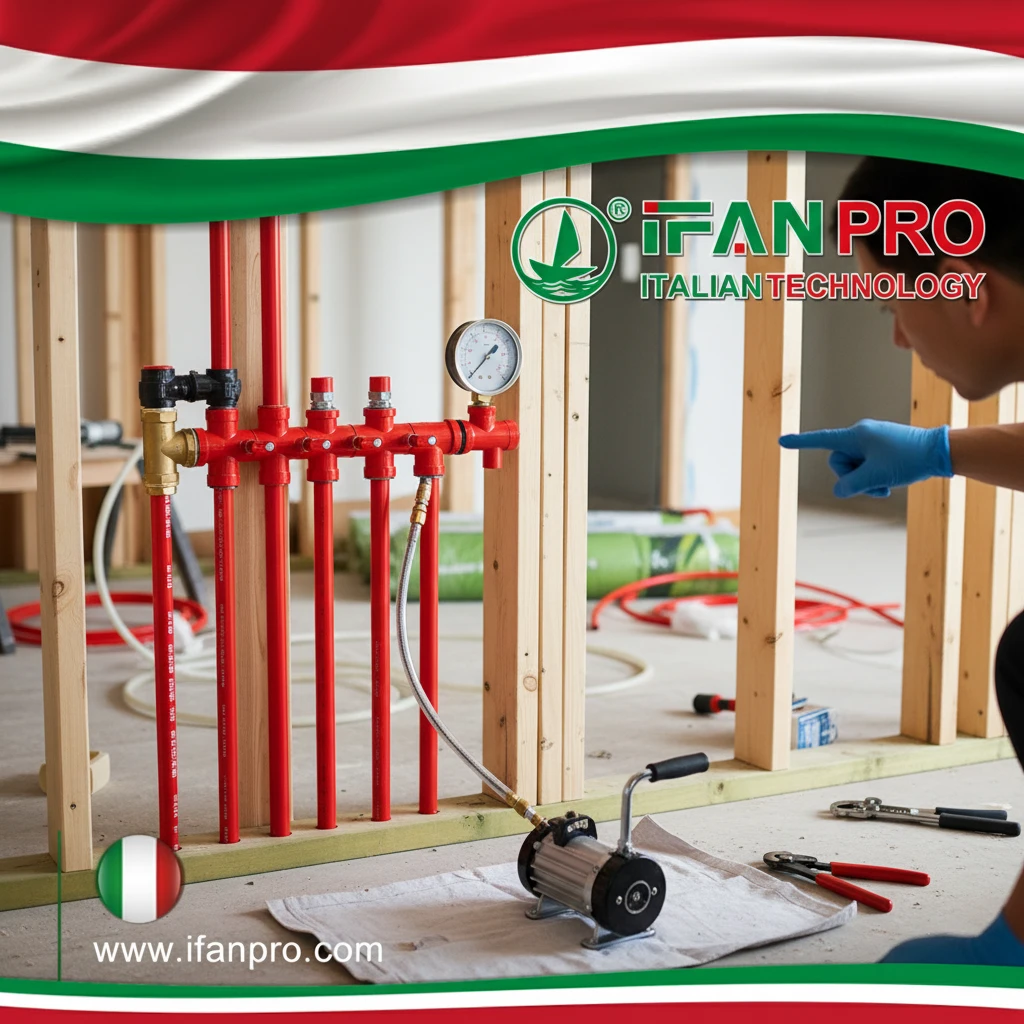
The correct way to pressure test a PEX system is to completely isolate it, attach a dedicated pressure test gauge and pump, fill it with water, pressurize it to 1.5 times your normal household pressure (typically 100-150 PSI), hold that pressure for a minimum of 15-60 minutes, and watch for any pressure drop, which indicates a leak that must be repaired.
Why Pressure Testing is Non-Negotiable
A pressure test is not optional. It is the only way to prove your system is sound before you close up walls or turn on the water for good. A visual check is not enough. Small leaks can start as a slow drip you can’t see. The test applies stress to every joint and fitting, revealing weaknesses immediately, when they are easy and cheap to fix.
First, you need to prepare the system. Close all shut-off valves on your fixtures. If you are testing a whole-house system, make sure your main water shut-off is closed. You will need to create a closed loop. At one end of your new piping, you will install a test ball valve or a test cap. At the other end, you will install your pressure gauge and a connection for a pump.
The Step-by-Step Testing Procedure
Now, follow these steps carefully:
- Connect the Pump: Connect a hand-operated or electric pressure pump to your test port. A simple hand pump is sufficient for most homes.
- Fill with Water: Slowly open a valve to allow water to fill the entire new PEX system. It is crucial to get all the air out. Let water run from the highest fixture outlet until it flows steadily with no sputtering air.
- Pressurize the System: Close the valve isolating the system from the water supply. Begin pumping to increase the pressure. Watch the gauge closely. Your target pressure is 1.5 times your normal working pressure. If your city water pressure is 60 PSI, test at 90 PSI. A common safe test pressure for residential systems is 100 PSI.
- Hold and Observe: Once you reach the target pressure, stop pumping and close the valve to the pump. Now, the observation period begins. You must watch the gauge for a minimum of 15 minutes, but one hour is much better. Look for any drop in pressure. Even a small, steady drop of 2-3 PSI over 30 minutes means you have a leak.
- Inspect and Repair: If the pressure drops, you must find the leak. Carefully inspect every single fitting, joint, and valve. Look for tiny beads of water. Often, the leak will be at the last fitting you installed. Mark any leaks, drain the system, cut out and replace the faulty connection, and then repeat the entire pressure test from the beginning.
Pressure Testing Checklist
Use this table as your testing guide.
| Test Phase | Action | Success Criteria |
|---|---|---|
| Preparación | Isolate system, install test caps, connect gauge & pump. | System is a sealed loop with no connection to house supply. |
| Filling | Fill system with water, bleed all air from high-point fixtures. | Water flows steadily from outlets with no air bubbles. |
| Pressurization | Pump to target pressure (e.g., 100 PSI). | Gauge reaches and holds stable at target pressure. |
| Observation | Monitor gauge for 15-60 minutes. | Pressure reading does not drop at all. |
| Verification | Visually inspect all joints during and after test. | No drips, beads of water, or moisture on fittings. |
Do not rush this process. Passing a pressure test is your ultimate quality check. It gives you the confidence to insulate, drywall, or turn on your water main knowing your work is solid and reliable. Never cover up pipes that have not passed a proper pressure test.
Conclusión
Installing PEX plumbing is a manageable project with careful planning, the right tools, proper connection techniques, and a mandatory pressure test. For reliable, code-compliant PEX pipes and all necessary fittings, IFAN offers a complete range of high-quality solutions for your next installation.


Comentarios recientes