
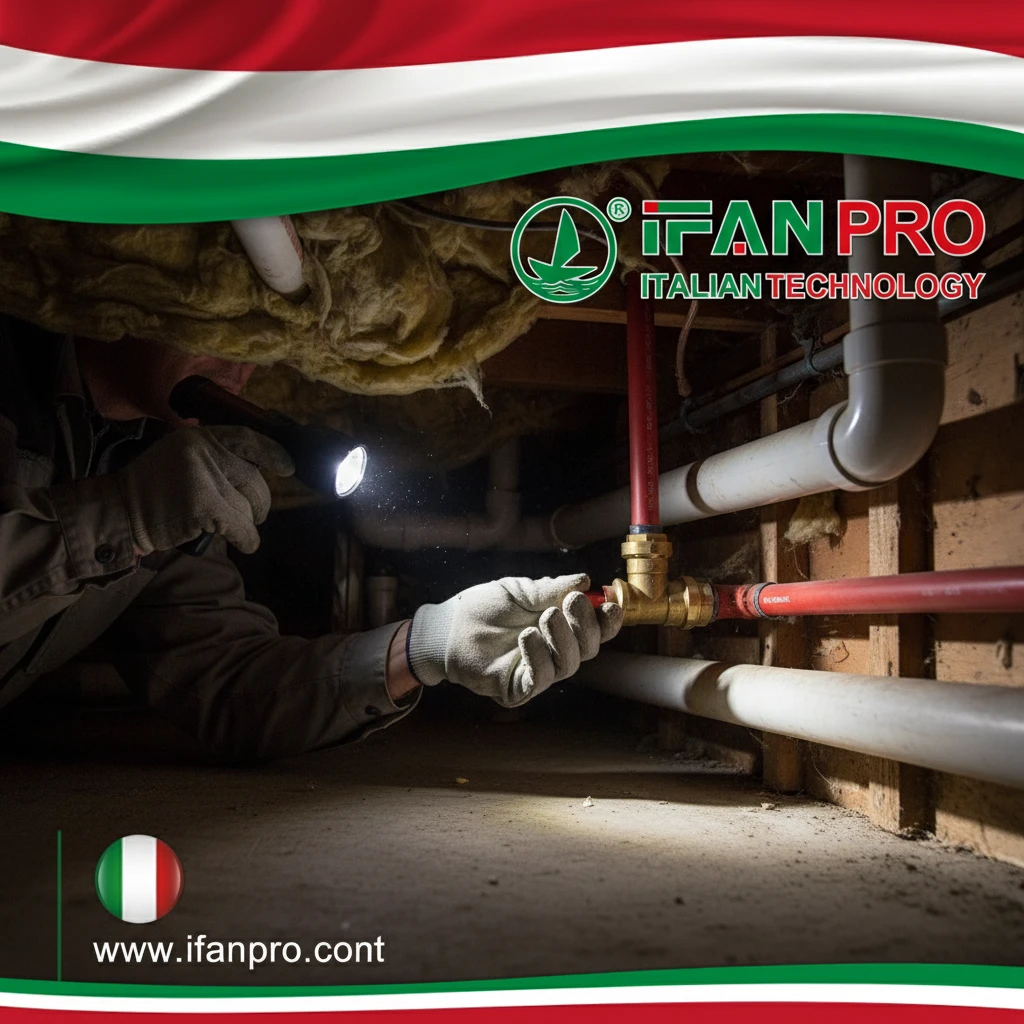
I once received a panicked call from a builder: a newly installed PEX system was dripping. This moment taught me that even the best systems have weak points if not handled correctly.
Yes, PEX fittings can leak, but it is rare when the system is designed and installed correctly. Leaks almost always result from a few specific causes: using the wrong type of fittings, improper installation tools or techniques, physical damage to the pipe, or using incompatible components from different manufacturers.
While PEX piping itself is very reliable, the connections are the critical points to watch. Let’s break down exactly why leaks happen and, more importantly, how you can prevent them completely.
What are the Common Causes of Leaks in PEX Pipe Fittings?
Finding a leak is frustrating. In my experience, the cause is usually one of these recurring issues.
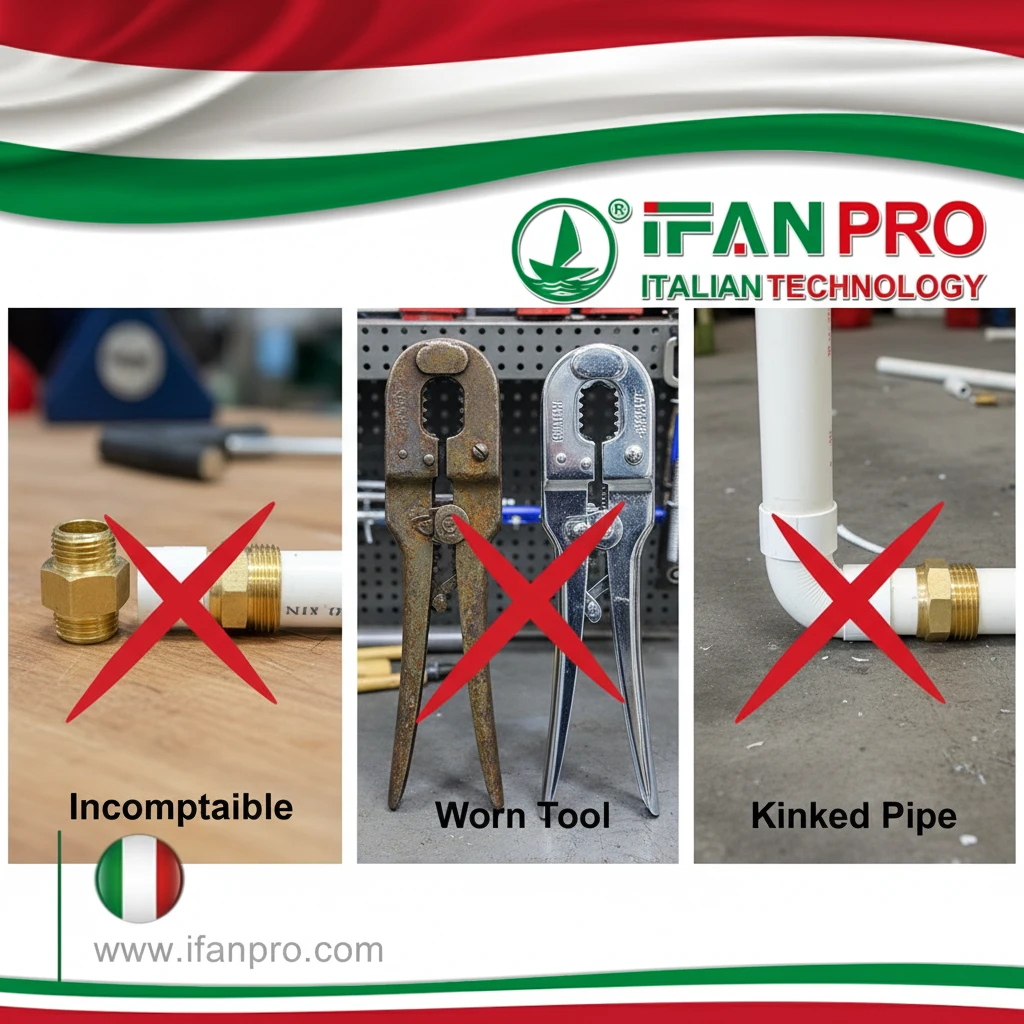
The most common causes of leaks in PEX fittings are the use of incorrect or mismatched fittings for the pipe type (e.g., using a crimp ring on expansion PEX), improper crimping or expansion with worn or wrong-sized tools, and physical damage like kinks or cuts near the fitting. Using fittings from one brand with PEX pipe from another can also lead to failure.
Mismatched Systems and Parts
A major source of trouble comes from mixing incompatible parts. PEX is not just one single product. There are different types, primarily PEX-A, PEX-B, and PEX-C, which use different connection methods. The most common mistake is trying to connect them with the wrong fitting.
For example, expansion fittings (used with PEX-A) and crimp fittings (used with PEX-B/C) are not interchangeable. An expansion fitting requires the pipe to be stretched, while a crimp fitting compresses a ring around it. Using the wrong combination will not create a proper seal and will certainly leak, either immediately or over time as the stress causes the material to fail.
Another compatibility issue is mixing brands. Not all PEX pipes and fittings are designed to the exact same dimensions. A crimp ring from Manufacturer A might not calibrate perfectly with the go/no-go gauge from Manufacturer B. For a guaranteed seal, it is best practice to use a full system from a single, reputable manufacturer.
Tool and Installation Errors
Even with the right parts, the tools are critical. The most frequent errors here are:
- Using worn-out tools: A crimp jaw that is damaged or worn will not apply even, sufficient pressure around the entire ring. This creates a weak spot.
- Using the wrong size tool: Crimp rings and expansion heads come in specific sizes for different pipe diameters. Using a ½-inch tool on a ¾-inch ring is an obvious recipe for failure.
- Incomplete crimping/expansion: This happens when the tool does not fully cycle, leaving the connection partially made. The installer might think it’s done, but the seal is incomplete.
Physical and Environmental Damage
PEX is tough, but it can be damaged. A common cause of leaks is physical damage to the pipe right next to the fitting. This can happen during installation if the pipe is bent too sharply (creating a kink), nicked by a tool, or punctured by a screw or nail after the wall is closed up. The stress point then fails at the fitting.
Environmental factors can also play a role. While PEX is resistant to freezing better than copper, if water inside freezes and expands repeatedly, it can stress and potentially crack a fitting. Also, exposing PEX to direct sunlight (UV rays) for prolonged periods before installation can make the outer layer brittle and compromise its strength at the connection point.
How Can Improper Installation Lead to PEX Fitting Connection Failures?
I’ve audited installations where every single step was slightly off. The result was never one big leak, but a system doomed to fail early.
Improper installation leads to PEX fitting failures by creating weak, incomplete, or over-stressed connections. Specific errors include failing to cut the pipe square, not fully inserting the pipe into the fitting, using incorrect or misaligned crimping/expansion tools, and neglecting to perform a mandatory pressure test, which allows hidden flaws to go undetected.
Critical Pre-Connection Mistakes
The work done before making the connection is just as important as the connection itself. Two of the biggest culprits are improper pipe preparation.
First, if the PEX pipe is not cut perfectly square (straight across), a gap will be left when it is inserted into the fitting. This gap prevents the pipe from seating fully against the fitting’s internal sealing surfaces. When pressurized, water will force its way through this gap. Always use a sharp, dedicated PEX tubing cutter.
Second, even with a square cut, the pipe must be inserted fully into the fitting until it hits the internal stop. If it’s only pushed partway in, the crimp ring or expansion zone will be in the wrong place, failing to secure the pipe’s end. A simple visual and physical check can prevent this.
The Mechanics of a Failed Connection
Now, let’s look at the connection process itself. Each method has its own precise requirements.
For crimp systems, failure occurs if:
- The crimp ring is not positioned the correct distance from the pipe end (usually 1/8 to 1/4 inch).
- The crimping tool is not held square to the fitting, resulting in an uneven crimp.
- The tool is not activated completely, leaving the ring partially closed.
For expansion systems (PEX-A), failure occurs if:
- The expansion tool is not inserted to the correct depth.
- The pipe is not given enough time to shrink back and form a tight grip on the fitting before the system is pressurized.
The Non-Negligible Step: Pressure Testing
Perhaps the most critical installation step that is often rushed or skipped is the pressure test. This is the only way to find leaks before the walls are closed up. An improper test—using too low pressure, testing for too short a time, or not inspecting every joint—means that minor leaks caused by the errors above will remain hidden. They will only reveal themselves months later, causing significant water damage and expensive repairs.
Proper Installation vs. Common Errors Table
| Installation Step | Correct Practice | Common Error Leading to Leak |
|---|---|---|
| Pipe Cutting | Use a sharp, dedicated PEX tubing cutter for a clean, square cut. | Using a generic hacksaw, creating a ragged, angled cut. |
| Deburring | Lightly remove any inner plastic burrs with a deburring tool. | Skipping this step, leaving a burr that disrupts water flow and seating. |
| Pipe Insertion | Insert pipe fully into fitting until it bottoms out. Mark the pipe to verify. | Partial insertion, leaving a gap between pipe end and fitting shoulder. |
| Tool Use | Use the manufacturer-specified tool, in good condition, held square to the fitting. | Using mismatched, worn, or misaligned tools. |
| Pressure Test | Test the entire system at 1.5x normal operating pressure for a minimum of 15-30 minutes. | Skipping the test, testing at low pressure, or testing for only a few minutes. |
What are the Best Practices to Prevent Leaks at PEX Fitting Joints?
Prevention is always cheaper than repair. Our service team follows a strict checklist to ensure zero-leak installations for our clients.
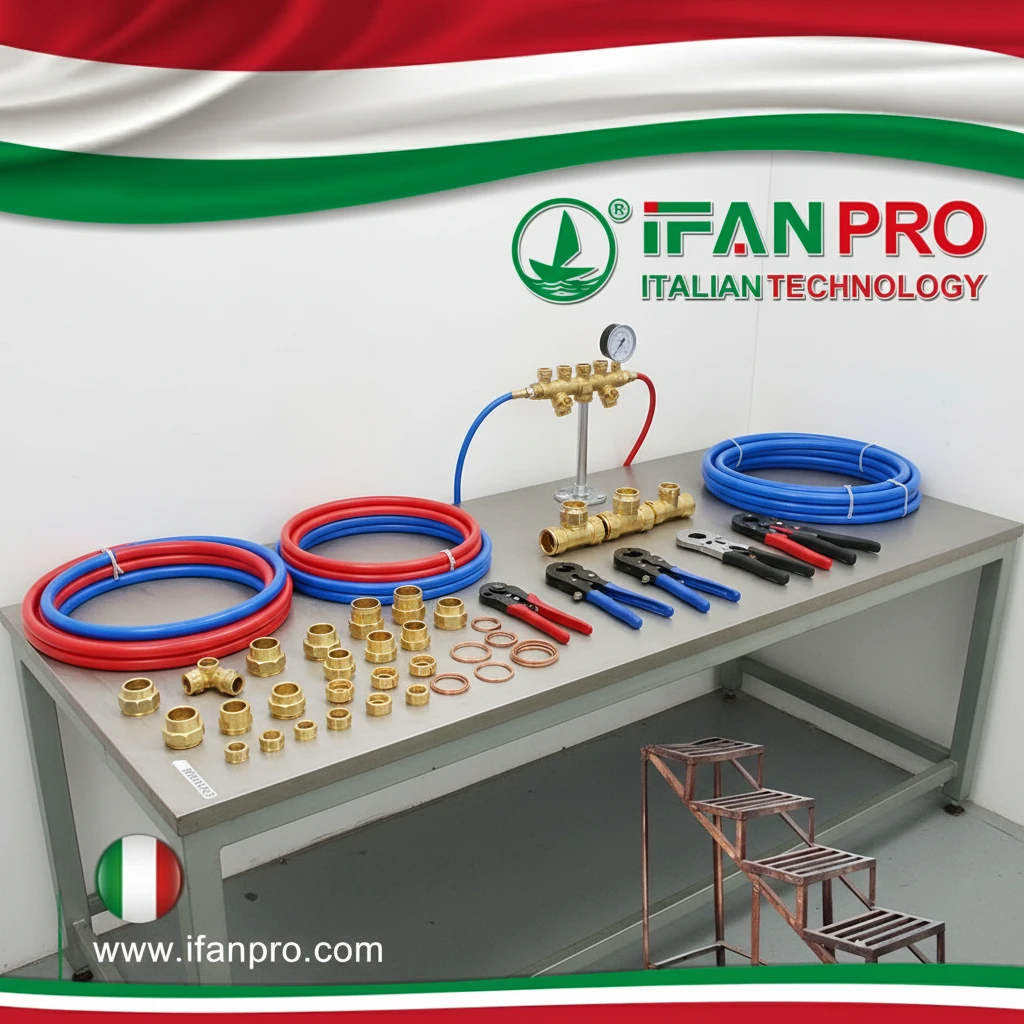
The best practices to prevent leaks are to use a complete, compatible system from one manufacturer, employ the correct, well-maintained professional tools for every job, ensure installers are properly trained and certified on the specific connection method, and always conduct a thorough pre-concealment pressure test of the entire system.
Practice 1: System Compatibility is Key
The first and most important rule is never to mix and match. Specify and purchase the PEX tubing, fittings, and connection rings/rings as a complete kit from a single, reputable manufacturer. This guarantees that all dimensions and tolerances are designed to work together. Reputable brands like IFAN subject their systems to rigorous testing to ensure every component performs as a unified whole. This eliminates the guesswork and risk of incompatible parts.
Practice 2: Invest in Professional Tools and Training
The right tools are not a suggestion; they are a requirement. Do not use generic tools or makeshift methods.
- For crimp systems, use a calibrated, ratcheting crimp tool that ensures a complete cycle every time.
- For expansion systems (PEX-A), use the correct manual or power expansion tool.
All tools must be regularly inspected and maintained. Dull cutters, worn crimp jaws, or weak expansion heads will produce faulty connections.
Furthermore, training is essential. A plumber skilled in copper soldering cannot instinctively know PEX techniques. Ensure your installation team is trained—many manufacturers offer certification courses—on the specific system they are using. They must understand the “feel” of a correct connection.
Practice 3: Master the Installation Protocol
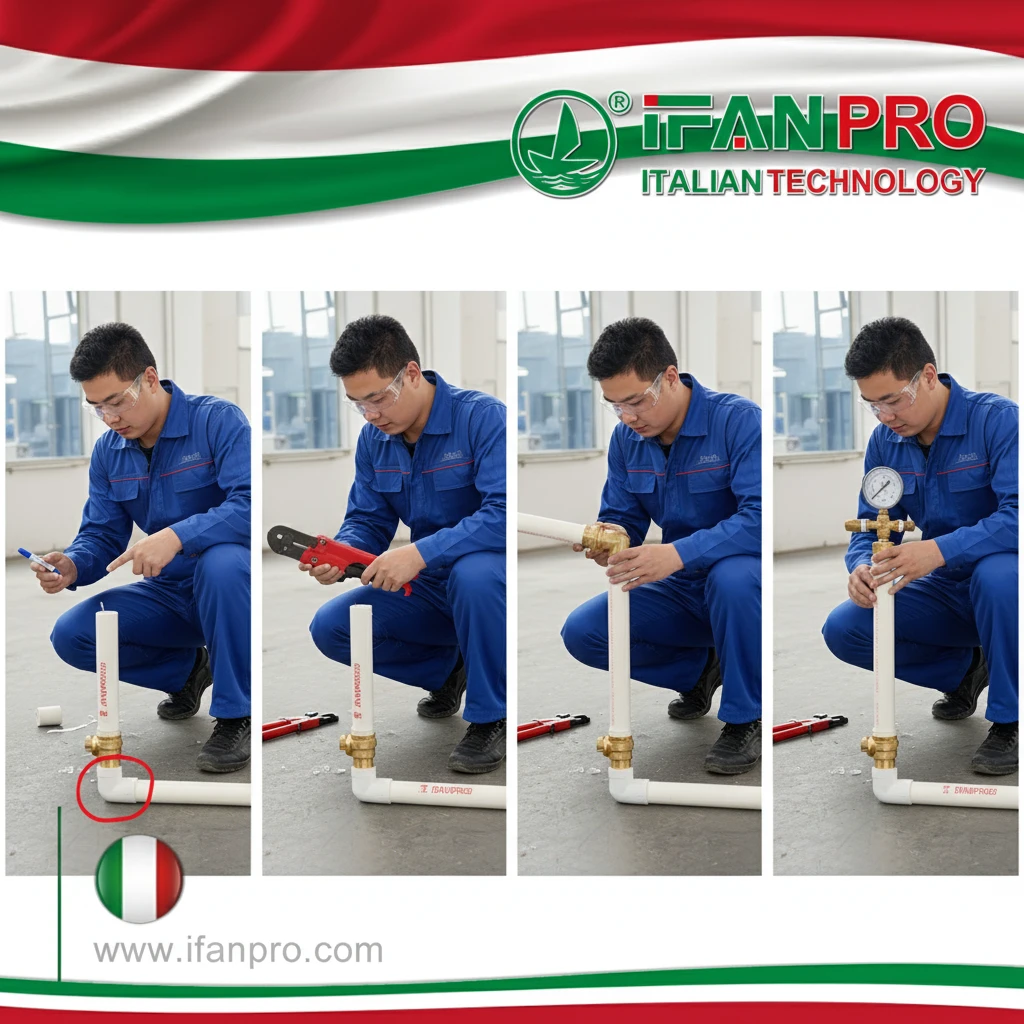
Follow a disciplined, step-by-step process for every single connection:
- Cut Square: Use a sharp PEX cutter.
- Deburr: Clean the inside and outside of the cut edge.
- Inspect Fitting: Ensure the fitting is clean and undamaged.
- Mark Insertion Depth: Draw a line on the pipe to confirm full insertion.
- Insert Fully: Push the pipe into the fitting until it stops.
- Position Ring/Sleeve: Place the ring or expansion sleeve at the precise mark.
- Make the Connection: Use the correct tool, held square, to complete the crimp or expansion.
- Verify: Use a go/no-go gauge on crimp connections to check ring compression.
Practice 4: The Mandatory Pressure Test
This is your final quality control check. Isolate the newly installed section of plumbing and pressurize it with air or water to at least 1.5 times its normal operating pressure (e.g., 100 psi for a residential system). Maintain this pressure for a minimum of 15-30 minutes. Check every single fitting, valve, and connection with a visual inspection and by listening for hisses. Any pressure drop indicates a leak that must be found and repaired before proceeding. Document this test.
Preventive Maintenance Checklist
| Stage | Best Practice Action | Purpose |
|---|---|---|
| Planning & Purchase | Select a single-source, certified PEX system (like IFAN’s). | Guarantees component compatibility and performance. |
| Tooling | Invest in manufacturer-recommended, professional-grade tools. | Ensures consistent, correct, and reliable connections. |
| Installation | Follow the 8-step protocol for every joint; use go/no-go gauges. | Creates a standardized, verifiable process to eliminate human error. |
| Verification | Conduct a full-system pressure test before closing walls. | Actively discovers any installation flaws while they are easy and cheap to fix. |
How Do You Inspect and Repair a Leaking PEX Fitting Connection?
When a leak is found, a calm, systematic approach is vital. Rushing the repair often causes more problems.
To inspect, first locate the exact leak point, dry the area, and identify the fitting type and cause. To repair, you must shut off the water, drain the line, and cut out the failed section. Then, install a new fitting using a repair coupling, following the correct installation practices, and pressure test the repair before restoring water flow.
Step 1: Systematic Inspection and Diagnosis
Don’t just see water and start cutting. First, you need to understand what you’re dealing with.
- Locate the Exact Source: Water can travel along the pipe before dripping. Use a paper towel to dry the pipe and fittings completely. Then turn the water back on briefly and watch carefully to see where the water first appears. Is it at the base of the fitting? From under a crimp ring? From a crack in the pipe itself?
- Identify the Fitting Type: Determine if it’s a crimp or expansion fitting. This dictates your repair method and the parts you’ll need.
- Diagnose the Cause: Look for clues. Is the crimp ring misaligned or loose? Is there a visible crack in the plastic fitting? Is the pipe kinked right next to the fitting? Understanding the cause helps prevent the same issue after the repair.
Step 2: Executing the Repair
Once diagnosed, follow a careful repair procedure.
- Shut Off and Drain: Turn off the main water supply to the house. Open faucets on the affected line to drain all water pressure. The line must be completely empty.
- Cut Out the Failed Section: Using your PEX cutter, cut out the leaking fitting. Make your cuts several inches away from the fitting on both sides to give yourself clean, undamaged pipe to work with. Make sure your new cuts are perfectly square.
- Prepare for the New Connection: You will need two new fittings and a short length of new PEX pipe (or two repair couplings). The goal is to bridge the gap you just created.
- Install the Repair Assembly:
- Slide two crimp rings (for a crimp system) onto the two existing pipe ends.
- Insert a straight coupling or a new fitting into one side.
- Measure and cut a short piece of new PEX to bridge the gap.
- Insert this new piece into the other side of the coupling.
- Finally, connect the other end of the new PEX piece to the second existing pipe using another coupling.
- Crimp all four rings properly and verify with your gauge.
- Pressure Test the Repair: Before closing up the wall, you must test the repair. Re-pressurize the isolated line and check the new connections meticulously for at least 10-15 minutes. Only after confirming no leaks should you restore the water supply and close the access panel.
Repair Methods for Different Situations
The table below outlines the approach for different leak scenarios:
| Leak Scenario | Recommended Repair Method | Key Tools & Parts Needed |
|---|---|---|
| Failed Crimp/Expansion Ring | Cut out the old fitting, replace with new fitting and rings. | PEX cutter, new fitting, new rings, crimp/expansion tool. |
| Cracked Plastic Fitting | Cut out the cracked fitting, replace with new fitting. | PEX cutter, new fitting, rings, crimp/expansion tool. |
| Leak at Shut-Off Valve | Usually requires replacing the valve. May involve threading or new connections. | New valve, two couplings, pipe, threading tape (if needed), tools. |
| Pinhole/Kink in Pipe near Fitting | Cut out the damaged pipe section and the fitting. Reconnect with couplings and new pipe. | PEX cutter, two straight couplings, short PEX pipe, rings, tools. |
Conclusión
PEX fittings rarely leak with proper parts, tools, and installation. For guaranteed compatibility and reliability, source your complete PEX system, including durable brass or polymer fittings, from a trusted partner like IFAN.


Comentarios recientes