Last month, I inspected a failed plumbing system where three different transition methods were used incorrectly between copper and PEX. The resulting leaks caused thousands in damage, highlighting how specific these connections must be handled. Through years of troubleshooting, I’ve identified patterns in what goes wrong during these critical transitions.
Common copper to PEX installation mistakes include using incompatible transition fittings, applying solder flux near PEX tubing, allowing direct metal-to-plastic contact without proper isolation, and skipping comprehensive pressure testing. These errors often cause immediate leaks or gradual failures that appear months after installation.
Understanding these specific pitfalls helps prevent the system failures I frequently encounter in field inspections. Let’s examine the most critical mistakes and how to avoid them.
What Transition Fittings Should You Avoid When Connecting Copper to PEX?
I recently replaced an entire section of PEX tubing that had melted from a homeowner’s attempt to solder directly to copper. The repair cost exceeded the original installation price, demonstrating how fitting selection directly impacts project success and longevity.
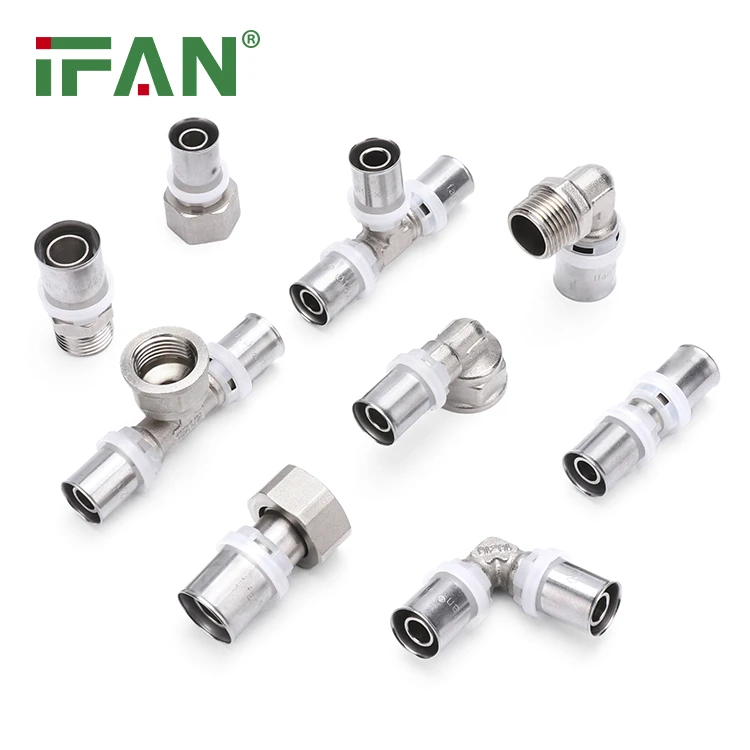
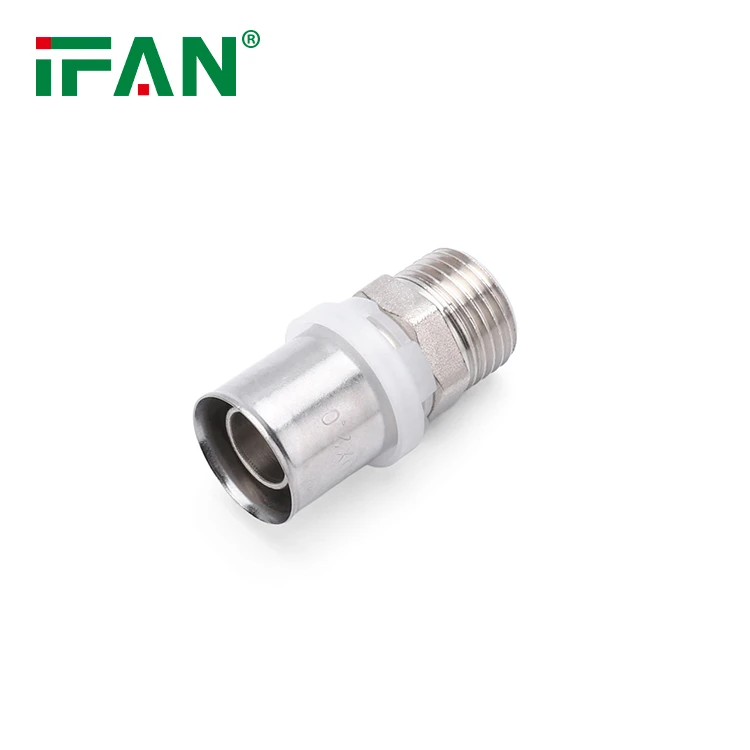
Avoid solder-type transition fittings that require direct heat application near PEX tubing, incompatible push-to-connect fittings not rated for both materials, and corrosion-prone galvanized steel adapters. Instead, use purpose-designed brass transition fittings that accommodate the different expansion rates and temperature limits of both materials.
Problematic Fitting Types
Certain fittings create inherent compatibility issues:
Heat-Based Transition Fittings
Sweat adapters that require soldering directly to copper pipes pose significant risks:
- PEX tubing can melt when heated above 180°F during soldering
- Heat travel through copper pipes damages PEX several inches away
- Residual heat during cooling can deform PEX at connection points
- The different expansion rates create stress at the transition point
Material-Incompatible Push Fittings
Some push-to-connect fittings work poorly with transition applications:
- Generic fittings lacking specific approval for both materials
- Plastic-bodied fittings without metal reinforcement at stress points
- Fittings with grip rings sized for only one material type
- Products without temperature rating verification for hot water lines
Corrosion-Prone Adapters
Galvanized steel and other reactive metals cause problems:
- Galvanic corrosion when connecting to copper pipes
- Rust contamination affecting both PEX and copper
- Different thread standards causing cross-threading issues
- Expansion coefficient mismatches creating loose connections
Recommended Transition Solutions
Purpose-built fittings prevent these issues:
| Fitting Type | Best Application | Avoidance Reason | Alternative Solution |
|---|---|---|---|
| Sweat adapters | Professional only | Heat damage risk | Brass compression fittings |
| Plastic push fittings | Temporary repairs | Material fatigue | Metal-bodied push fittings |
| Galvanized adapters | Outdoor use only | Galvanic corrosion | Dielectric union fittings |
| Threaded transitions | Metal systems only | Stress concentration | Expansion transition fittings |
How Can Improper Flux Application Damage Your PEX Connection Points?
A restaurant’s plumbing failure taught me how flux migration causes slow, invisible damage. The system passed initial pressure tests but failed after six months as residual flux gradually degraded the PEX lining, causing brittle cracks at every transition point.
Improper flux application damages PEX through chemical migration into the tubing, residual acid corrosion at connection points, and plasticizer degradation that makes PEX brittle. Flux contains acids that continue working long after installation, eating away at both metal fittings and PEX polymer structures.
Flux Contamination Pathways
Understanding how flux causes damage helps prevention:
Chemical Migration Mechanism
Flux wicks into microscopic spaces between fitting and pipe:
- Capillary action draws flux into the PEX wall structure
- Acids break down plasticizers that keep PEX flexible
- Oxidizing agents accelerate copper corrosion at the interface
- Residual chemicals continue reacting for months after installation
Direct Contact Damage
Flux touching PEX surfaces causes immediate problems:
- Surface etching creates stress concentration points
- Plasticizer extraction makes PEX stiff and brittle
- Discoloration indicates polymer degradation
- Reduced burst pressure and fatigue resistance
Prevention and Mitigation Strategies
Proper techniques eliminate flux-related damage:
Application Control Methods
- Apply flux only to copper fitting cup, not the pipe end
- Use flux brushes rather than pouring or dipping methods
- Keep flux containers closed when not in active use
- Wipe excess flux immediately after soldering
Alternative Connection Methods
When transitions are necessary near PEX:
- Use mechanical connections instead of soldered joints
- Install copper stub-outs before making PEX connections
- Create sufficient distance between solder points and PEX
- Employ press-fit systems that eliminate flux entirely
Why Must You Prevent Direct Contact Between Copper and PEX Materials?
I investigated a multi-unit building with chronic leaks at every copper-to-PEX transition. The problem wasn’t the fittings but rather the uninsulated copper pipes touching PEX lines in crowded chases, creating abrasion points that wore through both materials over time.
Direct copper-to-PEX contact causes abrasion damage from different expansion rates, electrolytic corrosion through dissolved minerals in water, and stress concentration at connection points. The metals and plastics expand and contract at different rates, creating movement that wears through protective layers and compromises both materials.
Contact Damage Mechanisms
Several physical processes create long-term damage:
Differential Expansion Abrasion
Copper and PEX expand at different rates:
- Copper expansion coefficient: 16.5 × 10⁻⁶/°F
- PEX expansion coefficient: 90 × 10⁻⁶/°F
- This 5:1 ratio creates constant rubbing during temperature changes
- Abrasion removes protective oxide layers from copper
- PEX surfaces develop stress whitening and cracking
Electrochemical Corrosion
Dissolved minerals enable galvanic activity:
- Copper ions transfer to PEX surfaces through water
- Electrolyte-rich water completes the circuit between materials
- Stagnant water in direct contact areas accelerates corrosion
- pitting corrosion develops at contact points
Proper Isolation Techniques
Effective separation prevents these issues:
Physical Separation Methods
- Maintain ½-inch minimum clearance between pipes
- Use plastic clamps instead of metal hangers where crossing occurs
- Install pipe guides that allow independent movement
- Separate pipes with foam insulation sleeves
Dielectric Protection
Break electrical continuity between materials:
- Use plastic-lined hangers where contact is unavoidable
- Install dielectric unions at all transition points
- Apply protective tape at crossing points
- Use plastic push-on fittings instead of direct metal contact
What Pressure Testing Methods Verify Leak-Free Copper to PEX Connections?
After a failed pressure test revealed six leaking transitions in a new installation, I developed a multi-stage testing protocol that now catches 99% of leaks before concealment. This method has eliminated callbacks for transition-related leaks in our projects.
Effective pressure testing requires isolated section testing, gradual pressure increase, extended observation periods, thermal cycling simulation, and thorough visual inspection. Testing transition sections separately from the main system identifies leaks that might be masked in whole-system tests.
Comprehensive Testing Protocol
A systematic approach ensures leak-free connections:
Isolated Section Testing
Test copper-to-PEX transitions separately:
- Install test balls or valves to isolate transition sections
- Test at 1.5 times system working pressure
- Maintain pressure for twice the standard duration
- Document pressure readings every 15 minutes
Thermal Cycle Testing
Simulate real-world temperature changes:
- Test with both cold and warm water
- Cycle temperature while maintaining pressure
- Observe connection behavior during expansion/contraction
- Check for leaks at both minimum and maximum temperatures
Advanced Leak Detection Methods
Beyond basic pressure testing:
Electronic Leak Detection
- Use acoustic amplifiers to hear microscopic leaks
- Apply electronic stethoscopes to each fitting
- Listen for hissing sounds indicating tiny leaks
- Test at higher pressures than standard tests
Visual Enhancement Techniques
- Use bright LED lights to spot minute weeping
- Employ mirrors for hard-to-see connections
- Apply leak detection dye to water
- Use ultraviolet light with fluorescent additives
Documentation and Verification
Proper records ensure quality control:
Test Documentation Requirements
- Photograph pressure gauge at test start and finish
- Record ambient temperature during testing
- Document any pressure adjustments made
- Note recovery time after pressure stabilization
Acceptance Criteria Standards
| Test Type | Pressure | Duration | Max Allowable Drop |
|---|---|---|---|
| Initial Test | 100 PSI | 30 minutes | 3 PSI |
| Extended Test | 80 PSI | 3 hours | 5 PSI |
| Thermal Test | 60 PSI | 6 hours | 7 PSI |
| Final Verification | 100 PSI | 60 minutes | 2 PSI |
Conclusión
Avoiding common copper to PEX installation mistakes requires using compatible transition fittings, preventing flux contamination, maintaining proper material separation, and implementing thorough pressure testing protocols. These specific precautions address the unique challenges of joining dissimilar plumbing materials while ensuring long-term reliability and leak-free performance.









Comentarios recientes