
I once saw a newly installed PVC pipeline fail during its first pressure test. The cause? Rushing the glue dry time. This mistake caused leaks, delays, and costly rework.
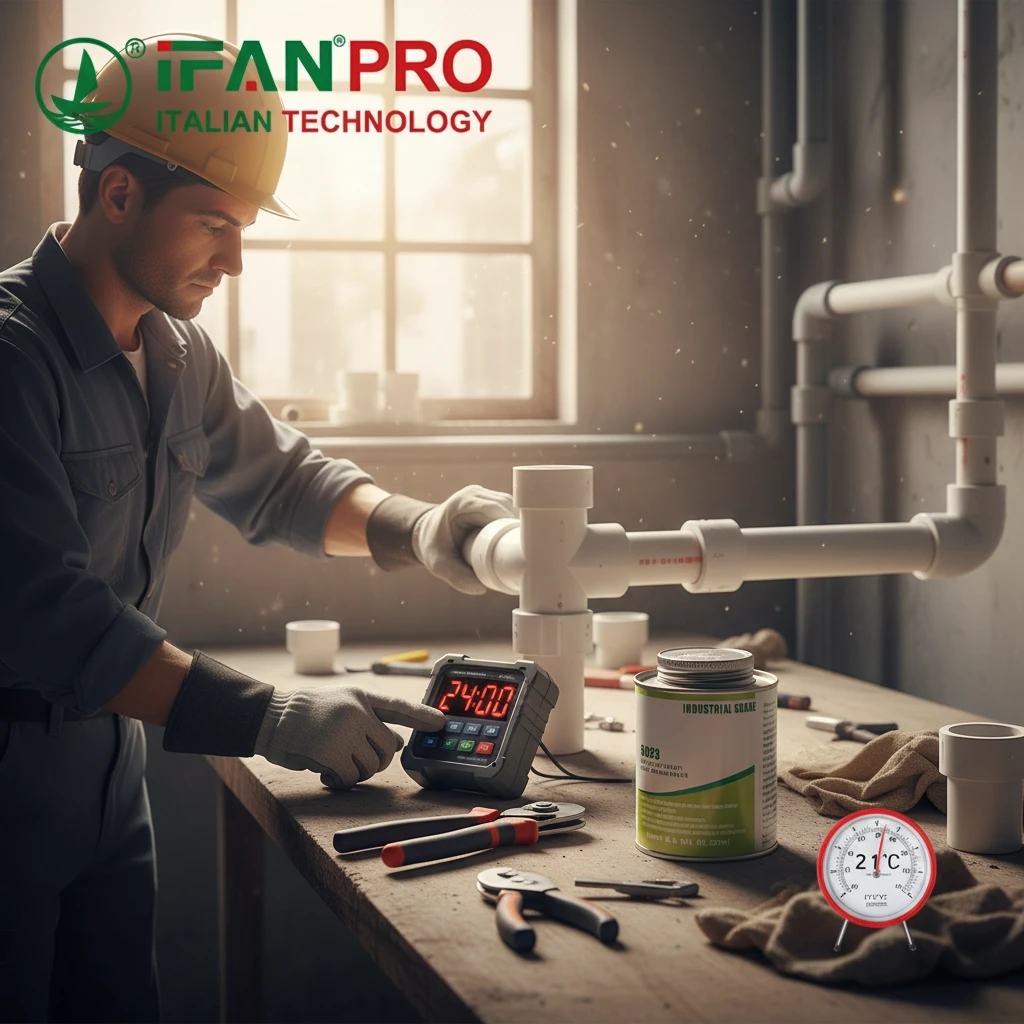
You should typically let PVC glue dry for at least 15 to 30 minutes before handling the joint lightly. However, for a full pressure test, you must wait for the cement to fully cure, which usually takes 2 to 6 hours at room temperature (70°F/21°C). For maximum joint strength and safety, waiting 24 hours before testing is the best practice.
Understanding the difference between “dry to the touch” and “fully cured” is key to a successful, leak-free system. Let’s break down the details.
What is the Standard Drying Time for PVC Cement Under Normal Conditions?
The term “dry time” can be misleading. As a rule, I tell my team that if you are in a hurry, you are already at risk.
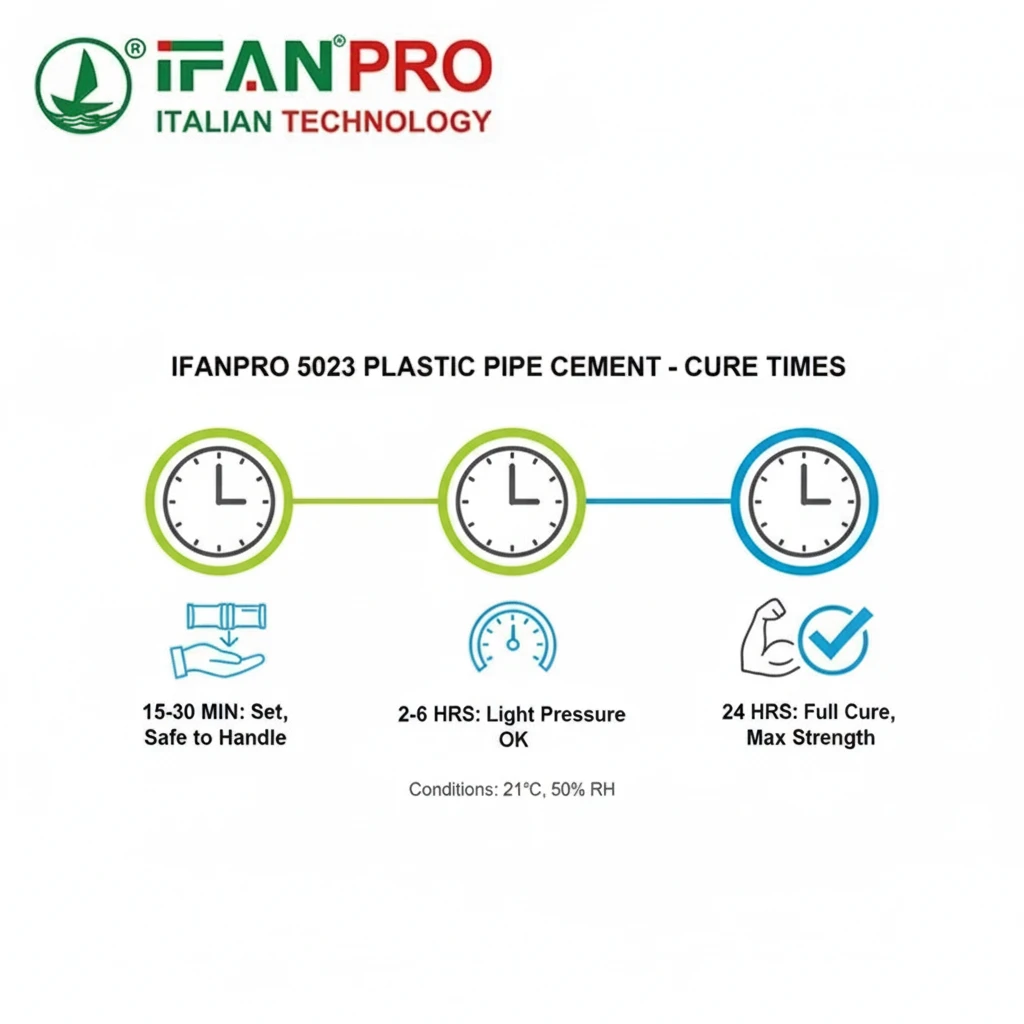
Under normal conditions (70°F/21°C and 50% humidity), PVC cement sets enough for careful handling in 15-30 minutes. It forms a strong, pressure-tight bond in about 2 hours. For full chemical fusion and maximum strength, the joint should cure undisturbed for 24 hours. This is the standard schedule followed by most professionals.
The Three Stages of PVC Cement Bonding
PVC cement doesn’t just “dry” like paint. It works by chemically welding the pipe and fitting together. This process happens in stages, and each one is important.
First, the solvent evaporates. This happens quickly. The cement softens the surfaces of the PVC. When you push the pipe into the fitting with a quarter-turn, the softened materials mesh together. After about 15-30 minutes, enough solvent has evaporated that the joint feels set and won’t come apart with gentle handling.
Second, the joint gains initial strength. Over the next few hours, the chemical reaction continues. The PVC molecules from the pipe and fitting begin to entangle and fuse into a single piece. After about 2-6 hours, this fusion is strong enough to hold back water pressure in many cases. This is often called the “minimum cure time” for pressure testing.
Third, the joint achieves full cure. The chemical fusion process continues for up to 24 hours. After a full day, the welded joint reaches its maximum possible strength, which is often stronger than the pipe itself. Testing before this point risks a weak joint failing under stress.
Standard PVC Cement Cure Times at 70°F (21°C)
This table provides a clear guideline for planning your work.
| Pipe Size (Schedule 40) | Set Time (Safe to Handle) | Minimum Cure Time (Light Pressure) | Full Cure Time (Recommended for Test) |
|---|---|---|---|
| 1/2″ – 1″ | 15 minutes | 2 hours | 24 hours |
| 1-1/4″ – 2″ | 30 minutes | 4 hours | 24 hours |
| 2-1/2″ – 8″ | 60 minutes | 6 hours | 48 hours |
Important Note: These are general guidelines for “normal” conditions. “Schedule 40” is the most common wall thickness. Thicker-walled “Schedule 80” pipe may require longer cure times. Always check the instructions on your specific can of cement first.
How Does Temperature and Humidity Affect PVC Glue Drying and Curing Time?
Weather can ruin a perfect installation. I’ve managed projects in cold warehouses and humid tropics, where ignoring the environment led directly to test failures.
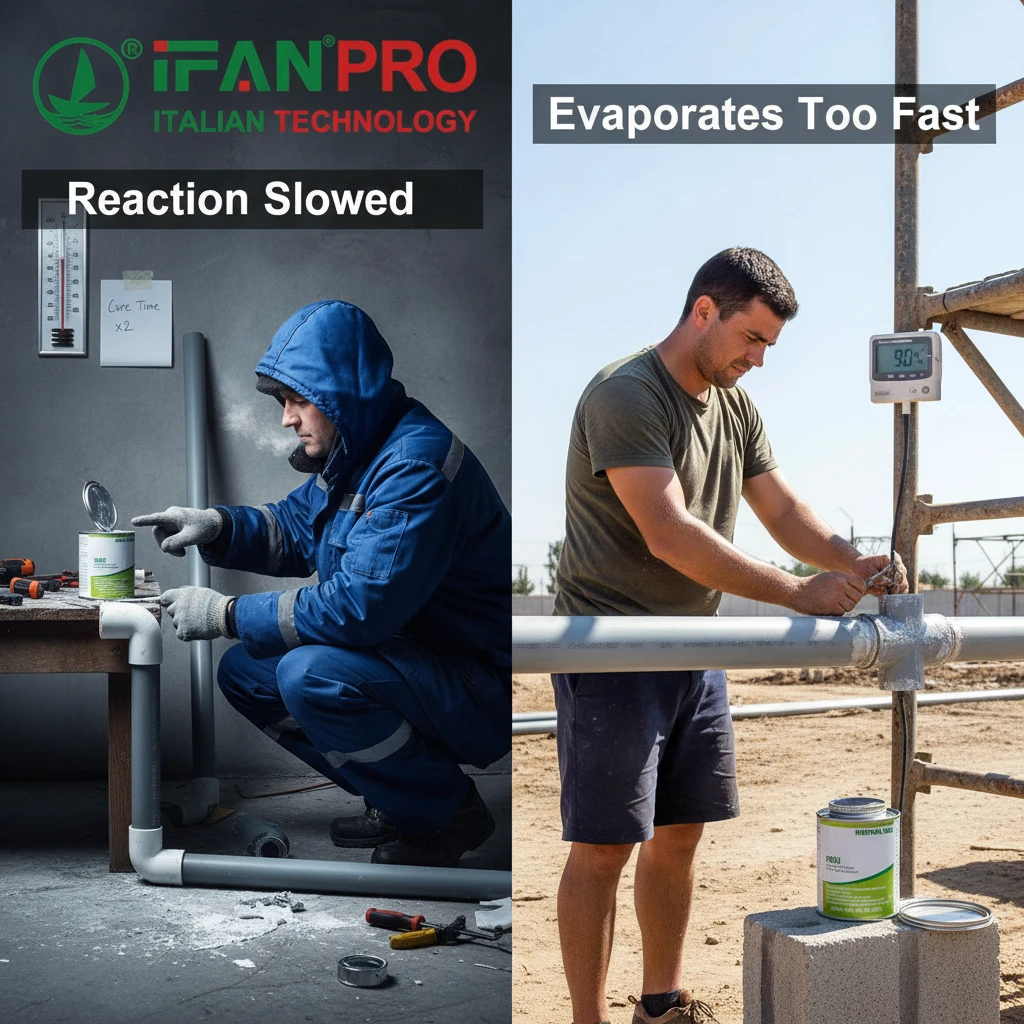
Lower temperatures dramatically slow down the solvent evaporation and chemical curing of PVC glue. High humidity can interfere with the solvent’s ability to soften the PVC properly. For every 10°F (5.5°C) drop below 70°F, you should double the recommended cure time. Hot, dry conditions can speed up surface drying but may trap solvent inside, creating a weak joint.
The Impact of Cold Weather
Cold is the biggest enemy of a good PVC solvent weld. The chemical reaction slows down significantly.
In cold weather (below 40°F/4°C), the solvent evaporates very slowly. The PVC material also becomes harder and less able to be softened by the cement. This can lead to a poor initial bond. Even if the joint feels dry on the outside after an hour, the inside may still be soft and gummy. Pressurizing a system with uncured cement inside is a guaranteed leak.
Practical Advice for Cold Conditions:
- Store pipes and cement in a warm place (above 40°F) for at least 24 hours before use.
- Warm the pipe end and fitting socket gently with a heat gun or warm cloth before applying cement. Do not overheat.
- Double or triple the standard cure times. Be patient. When in doubt, wait overnight or for 48 hours before testing.
The Impact of Hot and Humid Weather
Heat and humidity present different challenges.
High Heat (above 90°F/32°C): The solvent can evaporate too quickly. The surface of the cement may skin over before you can fully assemble the joint, or it may dry so fast that the pipe and fitting don’t have time to properly mesh. This results in a brittle, weak joint.
High Humidity: Moisture in the air can get into the cement can or onto the pipe surfaces. Water prevents the cement from properly softening the PVC. This leads to a grainy, incomplete bond that will likely fail.
Practical Advice for Hot/Humid Conditions:
- Work in the shade if possible.
- Apply and assemble joints quickly after applying cement.
- Keep the cement can lid tightly closed when not in use.
- Wipe pipes clean and ensure they are completely dry before gluing.
Cure Time Adjustment Guide
Use this table to adjust your schedule based on temperature.
| Ambient Temperature | Effect on Cure Time | Recommended Action |
|---|---|---|
| Below 40°F (4°C) | Extreme slowing. Chemical welding may not occur properly. | Avoid gluing if possible. Use heat tents and allow 48-72 hours cure. |
| 40°F – 60°F (4°C – 15°C) | Significantly slower. | Double the standard cure time. Allow a minimum of 24 hours before testing. |
| 60°F – 80°F (15°C – 27°C) | Ideal range. | Follow standard manufacturer cure times (e.g., 24 hours). |
| Above 90°F (32°C) | Surface dries too fast; risk of weak joint. | Work rapidly. Assemble within 30 seconds of applying cement. Consider testing after 12-18 hours. |
What Steps Should You Take to Check if PVC Glue is Fully Cured Before Testing?
Never assume a joint is ready. A simple visual check is not enough. I implement a three-step verification process on every project to prevent callbacks.
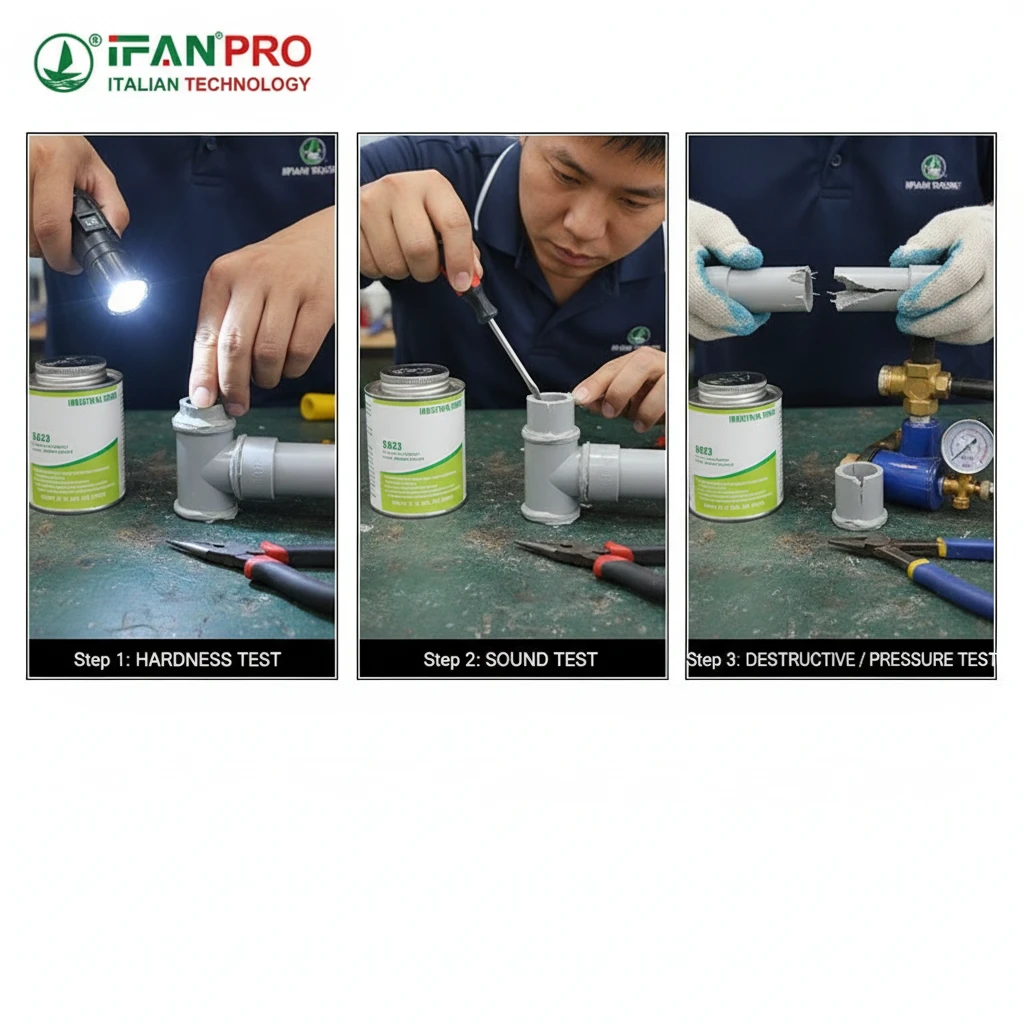
To check if PVC glue is fully cured, first inspect the joint for a smooth, uniform cement bead and no softness. Second, perform a gentle “tap test” – a fully cured joint will sound solid, not hollow. Finally, if possible, pressure test a sample joint from the same batch of materials and conditions before testing the entire system.
Step 1: Visual and Tactile Inspection
Start with a careful look and feel of the joints you have made.
Look for a continuous bead of cement around the mouth of the fitting. This bead should be smooth and uniform, indicating you used the right amount of cement and made a proper quarter-turn. Gaps or bubbles in the bead can signal a problem. Gently press your fingernail into this cement bead. On a fully cured joint (after 24 hours), the bead will be hard and brittle, and will likely flake off. If it feels soft, gummy, or rubbery, the joint is not ready.
Also, check for any sinking or withdrawal of the pipe from the fitting. A small gap can appear if the pipe was not fully seated or if it shrank back slightly before the cement set. This is a red flag and the joint should be cut out and remade.
Step 2: The Sound Test
This is a useful, non-destructive check. Lightly tap the fitting and the pipe near the joint with a small metal tool, like a screwdriver handle.
- A fully cured joint will produce a solid, high-pitched “ping” sound.
- An uncured or poorly bonded joint will produce a duller, more hollow “thud” because the components are not yet fused into a single, rigid unit.
This method takes some experience, but it’s a great quick check, especially on larger diameter pipes.
Step 3: Create a Test Coupon
This is the most reliable method for critical systems or when working in non-ideal conditions.
When you start gluing, use your leftover materials to make an extra joint (a “test coupon”). Use the same pipe, fitting, cement, technique, and work in the same location (so it experiences the same temperature/humidity).
Let this test coupon cure alongside your actual system. Before you pressurize the main line, you can test this coupon.
- Air Test: Cap the ends and put it under low air pressure (e.g., 10-15 PSI) in a bucket of water to check for bubbles.
- Destructive Test: After your planned cure time, try to twist or pull it apart. A properly cured joint will not separate; the pipe or fitting will break elsewhere first.
If the test coupon fails, your main system is likely not ready either.
Pre-Test Checklist
Go through this list before applying any pressure.
| Check | What to Look For | Pass/Fail Action |
|---|---|---|
| Cure Time | Has it been at least 2x the minimum time for your conditions? | Fail: Wait longer. |
| Cement Bead | Is it continuous, smooth, and hard/brittle? | Fail: Joint may be flawed. Mark for observation. |
| Joint Sound | Does tapping produce a solid “ping”? | Fail: Indicates poor fusion. Consider remaking. |
| Sample Coupon | Did a test joint hold pressure or break correctly? | Fail: Entire system needs more cure time. |
Why is Following the Manufacturer’s Schedule Critical for Pressure Test Success?
Ignoring the instructions on the can is the most common and costly error. We specify cure times on our IFAN product sheets for a very simple reason: we tested them.
Following the manufacturer’s schedule is critical because only they know the exact chemical formula of their cement. Their recommended times are based on lab and field tests for creating a reliable, pressure-tight bond. Deviating from their schedule voids any product warranty and turns a scientific process into a guessing game, greatly increasing the risk of joint failure and system leaks.
Cement Formulas Are Not All the Same
A common misconception is that “all PVC glue is the same.” This is false. Different brands and even different product lines (like “fast-set” vs. “heavy-duty”) have different blends of solvents, resins, and additives.
- Fast-Set Cements use stronger, faster-evaporating solvents. They are designed for quick repairs where water needs to be turned back on ASAP. Their cure time to full strength might be shorter, but the window for assembly is also shorter.
- Medium- and Heavy-Bodied Cements are thicker. They fill gaps better on larger pipes or imperfect cuts, but their solvents may evaporate more slowly, requiring longer cure times.
The manufacturer’s instructions are tailored to their specific formula. Using a generic “2-hour rule” with a cement that needs 4 hours is a direct path to failure.
Liability and Warranty Protection
This is a crucial point for professionals. If a glued joint fails and causes property damage, one of the first things investigators will check is whether the installer followed the cement manufacturer’s published instructions.
If you did not follow the stated cure times, temperature ranges, or application methods, you assume full liability. The manufacturer’s warranty will not cover the product failure or any resulting damage. Your insurance may also deny the claim. Following the instructions is your primary defense.
A Real-World Example from IFAN’s Experience
We supplied PVC piping systems for an irrigation project. The installer, behind schedule, decided to pressure test the main lines after only 4 hours in 55°F (13°C) weather. The cement can clearly stated “16-hour cure time at 60°F.”
The result? Multiple joint failures at elbows and tees. The water damage delayed the project by an additional three days for repairs and re-testing. The total cost of the rush job was five times higher than if they had simply waited overnight. We provided the correct product and data sheet; the failure was due to not following the provided schedule.
How to Use the Manufacturer’s Schedule
Don’t just look at one number. A good product data sheet provides a full table.
| Factor | What the Manufacturer Specifies | Why It Matters |
|---|---|---|
| Set Time | Time before joint can be carefully handled. | Ensures you don’t disturb the joint during initial bonding. |
| Cure Time | Time for a pressure-tight bond at specific temperatures. | The minimum time you must wait before testing. |
| Full Cure Time | Time to achieve maximum strength. | The recommended time for a guaranteed reliable system. |
| Temperatura | The safe range for using the product. | Using cement outside this range leads to bond failure. |
| Pipe Preparation | Instructions for cleaning, priming, and application. | Proper surface prep is 50% of a good weld. |
Treat the manufacturer’s instructions as your project bible. It is the single most reliable source of information for success.
Conclusión
Waiting for PVC glue to fully cure is the most important, yet most skipped, step for a leak-free system. For guaranteed performance, use a complete, compatible system. IFAN supplies high-quality PVC pipes, fittings, and recommended solvent cements, with clear technical data to ensure your project’s success.


Comentarios recientes