
I once saw a major project delayed for weeks because of a single, failed coupling. This small part stopped everything, and it taught me just how critical the right coupling is for any piping system.
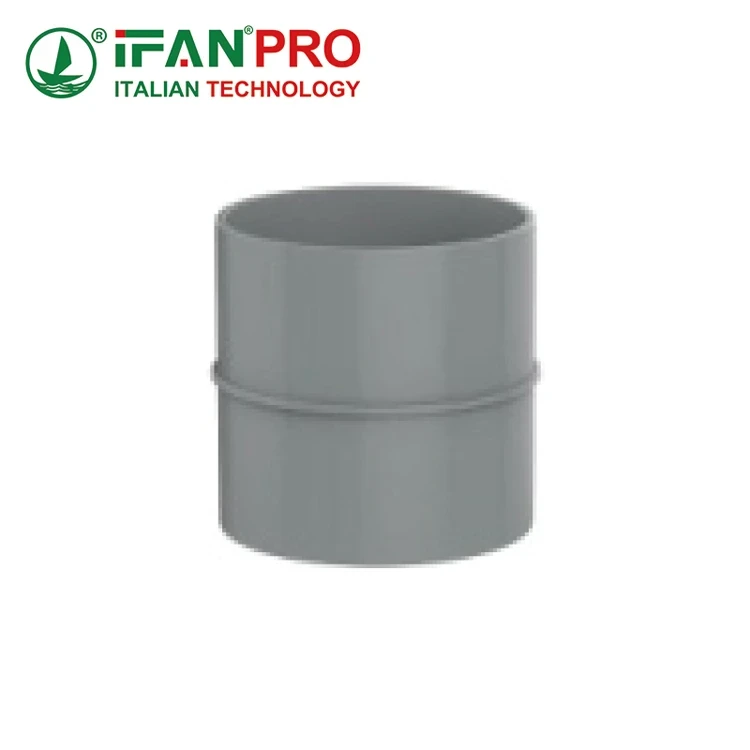
A pipe coupling is a very short pipe or tube fitting. Its purpose is to permanently connect two pieces of pipe in a straight line. The main job of a coupling is to create a secure, leak-proof seal at the joint. This seal ensures that liquids or gases flow through the pipeline without interruption.
While it looks simple, choosing and installing the correct coupling is vital for safety and longevity. Next, let’s break down everything you need to know.
What Are the Main Types of Pipe Couplings Used in Plumbing Systems?
Choosing the wrong type of coupling is a common mistake. Over the years, I have sorted through many options to match the right coupling to the job.
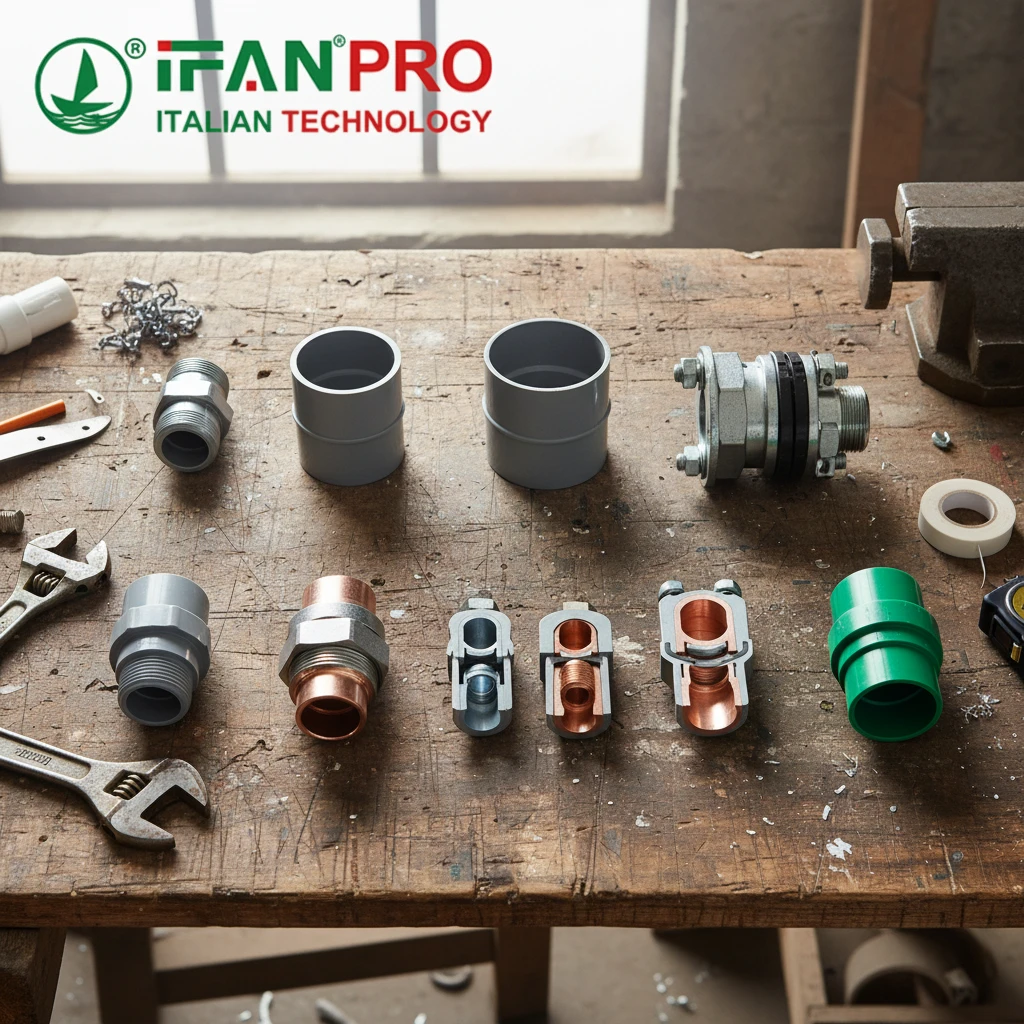
The main types of pipe couplings fall into two groups: permanent and removable. Permanent types include socket-weld, butt-weld, and compression couplings. Removable types include threaded, grooved, and flange couplings. For example, your choice depends on whether you need a permanent seal, the pipe material, and the system pressure.
First, Decide Between Permanent and Removable
Your first and most important decision is whether the connection needs to be permanent. Alternatively, you might need to take it apart later for maintenance or changes.
Permanent couplings last as long as the pipe itself. Therefore, they are ideal for systems where leaks are unacceptable and access is not needed. Here is a look at common permanent types:
- Socket-Weld Couplings: First, you insert the pipe into a recessed socket in the coupling. Then, you weld around the rim. This type is very strong and reliable for high-pressure steel systems.
- Butt-Weld Couplings: You start by preparing the ends of the pipe and the coupling with a bevel. Next, you weld them together around the entire edge. This provides the strongest joint but requires high welding skill.
- Compression Couplings: These use a gripping mechanism, like a ferrule. When you tighten a nut, it bites into the pipe. As a result, they are common for copper and plastic pipes without needing welding.
Removable couplings, also called mechanical couplings, allow for disassembly. In other words, you can take them apart if needed. Here are the main kinds:
- Threaded Couplings: The inside of the coupling has threads. You screw it onto the external threads of the pipe. It’s a common method, but the main risk is leaks without proper sealant.
- Grooved Couplings: These use a rubber gasket that sits in a groove. A housing wraps around the gasket and you fasten it with bolts. Consequently, they are fast to install for large pipes.
- Flange Couplings: You begin by attaching pipes to separate flange plates. After that, you bolt these plates together with a gasket. This is standard for connections you need to open often.
A Quick Guide to Coupling Types
The table below helps you compare the main options easily.
| Coupling Type | Primary Use | Pipe Materials | Key Advantage | Key Disadvantage |
|---|---|---|---|---|
| Socket-Weld | Permanent, high-pressure | Steel, Stainless Steel | Very strong, reliable seal | Needs skilled welding |
| Compression | Permanent, no heat/threads | Copper, Plastic, PEX | Easy installation | May not be as strong as weld |
| Roscado | Removable, general purpose | Steel, Brass, PVC | Simple, low-cost | Can leak if not sealed well |
| Grooved | Removable, large diameter | Steel, Ductile Iron | Very fast installation | Needs a special tool |
| Flange | Removable, equipment connections | All (with adapters) | Easy access, standard | Bulky size |
Understanding these main types is your first step. In fact, it helps avoid problems and ensures your plumbing system works correctly.
How Do You Select the Right Pipe Coupling for Different Pipe Materials?
Matching a coupling to the wrong pipe material can cause failure. For example, I have seen plastic threads crack on metal pipes.
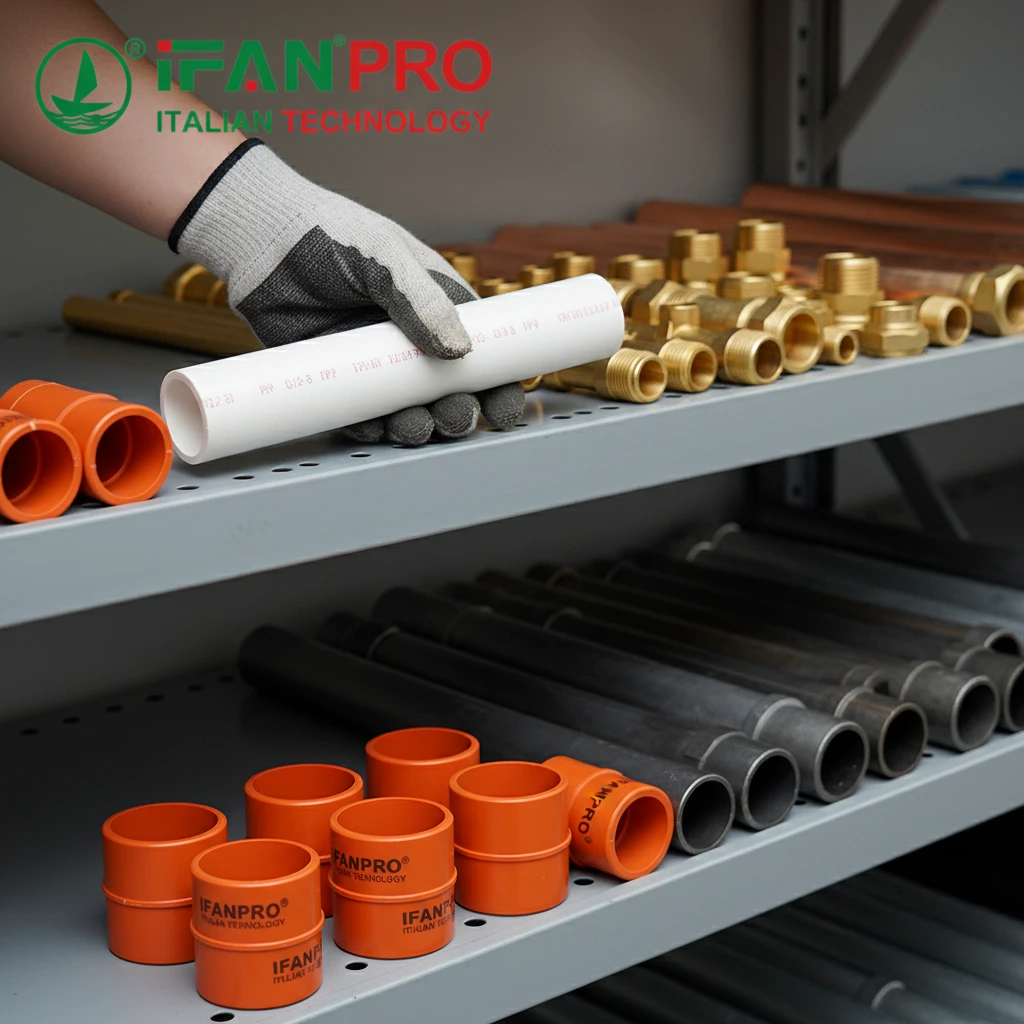
You select the right pipe coupling by first matching it to the pipe material. For instance, use PP-R fusion couplings for PP-R pipe. Next, consider the system’s pressure, temperature, and the fluid inside. Also, decide if the joint is permanent or removable. Always follow the maker’s guide for compatible materials.
The Golden Rule: Material Compatibility
The most important factor is making sure the coupling material works with the pipe. A bad match can cause corrosion or breakage. Let’s look at common pairings.
- Plastic Pipes (PP-R, PVC, CPVC): You must use couplings made of the same plastic. For PP-R, use a PP-R coupling joined by heat fusion welding. This makes a single, leak-proof piece. However, using a metal coupling on plastic can crack it.
- Copper Pipes: Common choices are soldered fittings, compression fittings, or push-to-connect fittings. Usually, the coupling is brass, which works well with copper.
- Steel Pipes: Options include threaded steel couplings, socket-weld couplings, and grooved couplings. Generally, the coupling should match the pipe grade.
Other Key Selection Factors
After material, check these system conditions. This careful check helps you avoid future issues.
- Pressure and Temperature: Every coupling has a maximum pressure and heat rating. Therefore, your system must stay below these ratings. For example, a cold water coupling may not handle hot heating lines.
- What’s Inside the Pipe: What is flowing through it? Is it water, chemicals, or gas? Specifically, the coupling’s material and seal must resist that substance. Standard rubber may not work for fuel.
- Permanent or Removable: Decide if this joint will ever need to open. Buried lines need permanent joints. Conversely, pump connections for service need flanged couplings.
- Installation Skill and Space: Do you have a welder? If not, skip welded types. Also, is space tight? A large flange might not fit. Therefore, think about your tools and space.
Coupling Selection Checklist
Use this simple guide when choosing. It makes the process easier.
| Factor | Question to Ask | Example Decision |
|---|---|---|
| Pipe Material | What is the pipe made of? | PP-R pipe → PP-R fusion coupling. |
| System Function | Is it for water, chemicals, gas? | Drinking water → Use certified couplings. |
| Pressure/Temp | What is the max PSI and heat? | High-pressure steam → Use steel butt-weld. |
| Joint Type | Does it need to come apart later? | Future valve work → Use a flange. |
| Installation | What tools do you have? | No welder → Choose a threaded type. |
By checking these factors step-by-step, you make a smart choice. In the end, this keeps your system strong and reliable.
What Steps Ensure a Proper and Leak-Free Pipe Coupling Installation?
A perfect coupling can still leak with poor installation. From years of quality control, I follow strict steps.
To ensure a proper installation, follow these steps: First, cut the pipe square and clean the edges. Second, clean all surfaces well. Third, apply the right sealant or primer. Fourth, make the connection straight and aligned. Finally, allow proper cure time before using the system.
The Universal Preparation Steps
Most success comes from preparation. In fact, rushing this often causes leaks. Let’s start with the basics.
Step 1: Measure and Cut Correctly. You must cut the pipe end perfectly square (90 degrees). A crooked cut leaves a gap. Always use a proper pipe cutter, not a regular saw.
Step 2: Clean and Smooth. After cutting, remove all rough edges (burrs). A burr inside slows flow. Also, a burr outside can damage a seal. So, use a deburring tool. Then, clean the pipe end and coupling of all dirt and oil.
Steps for Specific Connection Types
Now, follow the right method for your coupling. Each type has its own needs.
For Threaded Couplings:
- First, apply pipe thread sealant correctly. For tape, wrap it clockwise 2-3 times.
- Next, screw the pipes in by hand first. This prevents cross-threading.
- Finally, tighten with a wrench, but do not overtighten. Usually, go 2-3 turns past hand-tight.
For Soldered (Sweat) Couplings:
- After cleaning, apply a thin layer of flux.
- Then, assemble and twist slightly to spread the flux.
- Heat the fitting evenly until solder flows in. Finally, let it cool without moving.
For Plastic Solvent-Weld Couplings:
- First, apply primer if needed.
- Then, apply solvent cement to both parts.
- Insert the pipe with a small twist. Hold it briefly. Most importantly, let it cure for hours before testing.
For PP-R Fusion Welding:
- Start by using a fusion welder at the right temperature.
- Then, clamp the pipe and fitting in the heater.
- Heat for the exact time, then join with steady pressure. Finally, hold until cool.
Final Alignment and Testing
Step 5: Check Alignment. Before the joint sets, make sure the pipe is straight. Otherwise, a crooked coupling under stress will leak later.
Step 6: Allow Cure Time. This step is crucial. In particular, a glued joint needs time to fully cure. So, if you pressurize it too early, it will leak. Always follow the maker’s time instructions.
In short, careful, step-by-step work turns installation from a risk into a guarantee.
How Can You Troubleshoot Common Issues with Pipe Coupling Connections?
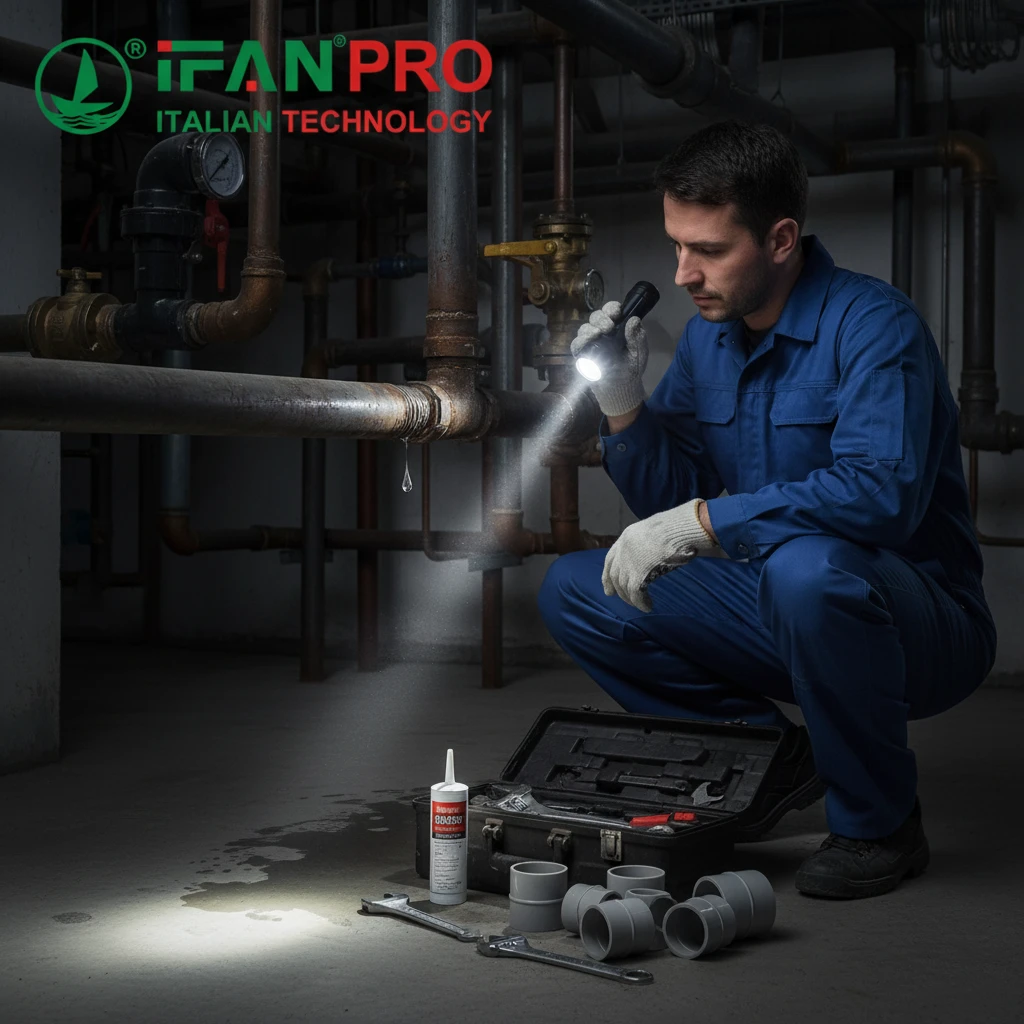
Even with good installation, issues can happen. Based on solving many field problems, here is a simple guide.
To troubleshoot, first identify the symptom: a leak, vibration, or break. For leaks, check for poor installation, wrong sealant, or over-tightening. For other issues, consider water hammer, heat expansion, or the wrong coupling type for the job’s stress.
Finding and Fixing Leaks
A leak is the most common problem. However, the fix depends on where it is. Let’s go through some cases.
Leak at a Threaded Joint:
- Symptom: Dripping from the threads.
- Likely Cause: Not enough sealant, or under-tightening.
- Fix: First, turn off the pressure. Then, unscrew the joint and clean off old sealant. Next, apply fresh sealant and re-tighten. However, if the fitting is cracked, replace the whole coupling.
Leak at a Soldered Joint:
- Symptom: A small pin-hole leak.
- Likely Cause: The joint was moved before it cooled, or it was dirty.
- Fix: First, drain the line. Then, heat and remove all old solder. After that, clean well, re-flux, and re-solder.
Leak at a Compression Joint:
- Symptom: Dripping from the nut.
- Likely Cause: The pipe wasn’t pushed in all the way, or a burr cut the seal.
- Fix: First, depressurize and take it apart. Then, check the pipe end. Next, replace the seal if damaged. Finally, reassemble correctly.
Solving Other Common Problems
Other issues point to design or selection errors. Let’s look at two frequent ones.
Too Much Vibration:
- Symptom: The pipe shakes or hums.
- Likely Cause: Not enough pipe supports, or water hammer.
- Fix: First, add pipe clamps or hangers. Also, install water hammer arrestors if noise happens when valves shut fast.
Cracked Coupling or Pipe:
- Symptom: A visible crack, often in plastic.
- Likely Cause: Stress. This can be from over-tightening, bent pipes, or heat expansion.
- Fix: First, replace the broken part. Then, straighten the piping. For example, for hot plastic pipes, add expansion loops.
Troubleshooting Simple Guide
Follow this logic to find problems quickly.
| Symptom | First Check | Probable Cause | Action |
|---|---|---|---|
| Leak at Threads | Is it hand-tight? | Lack of sealant | Reapply sealant & tighten. |
| Leak at Solder | Was the pipe wet? | Poor prep / moved joint | Drain, clean, re-solder. |
| Leak Won’t Stop | Is there a crack? | Bad part or stress | Replace the coupling. |
| Pipe Moves | Enough hangers? | Weak support | Add pipe supports. |
| Loud Bangs | Valves shut fast? | Water hammer | Install arrestors. |
In summary, good troubleshooting saves time. Moreover, it stops small issues from becoming big failures.
Conclusión
A pipe coupling is a small part with a big job. Choosing correctly, installing carefully, and fixing issues are key. For top-quality, reliable couplings for any project, trust the full range from IFAN.


Comentarios recientes