
Learning how to cut PVC pipe is the difference between a joint that seals for decades and one that weeps within a season. A cut that runs even a few degrees off square, or one left ringed with plastic burrs, robs the solvent-weld socket of the even contact it needs. The pipe bottoms out crooked, cement skips over the burr, and the bond fails where you can’t see it.
This guide matches the right tool to the pipe diameter in front of you, walks four proven cutting methods step by step, and covers the deburring that short DIY posts wave past. Get the cut square and clean, then move on to how to solvent-weld the joint afterward. The two steps are inseparable: a bad cut cannot be rescued by good cement.
Key Takeaways
- Match the tool to the diameter: ratcheting cutter under 1″, scissor-style cutter for 1″–2″, and a saw with a miter box or power saw above 2″.
- Mark the cut line all the way around the pipe, not just one spot, so you can track squareness as you cut.
- A crooked or burred cut is the leading hidden cause of solvent-weld leaks; the joint looks fine but seats unevenly.
- Always deburr inside and out, then add a slight chamfer so the fitting seats and cement pushes ahead of the pipe.
- A dull blade melts and grabs PVC; a sharp blade and steady feed give the cleanest edge.
- Ratcheting cutters are fastest and cleanest on small pipe but can crack cold or brittle Schedule 80 if forced.
This guide is part of our complete guide to PVC pipe and fittings — start there for the full PVC system overview.
What You Need for a Clean, Square Cut
A solvent-weld joint works because the pipe end and the fitting socket meet across their full surface, and the cement chemically fuses them. That contact depends on two things you control at the cut: squareness and a burr-free edge. Cut the pipe 3 degrees off square and one side of the pipe bottoms out in the socket while the other leaves a gap. Cement floods the gap unevenly, and you get a joint that passes the eye test but fails under pressure weeks later.
Burrs are the second saboteur. A ridge of plastic left inside the pipe scrapes cement off the socket as the pipe slides home, starving the far end of the joint. An outside burr can wedge against the socket shoulder and stop the pipe from seating fully. Neither is visible once the joint is together.
Field rule: mark your cut line all the way around the pipe, not as a single tick on top. Wrap a strip of paper or a hose clamp around the pipe as a guide, trace the edge, and you get a perfectly perpendicular reference line. Cutting to a line you can see on all sides is how you catch drift before it becomes a bad cut.
Have these on the bench before you start: the cutting tool sized to your pipe, a marker, a wrap-around guide, a deburring tool or utility knife, and clean rags. If you are working across pressure-rated pipe like Schedule 40 versus Schedule 80, remember the heavier wall of Sch 80 takes more effort per cut and is less forgiving of a ratchet forced through in one squeeze.
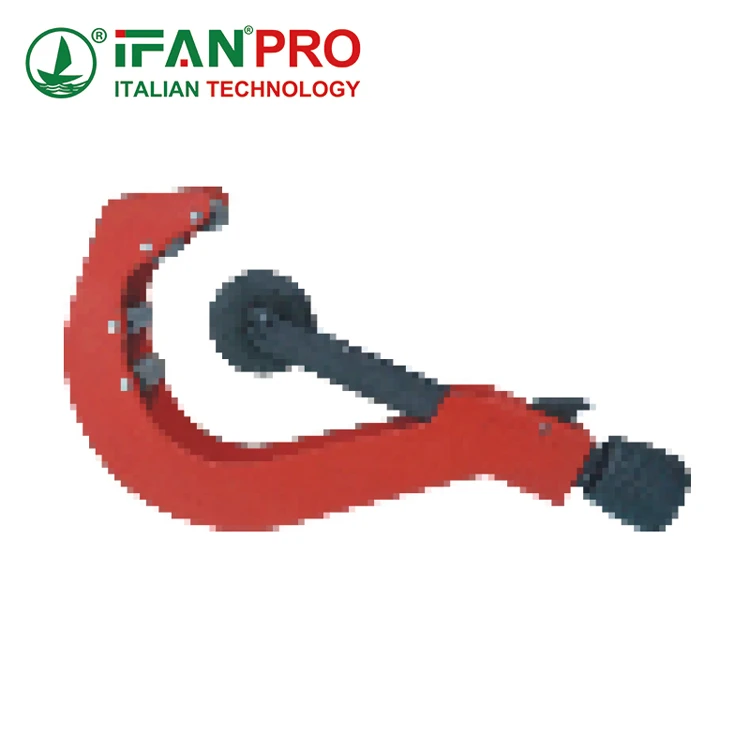
The Tools, by Pipe Size
Diameter drives the choice more than anything else. A ratcheting cutter that glides through half-inch pipe will stall and crush two-inch pipe. A power saw that squares off four-inch mains will crack thin small-bore pipe if you rush it. The table below pairs each common tool with the pipe size it handles best.
| Tool | Best Pipe Size | Cut Quality | Notes |
|---|---|---|---|
| Ratcheting PVC cutter | Under 1″ (up to ~1-1/4″) | Very clean, near burr-free | Fastest for small pipe; can crack cold or brittle Sch 80 if forced |
| Scissor / plastic tube cutter | 1″ to 2″ | Clean if blade is sharp | Needs hand strength; a dull blade compresses instead of slicing |
| Hacksaw + miter box | Any size, best 1/2″ to 3″ | Good; leaves burrs to remove | The box guarantees square; 18–32 TPI blade cuts smoothest |
| Wheel / rotary tube cutter | 1/2″ to 2″ | Very square, slight inner ridge | Rotate around pipe; needs clear space to spin the tool |
| Power miter / reciprocating saw | Over 2″ (2″ to 6″+) | Fast, square with a jig | Use a fine blade; too many teeth or high speed melts the edge |
One tool is not enough for a mixed job. A remodel that runs 1/2″ supply lines, 2″ drains, and a 4″ main wants a ratchet cutter, a miter box, and a power saw on the truck. Choosing by feel wastes edges and produces exactly the crooked cuts that ruin joints. Once your fittings are cut and dry-fit, review the types of PVC fittings you’ll be welding so socket depths and stops match your pipe ends.
Method 1–4: Step by Step
Each method below assumes you have already marked a cut line around the full pipe. The steps are short on purpose; the discipline is in keeping the cut square, not in the number of moves.
Method 1: Ratcheting Cutter (small pipe)
- Open the jaws and seat the pipe with the blade landing on your marked line.
- Square the tool to the pipe by eye, keeping the blade perpendicular to the run.
- Squeeze in short ratcheting strokes. Do not force it in one crush; let the ratchet advance the blade.
- On cold or Schedule 80 pipe, warm it in your hands first or switch to a saw to avoid cracking.
Method 2: Hand Saw + Miter Box (any size)
- Set the pipe in the miter box with your mark aligned to the 90-degree slot.
- Hold the pipe firmly so it cannot roll, and start the cut with light back-strokes.
- Use a fine-tooth blade, 18 to 32 TPI, and let the saw do the work at moderate speed.
- Finish with a light hand near the end so the last bit doesn’t tear a lip.
Method 3: Wheel / Rotary Cutter (medium pipe)
- Clamp the cutter around the pipe with the wheel on your line.
- Rotate the tool a full turn, then tighten the wheel a small amount.
- Repeat the rotate-and-tighten cycle until the wheel cuts through.
- Expect a small inner ridge from the wheel; plan to deburr it before assembly.
Method 4: Power Saw (large pipe)
- Clamp the pipe in a cradle or vise; never cut large pipe freehand off the ground.
- Use a fine blade and moderate speed. Too much RPM melts and smears the edge.
- Follow the full-circle line, letting the blade feed rather than pushing hard.
- Wear eye protection and a dust mask; PVC swarf is fine and clingy.
Cut Methods Compared
Speed and squareness pull against each other. The fastest tool for a size is rarely the squarest, and the squarest can be slow. Pick by what the joint demands: a pressure line under a slab wants squareness first, while a temporary conduit run can trade some precision for pace.
| Method | Speed | Squareness | Best For |
|---|---|---|---|
| Ratcheting cutter | Fast | High (jaw guides it) | High-volume small pipe |
| Hand saw + miter box | Moderate | Very high (box controls angle) | Precision cuts, any size |
| Wheel / rotary cutter | Moderate | High | Tight spots, in-place cuts |
| Power saw (with jig) | Very fast | Good, jig-dependent | Large pipe and mains |
The miter box wins on squareness for a reason: it removes human aim from the equation. If you cut only a handful of joints a year, a saw and a cheap plastic miter box will out-perform an expensive tool used with a shaky hand.
Deburring & Chamfering (Don’t Skip This)
Every cut leaves burrs, even the clean ones. Run a deburring tool, a utility knife, or fine sandpaper around both the inside and outside edges until they are smooth to a fingernail. Skipping this is the mistake that separates a joint that holds from one that seeps.
Insider warning: an inside burr does two bad things at once. It restricts flow, creating turbulence and pressure loss that adds up across a long run, and it scrapes solvent cement off the socket wall as the pipe slides in. That scraped-off cement piles up at the burr instead of bonding the far end of the joint. A 30-second deburr prevents a leak you’d otherwise chase for hours.
Add a slight bevel, roughly 10 to 15 degrees, on the outside edge of the pipe. This chamfer does real work: it lets the pipe start into the socket without shaving the fitting, and it pushes a wave of cement ahead of the pipe as it seats, filling the joint evenly. Manufacturers of factory-beveled pipe do this for the same reason, and the practice is echoed across the plastic pipe standards published by the Plastics Pipe Institute. When you join PVC to other systems, this clean edge matters even more; see the best methods for joining pipes of different materials.
Common Mistakes
Most bad cuts trace back to four habits. Fix these and your joint failure rate drops sharply.
- Letting the pipe roll. A pipe that shifts mid-cut spirals the line. Clamp it, brace it against a stop, or use a miter box so it cannot move.
- Using a dull blade. A worn edge doesn’t slice PVC, it heats and grabs it, leaving a melted, ragged rim. Replace blades before they force you to push.
- Cutting freehand to a single mark. Aiming at one tick on top guarantees an angle you won’t notice until the joint won’t seat. Mark the full circumference.
- Skipping the deburr. The most common cause of a hidden solvent-weld leak. Thirty seconds of cleanup saves a re-cut and re-glue.
A fifth, quieter mistake is measuring wrong. Account for socket depth: the pipe seats into the fitting, so measure to the socket bottom, not the fitting face, or your run comes up short by the depth of every joint.
What We Check on PVC Before It Ships
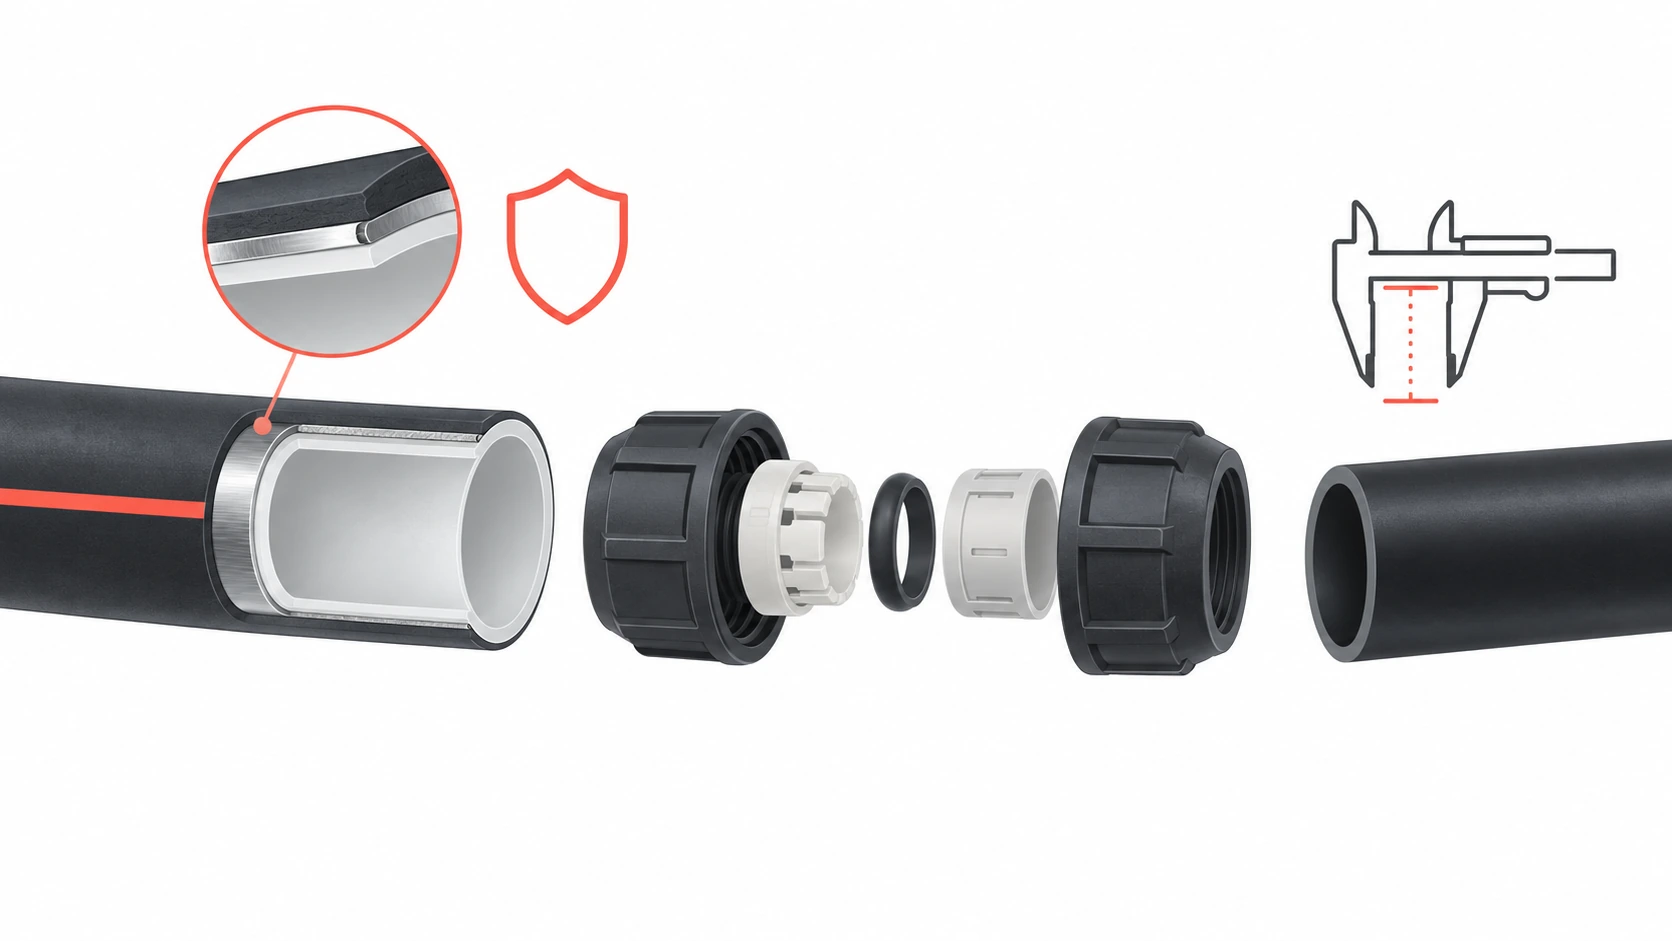
A square cut starts with round, consistent pipe. If the wall thickness wanders or the pipe is out of round, no tool holds a true 90 for you. We build to that reality on the factory floor.
On every PVC production run, we verify outside diameter and wall thickness against the dimensional tolerances of the applicable standard, including the requirements set out in ASTM D1785 for pressure pipe. We check roundness so the pipe seats evenly in cutters and sockets, and we monitor extrusion so wall thickness stays uniform down the length. Uniform wall is what keeps your cut square and your ratchet cutter from crushing one side before the other.
The base resin matters too. Our compounds meet the property requirements behind rigid polyvinyl chloride pressure pipe, and our lines carry ISO 9001, CE, WRAS and NSF/IAPMO certifications. Consistent material plus consistent geometry is why pipe from a controlled process cuts and welds cleaner than off-spec stock.
Conclusion
Knowing how to cut PVC pipe well comes down to three moves: match the tool to the diameter, cut to a line marked all the way around, and deburr plus chamfer every end before it touches cement. A ratchet cutter for small pipe, a miter box for precision, and a power saw for mains will cover almost any job on the truck.
Get the cut square and clean, and the hard part is behind you. Next, walk through the solvent-weld itself so your prepared ends turn into joints that outlast the building.
Frequently Asked Questions
What is the best tool to cut PVC pipe?
It depends on size. A ratcheting cutter is best under 1 inch, a scissor cutter suits 1 to 2 inch, and a hand saw with a miter box or a power saw handles pipe over 2 inches squarely.
Do I really need to deburr PVC pipe after cutting?
Yes. Inside burrs restrict flow and scrape cement off the socket, causing hidden leaks. Outside burrs stop the pipe from seating. A 30-second deburr and a light chamfer prevent both problems.
How do I cut PVC pipe perfectly straight without a miter box?
Wrap a strip of paper or a hose clamp squarely around the pipe and trace its edge for a perpendicular line all the way around. Cut to that line, checking squareness on every side as you go.
Can I cut PVC pipe with a regular hacksaw?
Yes. A hacksaw with a fine 18 to 32 TPI blade cuts PVC well, especially in a miter box for squareness. Just plan to deburr the edge, since a saw always leaves burrs behind.
Why does my PVC cutter crack the pipe?
Ratchet cutters can crack cold, brittle, or thick Schedule 80 pipe when forced in one squeeze. Warm the pipe, advance the blade in short ratchet strokes, or switch to a saw for heavy-wall pipe.










 Français
  English
  Русский
  Español
Commentaires récents