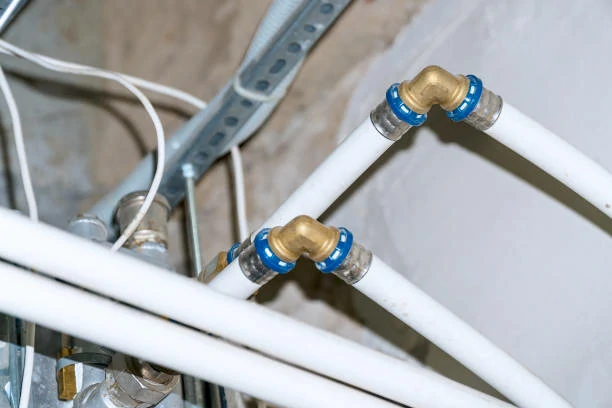
Transitioning from copper to PEX plumbing offers numerous benefits, including flexibility, ease of installation, and resistance to corrosion. This guide provides a step-by-step process for successfully transitioning from copper to PEX plumbing in your home.
Benefits of PEX Plumbing
Flexibility PEX pipes can bend around corners, reducing the need for fittings and connectors. This flexibility simplifies installation and reduces potential leak points.
Resistance to Corrosion Unlike copper pipes, PEX does not corrode over time. This resistance to corrosion extends the lifespan of your plumbing system.
Ease of Installation PEX pipes are lighter and easier to handle compared to copper pipes. The installation process requires fewer tools and less labor.
Gathering Tools and Materials
Tools
- Pipe cutter or hacksaw (for copper pipes)
- PEX pipe cutter
- Crimping tool or cinch tool
- Deburring tool
- Adjustable wrench
Materials
- PEX pipes
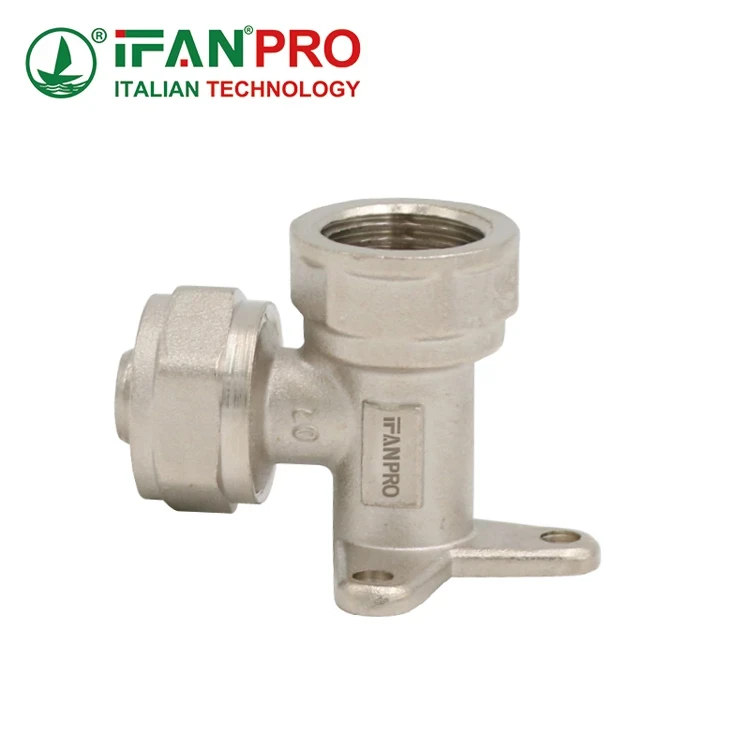
- Copper-to-PEX transition fittings (push-fit, crimp, or compression)
- PEX fittings (couplings, elbows, tees)
- Crimp rings or cinch clamps
Preparing for the Transition
Turn Off the Water Supply Before starting any plumbing work, turn off the main water supply. Open a faucet to drain any remaining water from the pipes.
Measure and Plan Measure the length of the copper pipes you plan to replace. Plan the layout for the PEX pipes, taking advantage of their flexibility to minimize the number of fittings needed.
Cutting and Removing Copper Pipes
Cut the Copper Pipes Use a pipe cutter or hacksaw to cut the copper pipes at the desired transition points. Make clean, straight cuts to ensure a proper fit for the transition fittings.
Deburr the Pipe Ends Use a deburring tool to smooth the cut ends of the copper pipes. This step helps prevent damage to the transition fittings and ensures a secure connection.
Installing Transition Fittings
Choose the Right Transition Fittings Select the appropriate transition fittings for your project. Push-fit fittings offer the easiest installation, while crimp and compression fittings provide secure connections.
Attach the Transition Fittings Push-fit: Push the fitting onto the end of the copper pipe until it clicks into place. Push the PEX pipe into the other end of the fitting. Crimp: Slide a crimp ring onto the PEX pipe, insert the fitting, and use a crimping tool to secure the ring. Compression: Slide the compression nut and ring onto the PEX pipe, insert the fitting, and tighten the nut with an adjustable wrench.
Installing PEX Pipes
Measure and Cut PEX Pipes Measure the length of PEX pipe needed to replace the copper section. Use a PEX pipe cutter to make clean, straight cuts.
Deburr the Pipe Ends Use a deburring tool to smooth the cut ends of the PEX pipe. This step ensures a secure connection with the fittings.
Slide Crimp Rings or Cinch Clamps onto the Pipe Slide a crimp ring or cinch clamp onto each end of the PEX pipe. Position them about an inch from the ends.
Insert the PEX Fittings Insert a PEX fitting (coupling, elbow, or tee) into each end of the PEX pipe. Push the fittings in until they bottom out against the pipe.
Crimp or Cinch the Connections Use a PEX crimping tool or cinch tool to secure the crimp rings or cinch clamps around the pipe and fittings. Ensure the tool is properly calibrated and the rings or clamps are evenly tightened.
Testing the New Plumbing System
Turn On the Water Supply Slowly turn the water supply back on. Check the new connections for any signs of leaks.
Inspect the Connections Inspect each connection carefully to ensure they are secure and leak-free. Tighten any connections if necessary.
Monitor for Leaks Monitor the new plumbing system for a few hours to ensure the transition holds. If any leaks occur, turn off the water supply and repeat the repair process.
Tips for a Successful Transition
Proper Installation Ensure proper installation techniques when working with PEX pipes. Avoid over-tightening fittings, which can cause damage and leaks.
Avoid Kinking the Pipe Avoid kinking the PEX pipe during installation. Kinks can weaken the pipe and lead to leaks over time. Use pipe supports and brackets to maintain proper alignment.
Use Quality Materials Use high-quality PEX pipes and fittings to ensure durability and longevity. Inferior materials can increase the risk of leaks and other plumbing issues.
Regular Maintenance Perform regular maintenance checks on your plumbing system. Inspect for signs of wear and tear, and address any issues promptly.
Protect Against Freezing Protect PEX pipes from freezing temperatures, as frozen water can expand and cause the pipes to burst. Insulate pipes in unheated areas and keep the indoor temperature above freezing.
Conclusion
Transitioning from copper to PEX plumbing involves careful planning, proper preparation, and precise installation of new pipes and fittings. Following these steps ensures a durable and leak-free transition. Regular maintenance and preventive measures can help minimize the risk of future leaks, ensuring the longevity and reliability of your PEX plumbing system.
Connect
IFAN is a Chinese manufacturer of plastic pipes, fittings and valves with 30 years of experience. If you are interest in IFAN copper fittings, copper valves, plastic pipes and fittings, please contact us. IFAN offers you a variety of standard pipes to meet your specific needs. Click below to learn more about IFAN’s wide range of affordable and cost-effective valve products and piping system related products.
We will reply your email or fax within 24 hours.
You can call us at any time if there is any question on our production.
For more information,pls visit our webside https://ifanpro.com/
Pls Mailto: [email protected]
Whatsapp: + 86 19857948982


Recent Comments