
I once had to cut open a finished wall to replace a small valve, a costly and messy lesson. That job taught me the real value of planning for future access with union fittings.
To install a PEX union elbow for service access, strategically place it near appliances and valves, ensure sufficient clearance to turn the union nuts, and follow a precise installation sequence. Most importantly, always install unions in completely accessible locations, never behind sealed walls or floors, so you can disconnect and reconnect the system without demolition.
Planning for future repairs isn’t just smart; it’s professional. Next, let’s walk through how to do this correctly.
Where in the Pipeline Should Union Elbows Be Strategically Placed?
Placing a union randomly is almost as bad as not using one. Strategic placement is what makes it a service tool, not just another fitting.
Install union elbows at key service points: just before and after appliances (water heaters, washing machines), on both sides of main shut-off valves and pressure regulators, and at the connection points to complex fixtures or manifold systems. This creates logical, modular sections that can be isolated and removed.

Creating Serviceable Zones
The goal is to break your plumbing system into manageable sections. Think of it like a train. Unions are the couplers that let you remove one car without disturbing the whole train.
First, always flank appliances. Install a union elbow on the hot and cold lines leading into your water heater. When the heater needs replacement, you simply close the valves, loosen the four union nuts (two hot, two cold), and the heater is free. The same applies to washing machine shut-off boxes or dishwasher connections.
Second, bracket important valves. Put a union on the inlet and outlet sides of your main whole-house shut-off valve or a pressure reducing valve (PRV). If the valve itself fails, you can replace it easily without cutting the main line.
Third, use them at system interfaces. Where a complex fixture (like a shower valve) or a home-run manifold ties into the main trunk lines, a union allows you to detach that branch for servicing.
Common Placement Mistakes to Avoid
A major pain point we see at IFAN is unions buried in the middle of long, straight runs. This doesn’t create a logical service point. Another mistake is placing it so close to a wall or joist that the nut can’t be turned, rendering the union useless.
The table below summarizes the ideal and poor placement strategies:
| Strategic Placement Location | Purpose & Benefit | Common Mistake to Avoid |
|---|---|---|
| Before/After Water Heater | Allows easy appliance replacement. | Installing too close, leaving no room for the heater to slide out. |
| Both Sides of Main Shut-Off Valve | Enables valve repair/replacement. | Putting the union more than 12 inches away, forcing repair of a long section. |
| At Fixture Manifold Connections | Isolates a single bathroom or kitchen branch. | Placing unions inside the manifold cabinet where they are cramped. |
| At the Point of Entry to a Complex Fixture | Lets you remove a shower valve cartridge assembly. | Hiding the union directly behind the fixture trim plate with no access panel. |
By planning these zones, you turn a permanent system into a serviceable one, saving future time, money, and frustration.
How Much Clearance is Needed to Operate the Union Nut in the Future?
Forgetting about tool clearance is the number one reason why a “serviceable” fitting becomes inaccessible. The space you leave today defines the ease of service tomorrow.
You need a minimum clearance equal to the length of a standard wrench (usually 8-10 inches or 20-25 cm) in front of the union nut, plus enough space around it for your hand to turn the wrench. For tight spaces, plan for a specialized tool like a basin wrench or socket set, which may require different clearance.
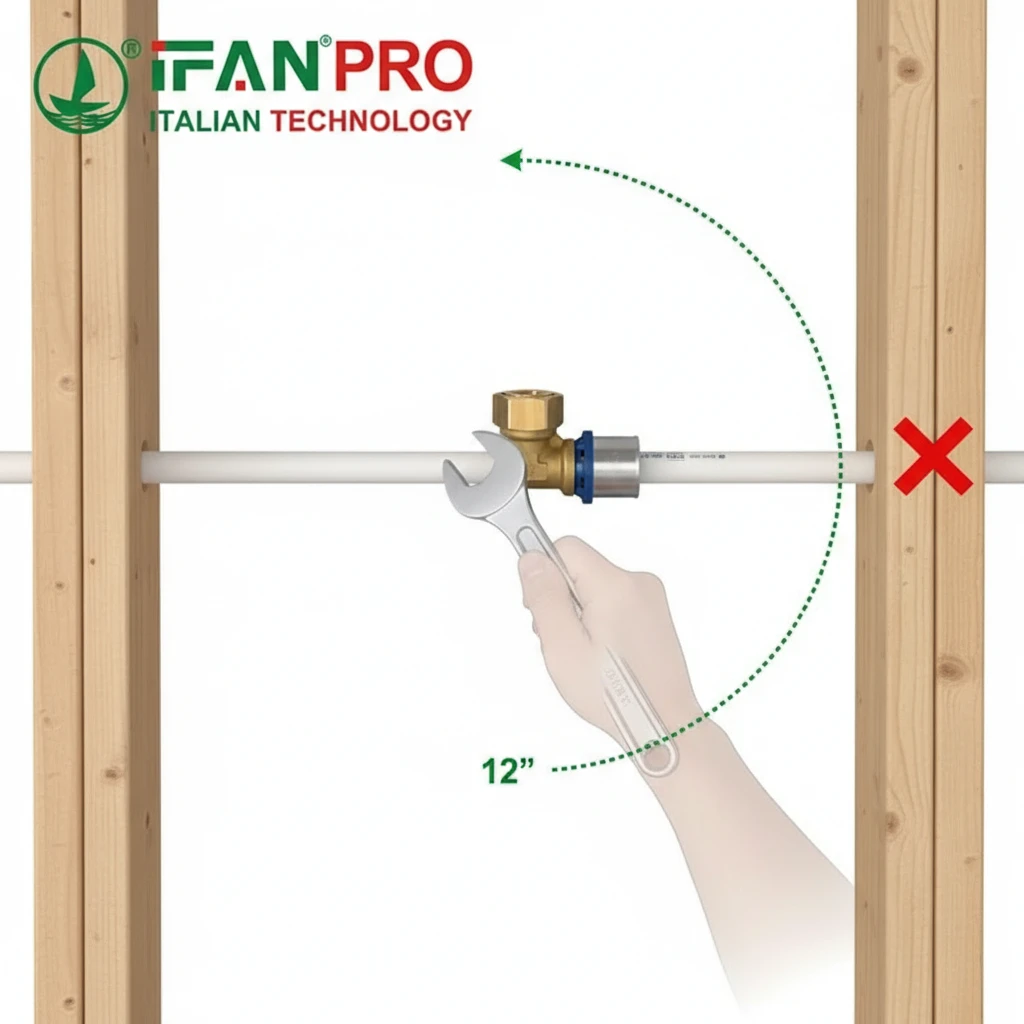
The Rule of Thumb: The “Wrench Swing” Test
Before you secure the final pipe clamps, perform this test. Take the wrench you will likely use in the future (an adjustable wrench or a dedicated union wrench) and pretend to loosen the nut. Swing the wrench handle through its full arc. Ask yourself:
- Does the wrench hit a wall, floor joist, or another pipe?
- Can your hand fit in the space to grip the wrench?
- Can you get enough leverage to break the nut free if it’s slightly stuck?
If the answer to any of these is “no,” you do not have enough clearance. Therefore, you should reposition the fitting or adjust the pipe routing.
Clearance Guidelines for Different Settings
The required space varies depending on the installation environment.
1. Open Basement or Utility Room:
This is ideal. Provide at least 12 inches (30 cm) of clear space in front of the union. This allows for easy work with any tool.
2. Between Joists in a Crawlspace:
This is a common tight spot. If the union is oriented vertically, ensure there is enough vertical height above and below the nut for a wrench to sit on it and turn. This often requires at least 6-8 inches (15-20 cm) of vertical open space. Sometimes, orienting the union horizontally provides better access from the side.
3. Behind an Access Panel:
If the union is behind a panel (for a shower or sink), the panel itself must be large enough. The critical measurement is not the panel size, but the “working depth” from the panel opening to the union nut. There must be enough depth for your hand and the wrench to enter and operate. A shallow cavity is useless.
Tool-Specific Space Considerations
The tool you use changes the space needed:
- Standard Adjustable Wrench: Needs the most swing space.
- Basin Wrench: Designed for tight spots; needs vertical clearance more than horizontal swing.
- Socket Wrench with Extension: Needs straight-line access from the front but minimal side swing.
Always assume the future service person will have basic tools, not specialized ones. Ultimately, you should design for the most common tool—the adjustable wrench.
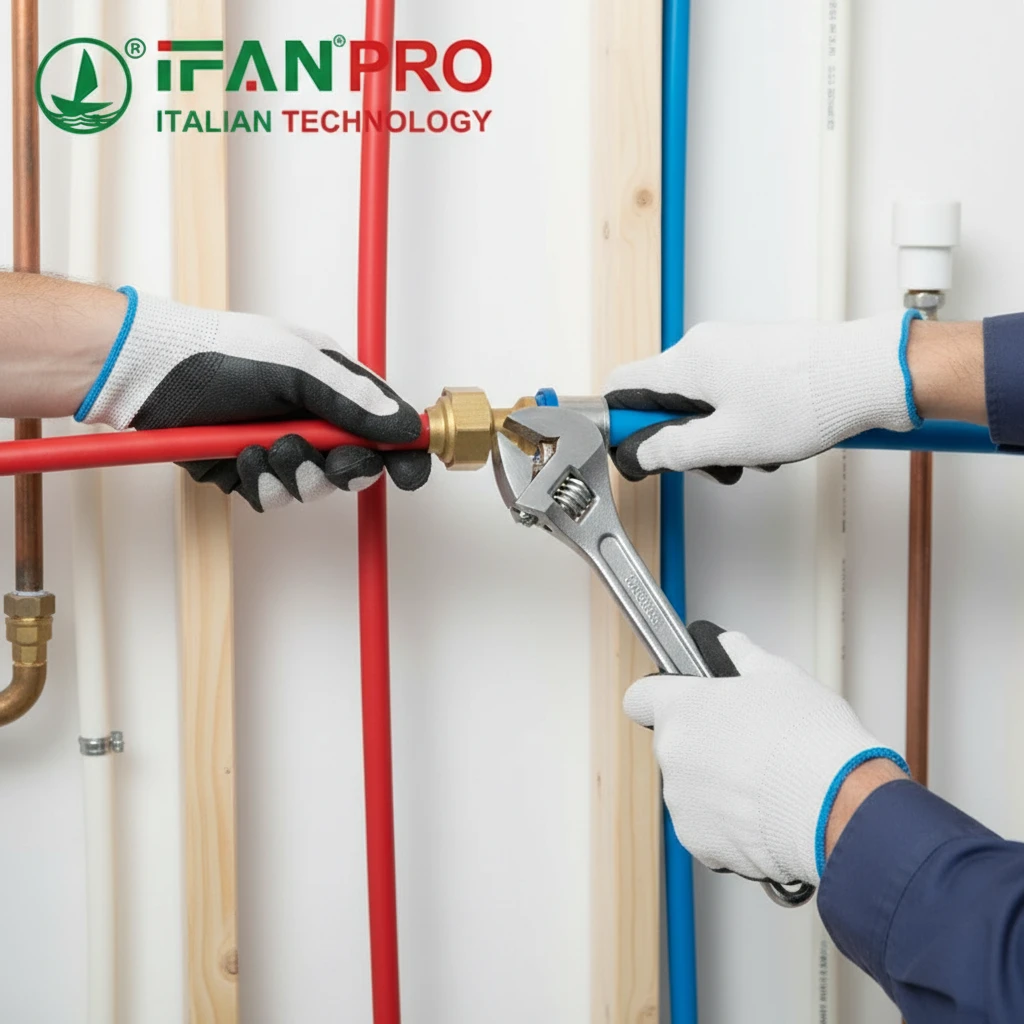
What is the Step-by-Step Process for a Service-Ready Installation?
A proper installation process ensures the union works when you need it. Rushing leads to leaks and seized nuts.
The step-by-step process is: 1) Dry-fit and mark alignment, 2) Deburr and clean the PEX pipe, 3) Slide on nuts and rings, 4) Insert the elbow and tighten nuts hand-tight, 5) Make the final alignment mark, 6) Final tightening with a wrench, and 7) Pressure test the system before closing up.
Step 1: Dry-Fit and Plan
First, assemble the union elbow with its nuts and compression sleeves (for crimp or clamp systems) without tools. Hold it in its planned position. Ensure the pipes leading to it have gentle bends, not sharp kinks. Then, check your clearance. Finally, mark the orientation of the elbow body on the pipe with a permanent marker. This is your reference for final alignment.
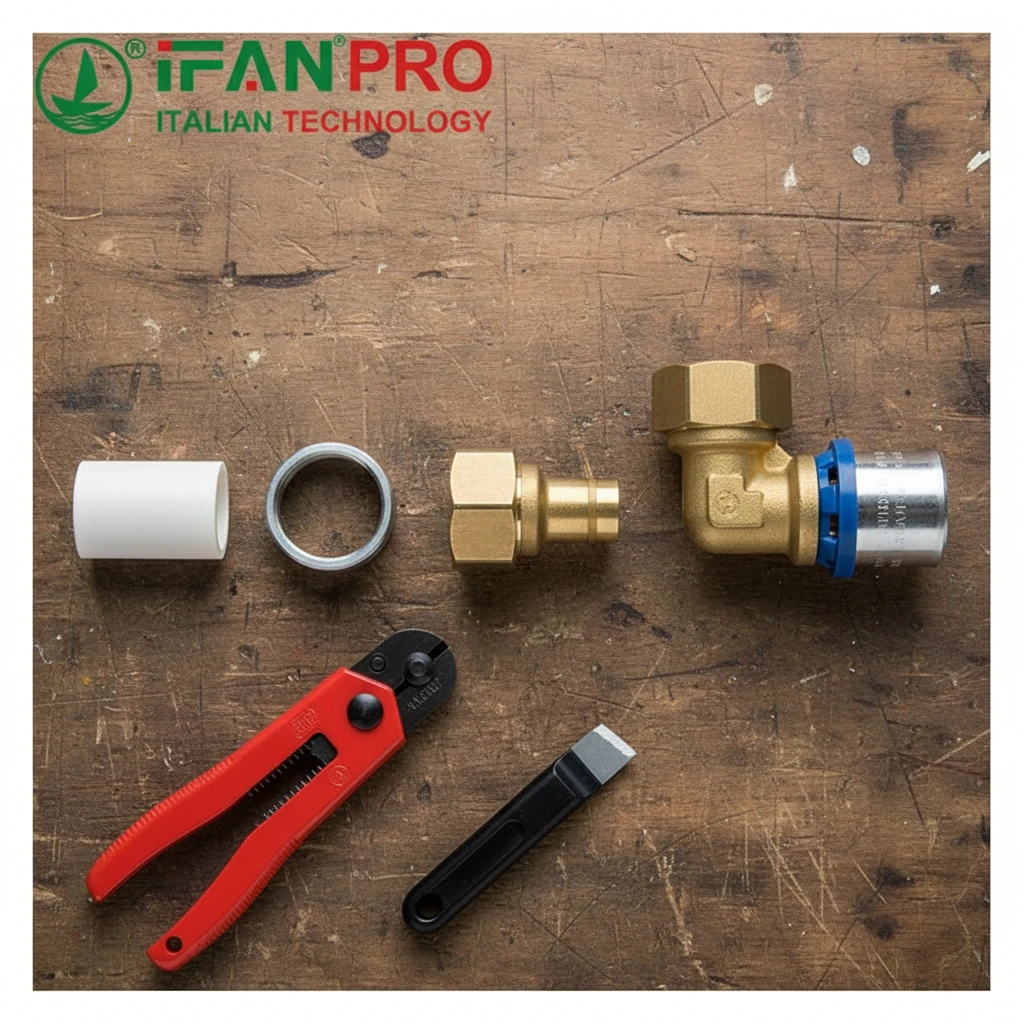
Step 2: Prepare the PEX
Next, cut the PEX pipe squarely using a dedicated PEX cutter. A clean, 90-degree cut is crucial. After that, use a deburring tool to remove any internal and external plastic burrs. A burr can prevent the compression sleeve from seating correctly, causing a leak. Finally, wipe the pipe end clean.
Step 3: Assemble in Correct Order
This is a critical sequence. On each pipe end, slide these components on in order: first the union nut (threads facing the fitting), then the compression sleeve (ferrule). Do not get this backwards.
Step 4: Hand-Tighten and Align
Then, insert the pipe ends fully into the union elbow until they hit the internal stop. Slide the compression sleeve up to the fitting body. After that, screw the union nut onto the elbow threads by hand. Get it as tight as you can with your fingers. This ensures the threads are not cross-threaded.
Step 5: The Final Alignment Mark
Once hand-tight, look at your initial mark from Step 1. Now, rotate the entire elbow body (not the nuts) to achieve the perfect final orientation for your pipeline. Then, make a new, bold mark across the elbow body and the pipe. This mark is sacred. It tells you during final tightening when to stop to keep the alignment perfect.
Step 6: Final Wrench Tightening
First, place one wrench on the flat spots of the union elbow body to hold it steady and keep your alignment mark true. Then, place a second wrench on the union nut. Tighten the nut. For most PEX systems, this is a 1.5 to 2 full turn process from hand-tight. Stop when the alignment marks you made are still perfectly lined up. Remember, over-tightening can crack the plastic fitting or deform the sleeve.
Step 7: Test Before Concealing
Never bury a union without testing it. Therefore, perform a full system pressure test at 1.5x normal operating pressure for at least an hour. Then, inspect the union for any weeping. Only after it passes this test should you consider the job done.
Should Unions Be Installed in Accessible Locations or Behind Walls?
This is the most critical decision. The wrong choice completely defeats the purpose of installing a union.
Unions must always be installed in permanently accessible locations, never behind sealed drywall, under cemented floors, or within closed cavities. Their sole purpose is to provide disconnection access; if you cannot reach them without demolition, they are useless. Use access panels, utility room walls, or open basement areas.
The Absolute Rule: Permanent Access
The logic is simple. If you need a union to service something, you must be able to reach that union to service it. Consequently, burying it is a waste of a good fitting and a guarantee of future headaches.
What Counts as “Accessible”?
- Behind a removable access panel: This is the standard solution for unions serving fixtures in walls (like shower valves). The panel must be large enough and not obstructed by cabinets or tiles.
- In an open basement, crawlspace, or attic: These are naturally accessible areas.
- In a utility closet or mechanical room: Ideal locations.
- Under a sink cabinet: Accessible as long as the cabinet is not sealed shut.
What is NOT Accessible (Common Pain Points):
- Inside a finished wall with drywall or tile over it.
- Buried in a concrete slab floor.
- Behind fixed cabinetry or built-in appliances with no service void.
How to Provide Access When Needed
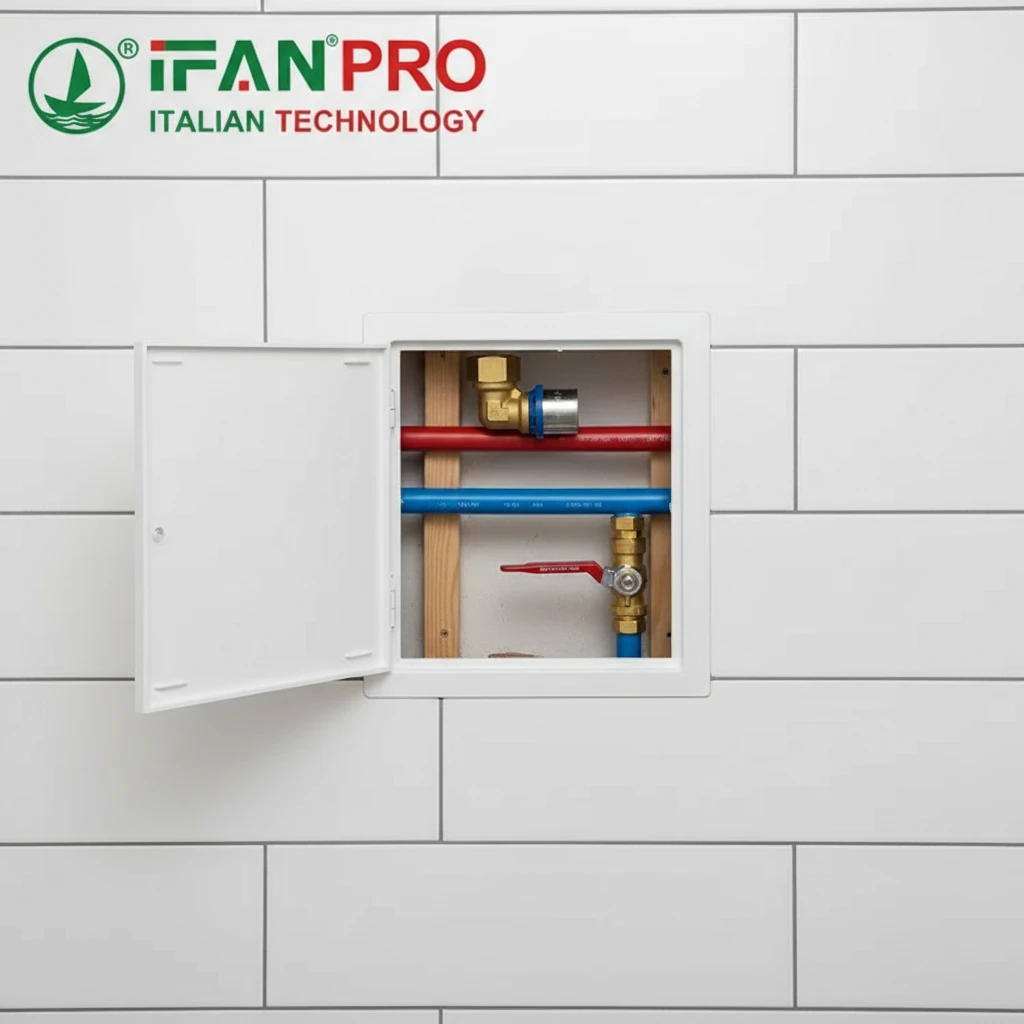
If a union must be near a fixture inside a wall, you have two professional choices:
1. Install a Dedicated Access Panel. This is a plastic or metal door that fits into a cut-out in the drywall or tile. It looks clean and can be painted to match the wall. It provides direct, tool-free access to the union and valves behind it.
2. Design the System for “Remote” Access. Sometimes, you can route the pipes so the union is located in the next room—like a closet or hallway—where an access panel is more acceptable. A short length of pipe is much easier to route through a wall than dealing with a cramped fixture cavity.
The table below contrasts the outcomes of accessible vs. buried unions:
| Union Location | Future Service Scenario | Результат |
|---|---|---|
| Behind an Access Panel | Valve fails. | Open panel, loosen union, replace valve, reconnect. Done in 30 minutes. |
| Buried Behind Drywall | Valve fails. | Locate valve, cut open wall, destroy finish, repair pipe, replace valve, patch drywall, repaint. Takes days, costs 10x more. |
The choice is clear. Investing a small amount in an access panel or thoughtful routing during installation saves enormous cost and effort later. At IFAN, we always advise clients to plan the access point first, then install the union to serve it.
Заключение
Installing a PEX union elbow for service requires strategic placement, ample clearance, careful installation, and, above all, permanent accessibility. For reliable, easy-to-service connections, use IFAN’s PEX union fittings and elbows, designed for smooth operation and long-term durability.


Последние комментарии