
A sudden plumbing leak can cause real panic. Adding a shut-off valve is a simple upgrade that gives you immediate control during any future repairs.
You add a shut-off valve by cutting a section of PEX pipe and installing the valve with a reliable connection method like crimp rings, clamp rings, or push-to-connect fittings. The most important steps are using the right tools, choosing the correct valve type, making secure connections, and testing for leaks.
This process is simple, but doing it right the first time is important. Now, let’s go through everything you need to know to finish this job.
What Tools Do You Need to Install a Shut-Off Valve on a PEX Pipe?
Not having the right tool slows down any project. Being prepared makes the whole job easier and more professional.
You need a PEX pipe cutter, the correct connection tool, a go/no-go gauge, a measuring tape, and a marker. These tools ensure clean cuts and a secure, leak-proof installation every time.
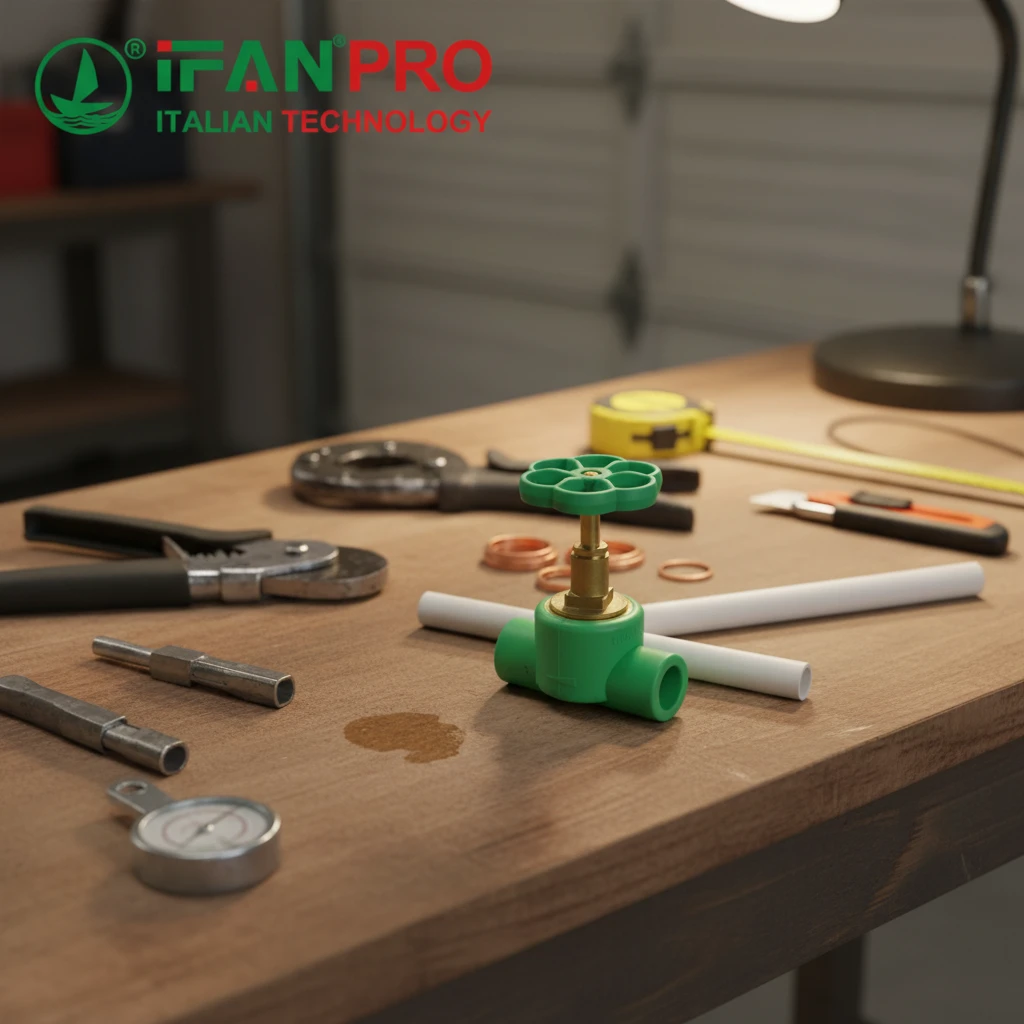
Essential Tools for a Professional Job
Using the correct tools is the most important rule for a reliable PEX installation. Each tool has a specific job that guarantees a proper connection. First, let’s see why each one is necessary.
Start with a PEX pipe cutter. This tool is different from a regular hacksaw. A proper PEX cutter makes a perfectly square, clean cut in one smooth motion. A crooked cut will prevent the fitting from seating properly and cause leaks. This is the most common mistake DIYers make.
Next, you need the correct installation tool for your connection type. This is not a universal tool. There are three main systems:
- Crimp System: You need a crimp ring and a PEX crimp tool.
- Clamp System: You need a clamp ring and a PEX clamp tool.
- Push-to-Connect System: You might need a disconnect clip, but installation needs no tools.
Also, you must use a go/no-go gauge. After you crimp or clamp a ring, slide this small tool over it. It tells you if your connection is too loose or too tight. Skipping this step is like guessing if a bolt is tight enough.
Basic Tool Checklist
Here is a table that summarizes the essential toolkit:
| Tool | Purpose | Why It’s Essential |
|---|---|---|
| PEX Pipe Cutter | To cut the pipe cleanly and squarely. | A bad cut ruins the seal. |
| Crimp/Clamp Tool | To compress the metal ring onto the fitting. | Creates the permanent seal. |
| Go/No-Go Gauge | To verify the compression is correct. | The only way to be sure your connection is perfect. |
| Measuring Tape & Marker | To measure and mark the pipe for cutting. | Ensures accuracy. |
Finally, keep a utility knife handy to clean any burrs from the cut pipe end. With these tools ready, you can start the installation.
How Do You Choose the Right Shut-Off Valve Type for Your PEX Pipe?
Choosing the wrong valve leads to leaks. The right choice makes your plumbing system work better and makes repairs easier.
Choose the right shut-off valve by matching it to your PEX connection system. Then, pick the valve operation and select the correct size by measuring your existing pipe.
Understanding Your Connection System
Your first choice is based on your existing PEX plumbing. You must use a valve made for the same system. Mixing systems will likely fail.
There are three main types of PEX connection methods:
- Crimp Fittings: These use a copper ring and a crimp tool.
- Clamp Fittings: These use a stainless steel ring and a clamp tool.
- Push-to-Connect Fittings: You push the pipe into the valve until it clicks.
Important Tip: Look at another fitting in your system. A shiny copper ring means crimp. A stainless steel ring with a bolt means clamp. No visible ring means push-fit.
Choosing Valve Operation and Material
Next, decide on the valve handle type. For a main shut-off, a quarter-turn ball valve is best. It is more reliable and lasts longer. A simple 90-degree turn gives you full ON or OFF.
Also, think about the valve body material. The best choice is a brass valve body with a chrome-plated handle. Avoid cheap all-plastic valves for important shut-off points.
Valve Selection Guide
Use this table to help make your choice:
| Selection Factor | Your Options | Recommendation |
|---|---|---|
| Connection Type | Crimp, Clamp, Push-Fit | Match your existing system. |
| Valve Operation | Quarter-Turn, Multi-Turn | Choose Quarter-Turn. |
| Valve Size | 1/2″, 3/4″, 1″ | Measure your pipe’s outer diameter. |
| Valve Ends | Straight, Angled, 3-Way | For simple shut-off, choose straight. |
| Brand & Quality | Various | Use trusted suppliers like ИФАН. |
Making the right choices means the valve will fit perfectly and last for years.
What Are the Key Steps to Securely Install a Valve on PEX Pipe?
Rushing the installation causes leaks. Follow a careful, step-by-step process for a result that lasts.
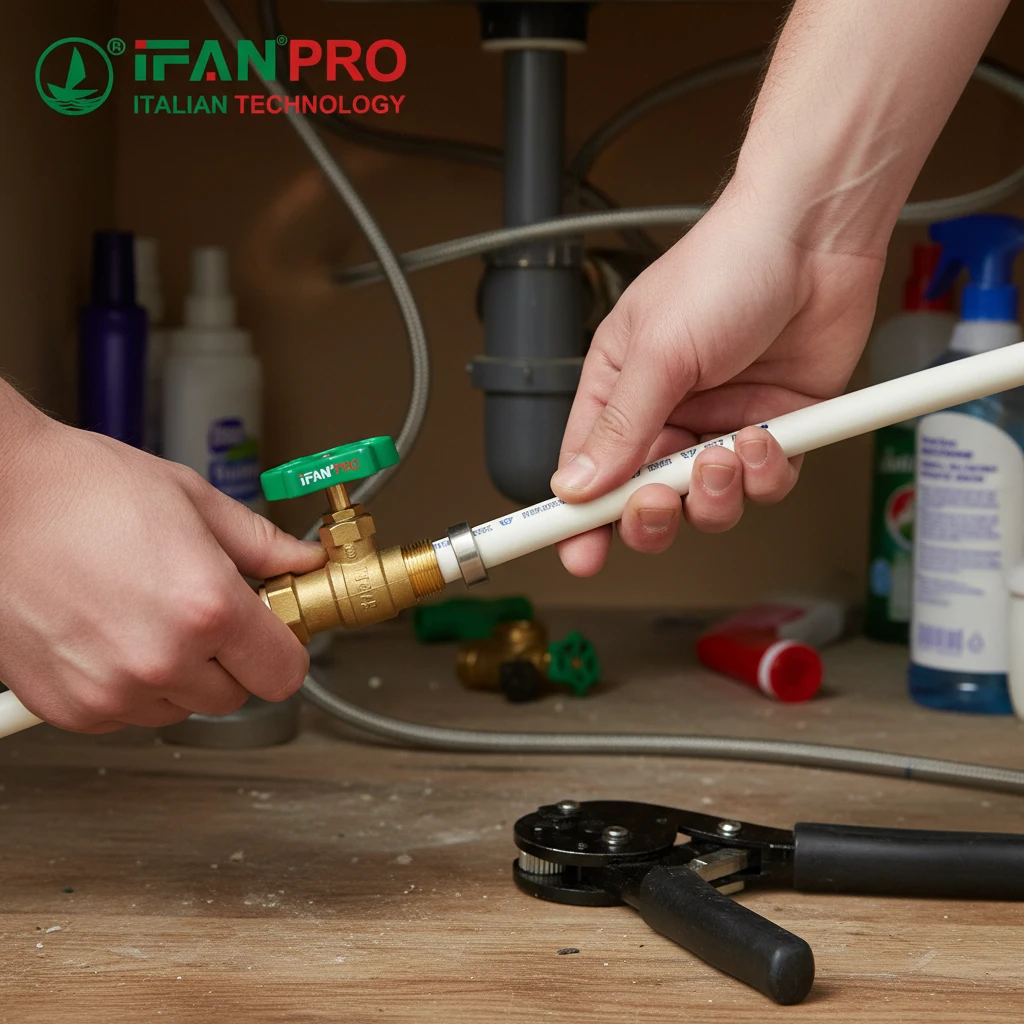
The key steps are: 1) Turn off the water and drain the line. 2) Measure and cut the PEX pipe squarely. 3) Slide the ring onto the pipe. 4) Insert the valve fitting fully. 5) Position the ring and crimp/clamp it. 6) Verify the connection with a gauge.
Step 1: Shut Off Water and Drain the Line
This is the most important safety step. First, find the main water shut-off for your house and turn it off. Then, open the faucet on the line you’re working on. Also, open a faucet at a lower level to drain all the water out. There should be no pressure or water left in the pipe you are cutting.
Step 2: Measure, Mark, and Cut the Pipe
Decide where you want the valve. Use your tape measure and marker to draw a clear line around the pipe. Place the PEX cutter on the pipe exactly on your mark. Make a firm, smooth cut. After cutting, check the end to make sure it is square and clean.
Step 3: Prepare the Pipe and Fitting
Take your PEX valve. First, slide the correct ring onto the pipe end. If you forget this, you cannot finish the connection. Then, push the pipe all the way onto the valve’s barbed fitting. It should go on firmly and stop when it hits the shoulder of the fitting. You will see a small gap of pipe between the fitting and the ring.
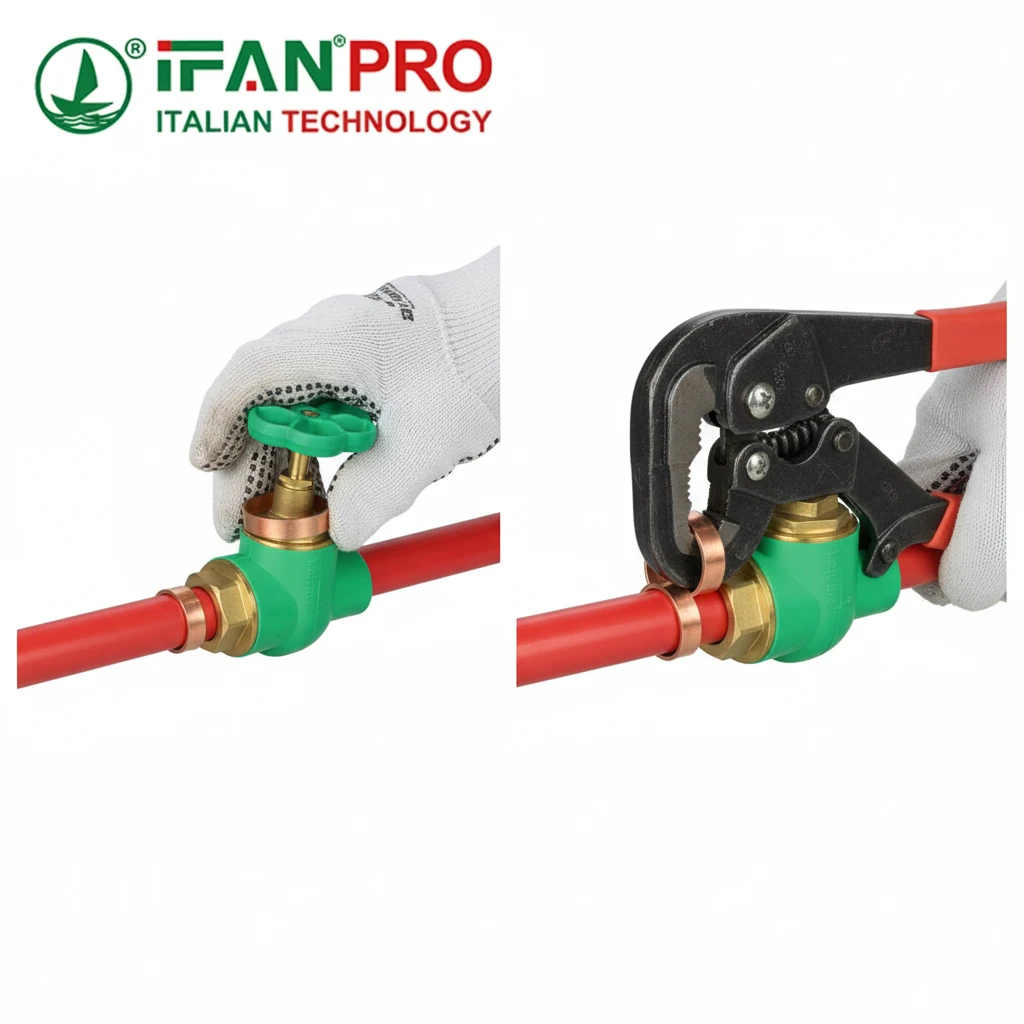
Step 4: Make the Permanent Connection
Move the ring so it is about 1/8 inch from the pipe end, centered over the fitting. Now, take your crimp or clamp tool. Place the tool’s jaws over the ring and squeeze the handles firmly until the tool finishes. Do not crimp the same spot twice.
Step 5: Verify Your Work
This step prevents problems later. Take your go/no-go gauge and try to slide it over the crimped ring. The “GO” side should slide over easily. The “NO-GO” side should not fit. If it fails this test, you must cut the fitting out and start over.
Common Installation Mistakes
Even with the right steps, people make mistakes. Here are the big ones to avoid:
- Not pushing the pipe on all the way.
- Putting the ring on the wrong side of the cutter.
- Using the wrong size ring or tool.
- Forgetting to use the gauge.
Following this careful process ensures a secure, long-lasting installation.
How Do You Test for Leaks After Installing a PEX Pipe Shut-Off Valve?
Turning on the water without testing is risky. A proper leak test is fast and gives you confidence in your work.
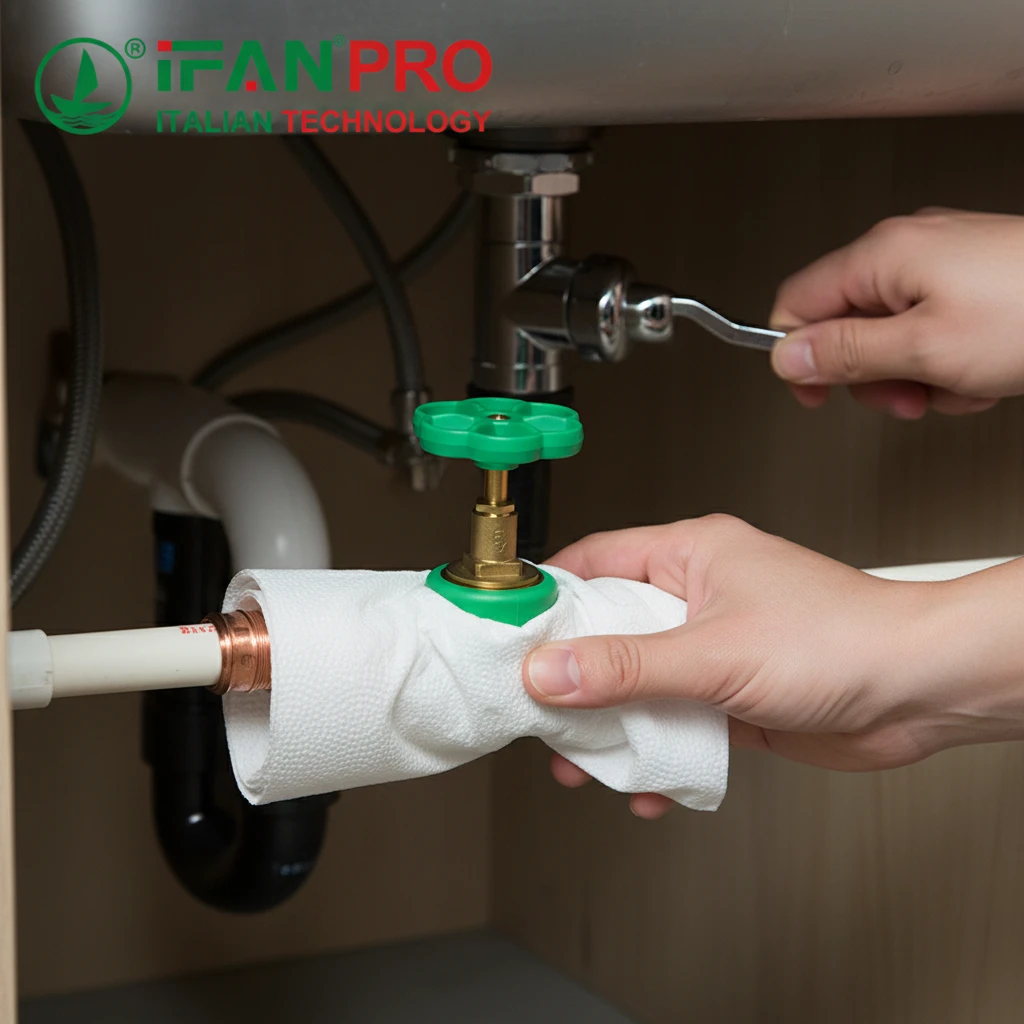
Test for leaks by slowly turning the main water back on with the new valve OPEN. Then, inspect the connection points for several minutes. For extra safety, press dry paper towel around the joints to spot tiny leaks.
The Systematic Leak Testing Procedure
A leak test is a careful process to catch any drip before it causes damage. First, make sure the new shut-off valve is in the fully OPEN position. Also, ensure all other faucets you opened to drain the system are still open.
Now, go to your main water shut-off valve. Turn it on very slowly, about a quarter-turn at a time. This lets water fill the pipes gently and prevents pressure surges. Listen for any strange sounds like hissing.
Once the main valve is on, go to your new installation. Look closely at both ends of the new valve. Watch for any water forming or dripping. Then, use your hand to feel around the connections. Sometimes a small leak sprays a fine mist you can feel.
How to Perform the Paper Towel Test
After looking and feeling, do the paper towel test. Take a piece of white, dry paper towel and wrap it gently around each connection. Hold it for 10 seconds. The paper towel will soak up even the tiniest leak, showing a dark wet spot. This method is more reliable than just using your eyes.
Keep checking for at least 15-20 minutes. Some leaks only show up under constant pressure. Look at the connections from different angles. Also, check the valve stem for any moisture.
What to Do If You Find a Leak
Don’t panic. Turn the main water supply back off right away. The leak is almost always at a connection point. If you used a crimp or clamp system, you must cut out the failed section and redo it with new parts. This is why the gauge is so important. Meanwhile, push-fit fittings can sometimes be taken out and put back in.
If you see no leaks after a full 20-minute test, you’re done. Now you can close the other faucets. Your new shut-off valve is ready to use.
Заключение
Installing a PEX shut-off valve makes your home’s plumbing safer. For reliable, easy-to-install PEX valves and fittings, choose ИФАН for your DIY or professional needs.


Последние комментарии