
During a particularly harsh winter, I encountered multiple emergency calls where outdoor faucet connections froze and burst, causing significant water damage. These experiences taught me that proper PEX-to-outdoor faucet connections require specific techniques and materials to withstand environmental challenges.
Connecting PEX to outdoor faucets requires brass transition fittings with proper thread adapters, frost-proof faucet designs, and comprehensive freeze protection measures. The connection must accommodate different materials while maintaining watertight seals and providing durability against weather exposure and temperature fluctuations.
Successfully linking PEX piping to outdoor faucets involves understanding material compatibility, implementing freeze protection strategies, and selecting appropriate faucet designs. Furthermore, proper installation techniques ensure long-term reliability. Let’s examine the specific methods for creating durable outdoor connections.
What Transition Fittings Connect PEX Pipes to Outdoor Faucet Threads?
While repairing a community garden’s irrigation system, I discovered that incompatible fittings had corroded and failed within just two seasons. This experience highlighted the importance of selecting proper transition fittings for outdoor applications.
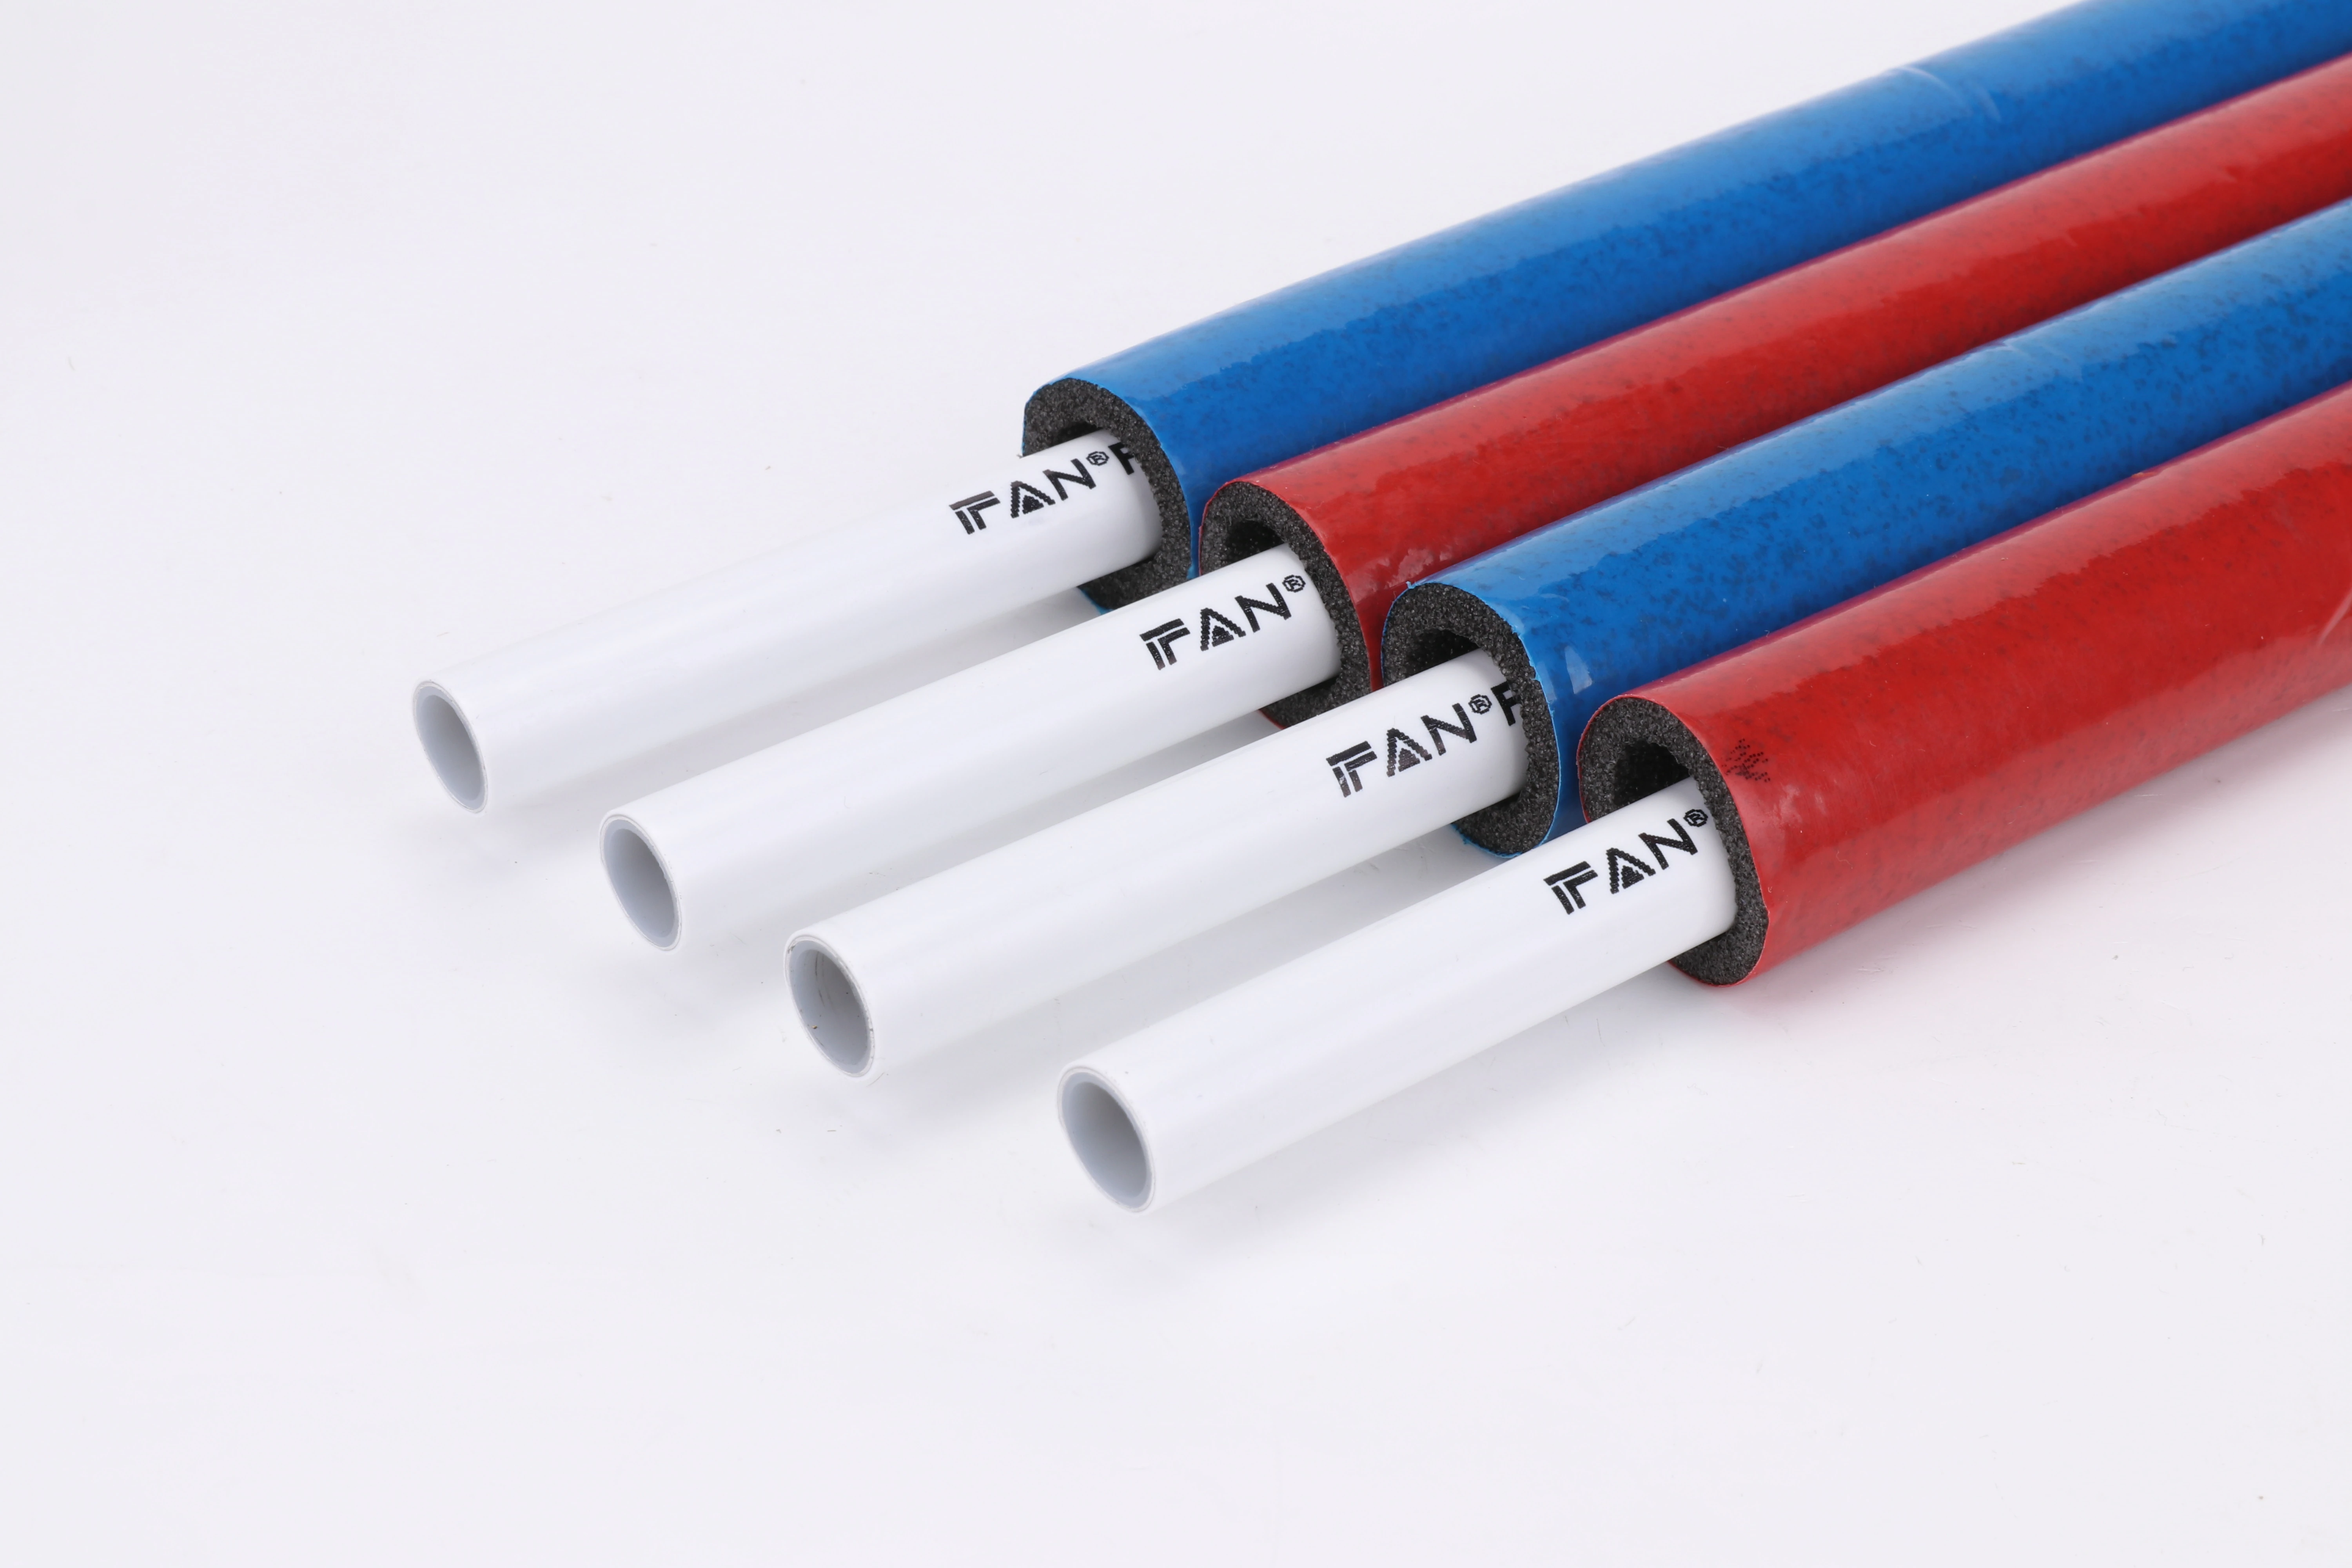
Brust transition fittings with PEX connections on one end and NPT threads on the other provide the most reliable connection between PEX pipes and outdoor faucets. These fittings typically feature corrosion-resistant brass construction with either crimp, expansion, or push-to-connect PEX ends while offering standard 1/2″ or 3/4″ male/female NPT threads for faucet attachment.
Fitting Types and Applications
Different fitting styles accommodate various installation needs:
Crimp Style Transition Fittings
These fittings feature barbed PEX connections requiring copper crimp rings for secure attachment. They provide excellent pull-out resistance and are ideal for permanent installations. However, they require specialized crimping tools and offer limited adjustability after installation. For outdoor applications, stainless steel crimp rings outperform copper in corrosive environments.
Push-to-Connect Transition Fittings
These user-friendly fittings allow simple push connections without special tools. Their internal stainless-steel grippers and O-rings create instant seals, while their collet mechanism maintains constant pressure. Although more expensive initially, they simplify repairs and modifications in accessible outdoor locations.
Expansion Style Transition Fittings
Designed for PEX-A systems, these fittings require expansion tools but create the strongest mechanical bond. The expanded PEX shrinks tightly around the fitting, providing superior resistance to pull-out forces and water hammer effects. This makes them ideal for areas with high water pressure fluctuations.
Material Selection Guide
Choosing appropriate materials ensures longevity:
| Fitting Material | Best For | Lifespan | Limitations |
|---|---|---|---|
| Brass (Red) | All outdoor applications | 20-30 years | Higher cost |
| Brass (Yellow) | Moderate climates | 15-25 years | Less corrosion resistance |
| Bronze | Coastal areas | 25-35 years | Significant cost premium |
| Polymer-coated | High corrosion areas | 10-15 years | Coating can degrade |
How Do You Protect PEX Connections from Freezing in Outdoor Installations?
After a record-breaking cold snap caused widespread pipe failures in our community, I developed a comprehensive freeze protection protocol that has since prevented any similar incidents despite even lower temperatures.
Protect PEX connections from freezing through proper insulation, strategic installation below frost lines, use of frost-proof faucets, and implementing drainage capabilities. Combining multiple protection methods creates redundant safety systems that prevent freezing even during power outages or equipment failures.
Comprehensive Freeze Protection Strategies
Implement layered protection for maximum security:
Insulation Requirements
Use closed-cell foam insulation with minimum R-5 value for all outdoor PEX runs. Ensure insulation thickness matches climate requirements – typically 1/2″ for mild climates and 1″ for severe winter areas. Install insulated faucet covers during freezing months, creating dead air space around connections. Additionally, apply pipe insulation within wall cavities where PEX approaches outdoor faucets.
Installation Depth and Drainage
Buried PEX lines must be installed below the local frost depth, which typically ranges from 12″ in moderate climates to 48″ in severe northern regions. Slope pipes downward toward drainage points, allowing complete water evacuation when needed. Install vacuum breakers or automatic drain valves at low points to facilitate drainage before freezing temperatures arrive.
Supplementary Heat Systems
For extremely cold climates or vulnerable installations, implement active protection measures. Install heat tracing cables with built-in thermostats that activate at 40°F (4°C). Use foam-insulated faucet boxes with thermostatically controlled heat sources. Consider integrating freeze alarms that notify homeowners of impending freezing conditions.
Which Frost-Proof Faucet Designs Work Best with PEX Supply Lines
When a client’s vacation home suffered extensive water damage from a failed frost-proof faucet, I researched and tested various designs to identify the most reliable options for PEX systems.
Long-stem frost-proof faucets (8-inch to 12-inch) with integrated vacuum breakers and brass-to-PEX transition adapters work best with PEX supply lines. These designs position the valve seat deep inside the heated space while providing durable connection points that accommodate PEX’s expansion characteristics and installation requirements.
Optimal Faucet Features for PEX
Select faucets with these PEX-compatible characteristics:
Stem Length Considerations
Choose stem lengths that place the valve mechanism at least 6 inches inside the heated building envelope. Standard options include 8-inch stems for standard walls, 10-inch stems for insulated walls, and 12-inch stems for extra-thick exterior walls. Measure wall thickness accurately before selection, including interior and exterior finishes.
Connection Type Compatibility
Look for faucets with PEX-friendly connection options. Many modern frost-proof faucets now include integrated PEX adapters, eliminating the need for separate transition fittings. Others offer sweat connections that can be adapted to PEX using appropriate connectors. Avoid faucets requiring specific orientation for installation, as PEX needs flexibility during connection.
Material and Construction Quality
Select solid brass bodies with reinforced rubber or thermoplastic washers. Brass provides durability and corrosion resistance while offering thermal conductivity that helps prevent freezing. Choose designs with accessible packing nuts for maintenance without requiring complete replacement. Verify that vacuum breakers are replaceable and meet local code requirements.
Installation-Specific Recommendations
Match faucet selection to application requirements:
| Application | Recommended Faucet | Key Features | PEX Connection Method |
|---|---|---|---|
| Residential | 8″ Frost-proof sillcock | Brass construction, replaceable vacuum breaker | Crimp or push-to-connect |
| Commercial | 10″ Heavy-duty faucet | Metal handle, reinforced stem | Expansion or crimp |
| Agricultural | 12″ Freeze-proof hydrant | Deep burial, automatic drainage | Expansion with brass adapter |
| Vacation homes | Smart frost-proof faucet | Temperature monitoring, remote control | Push-to-connect for easy service |
What Techniques Prevent Leaks at PEX-to-Faucet Connection Points?
After investigating persistent leaks in a newly constructed apartment complex, I identified specific installation errors that caused connection failures. Implementing corrected techniques eliminated these issues completely.
Prevent leaks through proper thread sealing, adequate pipe support, correct insertion depth, and appropriate fitting selection. Combine these techniques with pressure testing and thermal expansion accommodation to create durable connections that withstand seasonal changes and usage patterns.
Comprehensive Leak Prevention Methods
Implement multiple strategies for maximum reliability:
Thread Sealing Protocols
Use thread sealant specifically designed for potable water systems. Apply tape sealant clockwise (2-3 wraps) for male threads, ensuring coverage without excess material at the first thread. Combine with paste sealant for additional security in high-vibration applications. Avoid over-tightening, which can distort fittings and create stress points – typically tighten 1-2 turns past hand-tight.
Pipe Support and Stress Relief
Install rigid supports within 6 inches of connection points to prevent movement stress. Use cushioned clamps that allow axial movement while restricting lateral displacement. Create gentle sweeping bends instead of sharp angles where PEX approaches faucets. For exterior wall installations, include expansion loops to accommodate thermal movement.
Connection Verification Techniques
After installation, implement thorough testing procedures. Conduct initial pressure tests at 1.5 times working pressure for 30 minutes, checking for any pressure drop. Perform follow-up tests after 24 hours and again after temperature cycles. Use thermal imaging cameras during testing to identify minor leaks not visible to the naked eye.
Installation Quality Control
Establish checkpoints throughout the installation process:
Pre-Installation Verification
Inspect PEX ends for ovality or damage before connection. Verify faucet threads are clean and undamaged. Confirm fitting and faucet compatibility, including direction of installation. Ensure all required tools and materials are available before beginning work.
During Installation Monitoring
Maintain proper alignment during connection without forcing components. Listen for audible “clicks” with push-to-connect fittings. Visualize proper ring placement and compression with crimp connections. Allow adequate cure time for any sealants used in the process.
Post-Installation Validation
Conduct thorough visual inspection of all connection points. Verify adequate support installation and proper faucet operation. Test handle operation and check for smooth valve function. Document installation details for future maintenance reference.
Заключение
Connecting PEX to outdoor faucets successfully requires appropriate transition fittings, comprehensive freeze protection strategies, proper frost-proof faucet selection, and meticulous installation techniques that prevent leaks. By implementing these methods systematically and verifying each step through testing and inspection, installers can create durable, reliable outdoor water connections that withstand environmental challenges and provide long-term performance.


Последние комментарии