
Введение
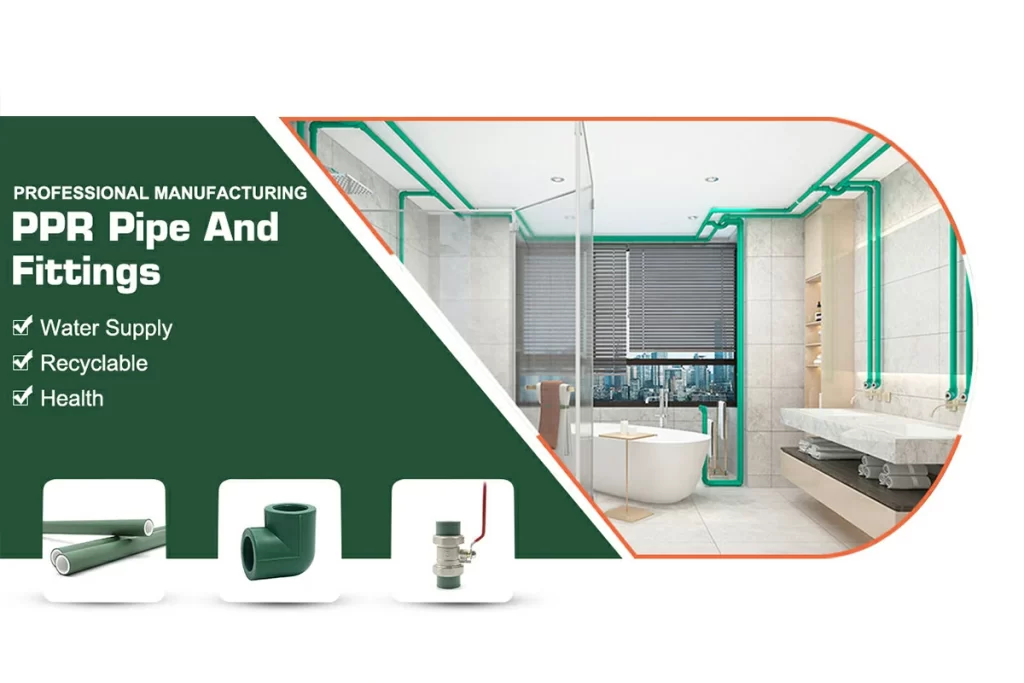
PPR (полипропилен рандом сополимер) plumbing systems have become a top choice for water supply projects due to their leak-proof connections, durability, and resistance to corrosion. But proper installation is key to performance and longevity. Whether you’re a DIY enthusiast, a plumber, or a project manager, this step-by-step guide will walk you through the correct process of installing a PPR plumbing system.
Tools and Materials Needed
Before installation, prepare the following tools and materials:
Tools:
- Pipe cutter or rotary pipe cutter
- Pipe fusion welding machine (with heating bush and adapters)
- Marker or pencil
- Tape measure
- Pipe support brackets
Materials:
- PPR pipes (PN10, PN16, PN20 depending on use)
- PPR fittings (elbows, tees, unions, reducers, etc.)
- End caps, valves, and transition fittings (if needed)
🔧 Tip: For the best results, use pipes and fittings from the same manufacturer, such as those from ifanpro Pipeline.
Step 1: Plan Your Piping Layout
Start by analyzing your building’s layout to determine the most efficient piping route.
- Mark connection points (outlets, valves, water sources)
- Calculate the total pipe length
- Minimize unnecessary bends to reduce water pressure loss
Step 2: Cut the PPR Pipes
Using a pipe cutter, cut the pipe to the required length. Ensure the cut is:
- Straight and clean
- Free from burrs or rough edges
🛠️ Pro Tip: Do not use a hacksaw—it may leave uneven edges and reduce fusion quality.
Step 3: Heat the Pipe and Fitting
- Turn on the PPR welding machine and set it to the correct temperature (usually around 260°C).
- Allow it to heat for 3–5 minutes.
- Insert the pipe and fitting into the heating bush for the recommended time (e.g., 5–6 seconds for 20mm pipe).
⚠️ Caution: Do not twist or overheat, as it may deform the parts and weaken the joint.
Step 4: Join the Pipe and Fitting
- Immediately after heating, push the pipe and fitting together without twisting.
- Hold them in place for several seconds (cooling time varies by size).
- Let the joint cool completely before moving or applying pressure.
🔄 Repeat this process for each joint. Proper alignment is essential.
Step 5: Secure the Pipes with Clamps or Brackets
- Install pipe supports every 50–100 cm for horizontal runs
- For vertical pipes, use brackets to prevent sagging
- Avoid tight bends or over-tensioning during installation
Step 6: Test the System
After completing the installation:
- Seal all outlets with caps or valves.
- Fill the system with water and pressurize it (typically 1.5x working pressure).
- Monitor for 30–60 minutes to check for leaks or pressure drops.
✅ If everything holds, your installation is successful and ready for long-term use.
Common Installation Mistakes to Avoid
- Overheating or underheating the pipe
- Twisting during fusion
- Using incompatible fittings from other brands
- Skipping pressure testing
- Installing pipes without proper alignment or support
Why Use ifanpro Pipeline for PPR Systems?
ifanpro Pipeline offers high-quality PPR pipes and fittings trusted by builders and contractors globally.
Advantages of ifanpro:
- ISO9001 & CE certified
- High-performance PN20 pipes
- Wide range of sizes and fittings
- OEM/ODM and custom branding options
- Technical support for installers
Посетите ifanpro.com to explore our full product range or request a quote.


Последние комментарии