
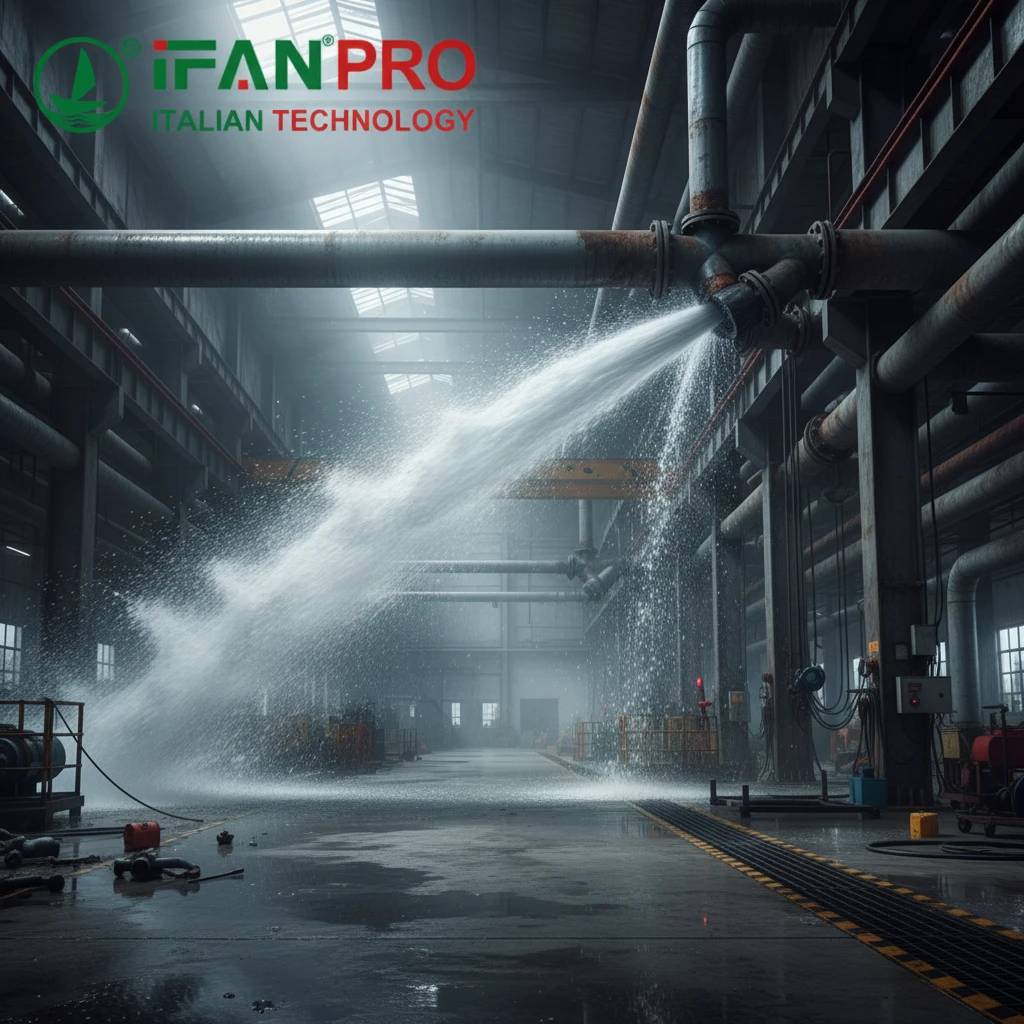
I recently visited a factory where leaking compressed air pipes were causing production delays. This experience showed me why proper PPR installation matters for air systems.
PPR pipelines are excellent for compressed air when installed correctly. They resist corrosion and offer smooth airflow, but you must choose the right pressure rating, follow strict installation standards, make perfect connections, and perform regular maintenance to prevent leaks and ensure safety.
Let me walk you through the key steps for a reliable PPR compressed air system.
What Are the Required Pressure Ratings for PPR Compressed Air Pipes?
Choosing the wrong pressure rating can lead to dangerous pipe failures. I’ve seen factories make this costly mistake.
PPR pipes for compressed air must have pressure ratings that exceed your system’s maximum working pressure by at least 50%. Most industrial applications require PN16 or PN20 rated pipes, which can handle 16-20 bar at 20°C, but you must also consider temperature derating since air compressors generate heat that reduces pipe strength.
Understanding Pressure Ratings
Pressure rating is the most critical factor when selecting PPR pipes for compressed air. The pressure rating (shown as PN followed by a number) tells you the maximum pressure the pipe can handle continuously at 20°C. However, compressed air systems have special considerations that water systems don’t.
First, you need safety margin. Compressed air systems can experience pressure spikes when compressors cycle on and off. If your system runs at 8 bar, don’t choose pipes rated for exactly 8 bar. Instead, select pipes rated for at least 12 bar or higher. This safety margin prevents catastrophic failures during pressure surges.
Second, consider temperature effects. PPR pipes lose strength as temperatures rise. While PN20 pipes handle 20 bar at 20°C, they only handle about 12 bar at 40°C. Since air compressors generate heat and compressed air itself heats up during compression, your pipes will likely operate above room temperature.
Selecting the Right Pressure Class
Here’s a simple guide to choose the correct pressure rating:
| System Working Pressure | Minimum PPR Pressure Rating | Recommended PPR Pressure Rating |
|---|---|---|
| Up to 6 bar | PN10 | PN16 |
| 6-10 bar | PN16 | PN20 |
| 10-13 bar | PN20 | PN25 |
| Above 13 bar | Not recommended | Use metal pipes |
Also consider pipe size. Larger diameter pipes have thicker walls and generally handle pressure better. For main distribution lines carrying high volumes of compressed air, use larger diameters than branch lines to minimize pressure drop and stress on the system.
Finally, remember that pressure rating applies to the entire system – pipes, fittings, and valves. Don’t mix different pressure ratings in the same system. If you use PN20 pipes, use PN20 fittings too. Mismatched components create weak points that can fail under pressure.
Which Installation Standards Ensure Reliable PPR Compressed Air Systems?
Poor installation causes most compressed air system failures. I’ve fixed many systems that failed basic installation standards.
Reliable PPR compressed air systems require following these key standards: proper pipe sizing using airflow calculations, correct support spacing every 1-1.5 meters, installation of drip legs and shutoff valves, maintaining minimum 1% slope for drainage, and keeping pipes away from heat sources. These practices prevent water accumulation, pressure drop, and premature failure.

Essential Installation Requirements
Proper installation makes the difference between a system that lasts decades and one that fails in months. Compressed air puts different stresses on pipes than water systems, so you need special considerations.
Start with proper support spacing. PPR pipes expand with heat and can sag over time if not supported correctly. For compressed air systems, install supports every 1-1.5 meters for horizontal runs and every meter for vertical runs. Use properly designed pipe clamps that allow for thermal expansion without pinching the pipe.
Next, consider system layout. Always install pipes with a 1-2% slope downward in the direction of airflow. This allows condensation to drain to collection points. At every low point, install drip legs with drain valves to remove accumulated water. Water in compressed air systems causes corrosion and reduces air tool efficiency.
Critical System Components
Include these essential components in your layout:
| Component | Purpose | Installation Location |
|---|---|---|
| Drip Legs | Collect and remove condensation | Every 15-20 meters and before equipment |
| Shutoff Valves | Isolate sections for maintenance | Every branch line connection |
| Pressure Gauges | Monitor system performance | Before and after filters/regulators |
| Air Filters | Remove contaminants and moisture | Near equipment connections |
Also consider thermal expansion. PPR pipes expand about 0.15mm per meter for every 10°C temperature increase. In long straight runs, install expansion loops or offsets to absorb this movement. Without accommodation for expansion, pipes can push against supports and develop stress cracks over time.
Finally, keep PPR pipes away from heat sources like steam lines, hot water pipes, or direct sunlight. High temperatures reduce PPR’s pressure capacity and can cause premature aging. If you must run pipes through hot areas, use insulation or choose higher temperature-rated PPR materials.
How to Properly Connect PPR Pipes and Fittings for Compressed Air?
I’ve seen too many air leaks from poor fusion joints. Proper connection technique is non-negotiable for safety.
Proper PPR connections for compressed air require perfect socket fusion welding: cut pipes square with a dedicated cutter, clean and mark insertion depth, heat simultaneously to the correct temperature (260±5°C), join quickly without twisting, and hold steady during cooling. Only trained technicians using calibrated fusion welders should perform these critical connections.
Step-by-Step Fusion Process
Making perfect fusion joints requires following a precise procedure. Unlike water systems, compressed air will find and exploit any weakness in the connection.
Start with proper cutting. Use a dedicated PPR pipe cutter that makes perfectly square cuts. Never use saws that create uneven ends or burrs. After cutting, deburr the outside edge slightly and clean the pipe end with isopropyl alcohol. Any dirt or grease will contaminate the fusion joint.
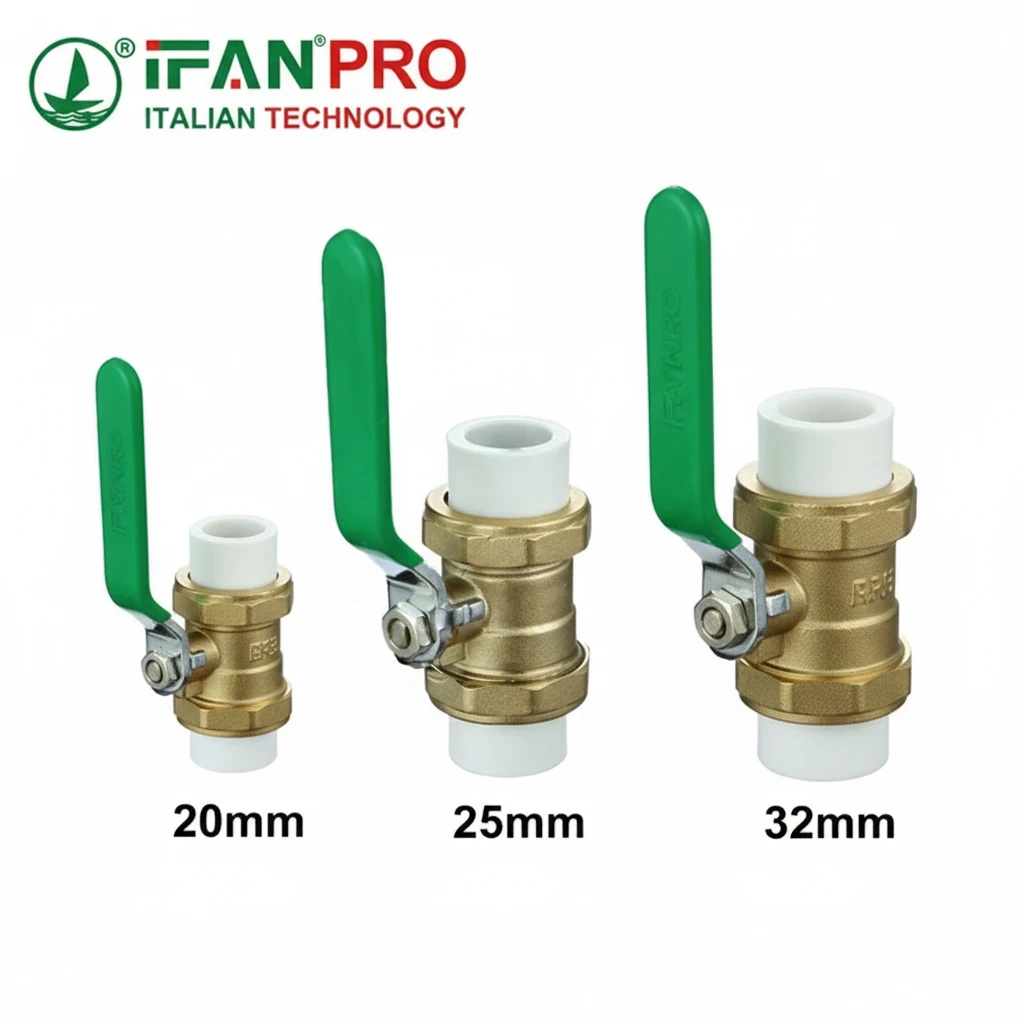
Next, mark the insertion depth on both the pipe and fitting. This ensures you push the pipe deep enough into the fitting. Use the manufacturer’s recommended insertion depth, which varies by pipe diameter. Typical insertion depths range from 10mm for 20mm pipes to 25mm for 110mm pipes.
Critical Fusion Parameters
Follow these heating and cooling times precisely:
| Pipe Diameter | Heating Time | Maximum Joining Time | Cooling Time |
|---|---|---|---|
| 20mm | 5 seconds | 4 seconds | 2 minutes |
| 25mm | 7 seconds | 4 seconds | 2 minutes |
| 32mm | 8 seconds | 6 seconds | 4 minutes |
| 40mm | 12 seconds | 6 seconds | 4 minutes |
| 50mm | 18 seconds | 6 seconds | 4 minutes |
Heating is the most critical step. Use a dual-heater fusion machine that maintains exactly 260°C. Simultaneously heat both the pipe exterior and fitting interior. Don’t overheat – this causes material degradation and weak joints. Don’t underheat – this creates incomplete fusion and leaks.
The joining process must be quick and precise. Remove the pipe and fitting from the heater simultaneously and push them straight together in one smooth motion without twisting. Hold them firmly in place during the initial cooling period. Any movement during cooling can create leak paths.
After cooling, inspect the joint. A proper fusion joint has a small, even bead of material around the fitting entrance. No bead means insufficient heating or pressure. A very large, irregular bead means overheating or too much insertion force.
What Maintenance Prevents Leaks in PPR Compressed Air Pipelines?
Regular maintenance catches small problems before they become big leaks. I recommend quarterly inspections for all compressed air systems.
Prevent PPR compressed air leaks with these maintenance practices: quarterly pressure decay tests to find leaks, monthly inspection of all fusion joints for cracks, regular draining of drip legs, checking pipe supports for sagging, and monitoring for UV degradation. Also install air quality monitors to detect moisture that could indicate hidden leaks.

Regular Inspection Schedule
A good maintenance program catches problems early. Compressed air systems develop leaks gradually, and early detection saves significant energy costs.
Start with leak detection. Perform quarterly pressure decay tests by pressurizing the system to operating pressure, shutting off the compressor, and monitoring pressure drop over time. More than 10% pressure loss per hour indicates significant leaks that need investigation. Use ultrasonic leak detectors to pinpoint exact leak locations.
Next, establish a visual inspection routine. Monthly, walk the entire pipeline looking for these warning signs:
- Cracks at fusion joints: Small hairline cracks indicate joint failure
- Pipe sagging between supports: This puts stress on fusion joints
- Discoloration: Yellowing or browning suggests UV damage or overheating
- Water stains below pipes: Indicate condensation drainage problems
Maintenance Checklist and Schedule
Use this simple maintenance schedule:
| Task | Frequency | Action Required If Problem Found |
|---|---|---|
| Pressure decay test | Quarterly | Use ultrasonic detector to locate and tag leaks |
| Visual inspection | Monthly | Mark problem areas for repair during next shutdown |
| Drain drip legs | Weekly | Repair or replace stuck automatic drains |
| Check pipe supports | 6 months | Tighten or adjust supports showing movement |
| Air quality check | Monthly | Replace filters if moisture content increases |
Also monitor system performance. Install pressure gauges at the end of long pipe runs to check for excessive pressure drop. Significant pressure loss between the compressor and end-use equipment indicates undersized pipes, blockages, or multiple small leaks.
For repair strategies, remember that you cannot repair PPR pipes with tape or sealants. Small leaks require cutting out the damaged section and installing a new fusion joint coupling. For multiple leaks in an older system, consider complete replacement rather than continuous repairs.
Finally, keep maintenance records. Document all inspections, tests, and repairs. This helps identify recurring problems and plan preventive maintenance. Good records also help with insurance requirements and safety audits.
Conclusion
Proper PPR compressed air systems need correct pressure ratings, strict installation standards, perfect connections, and regular maintenance. For reliable PPR pipes and fittings designed for compressed air applications, choose IFAN’s industrial-grade PP-R solutions.


Recent Comments