During a large apartment renovation, I discovered that nearly 30% of the existing PEX connections were improperly crimped, leading to multiple leaks. This experience drove me to master the copper press sleeve installation process, which has since become my go-to method for reliable PEX connections.
Proper PEX copper press sleeve installation requires specific pressing tools, correctly prepared tubing, precise crimping technique, and systematic verification. The process involves cutting PEX tubing square, sliding copper sleeves into position, and using calibrated pressing tools to create permanent, leak-proof connections that meet industry standards.
Mastering copper press sleeve installation ensures reliable, long-lasting plumbing connections that withstand pressure fluctuations and environmental stresses. Let’s examine the precise steps and techniques for professional results.
What Tools Are Required for Installing PEX Copper Press Sleeves Properly?
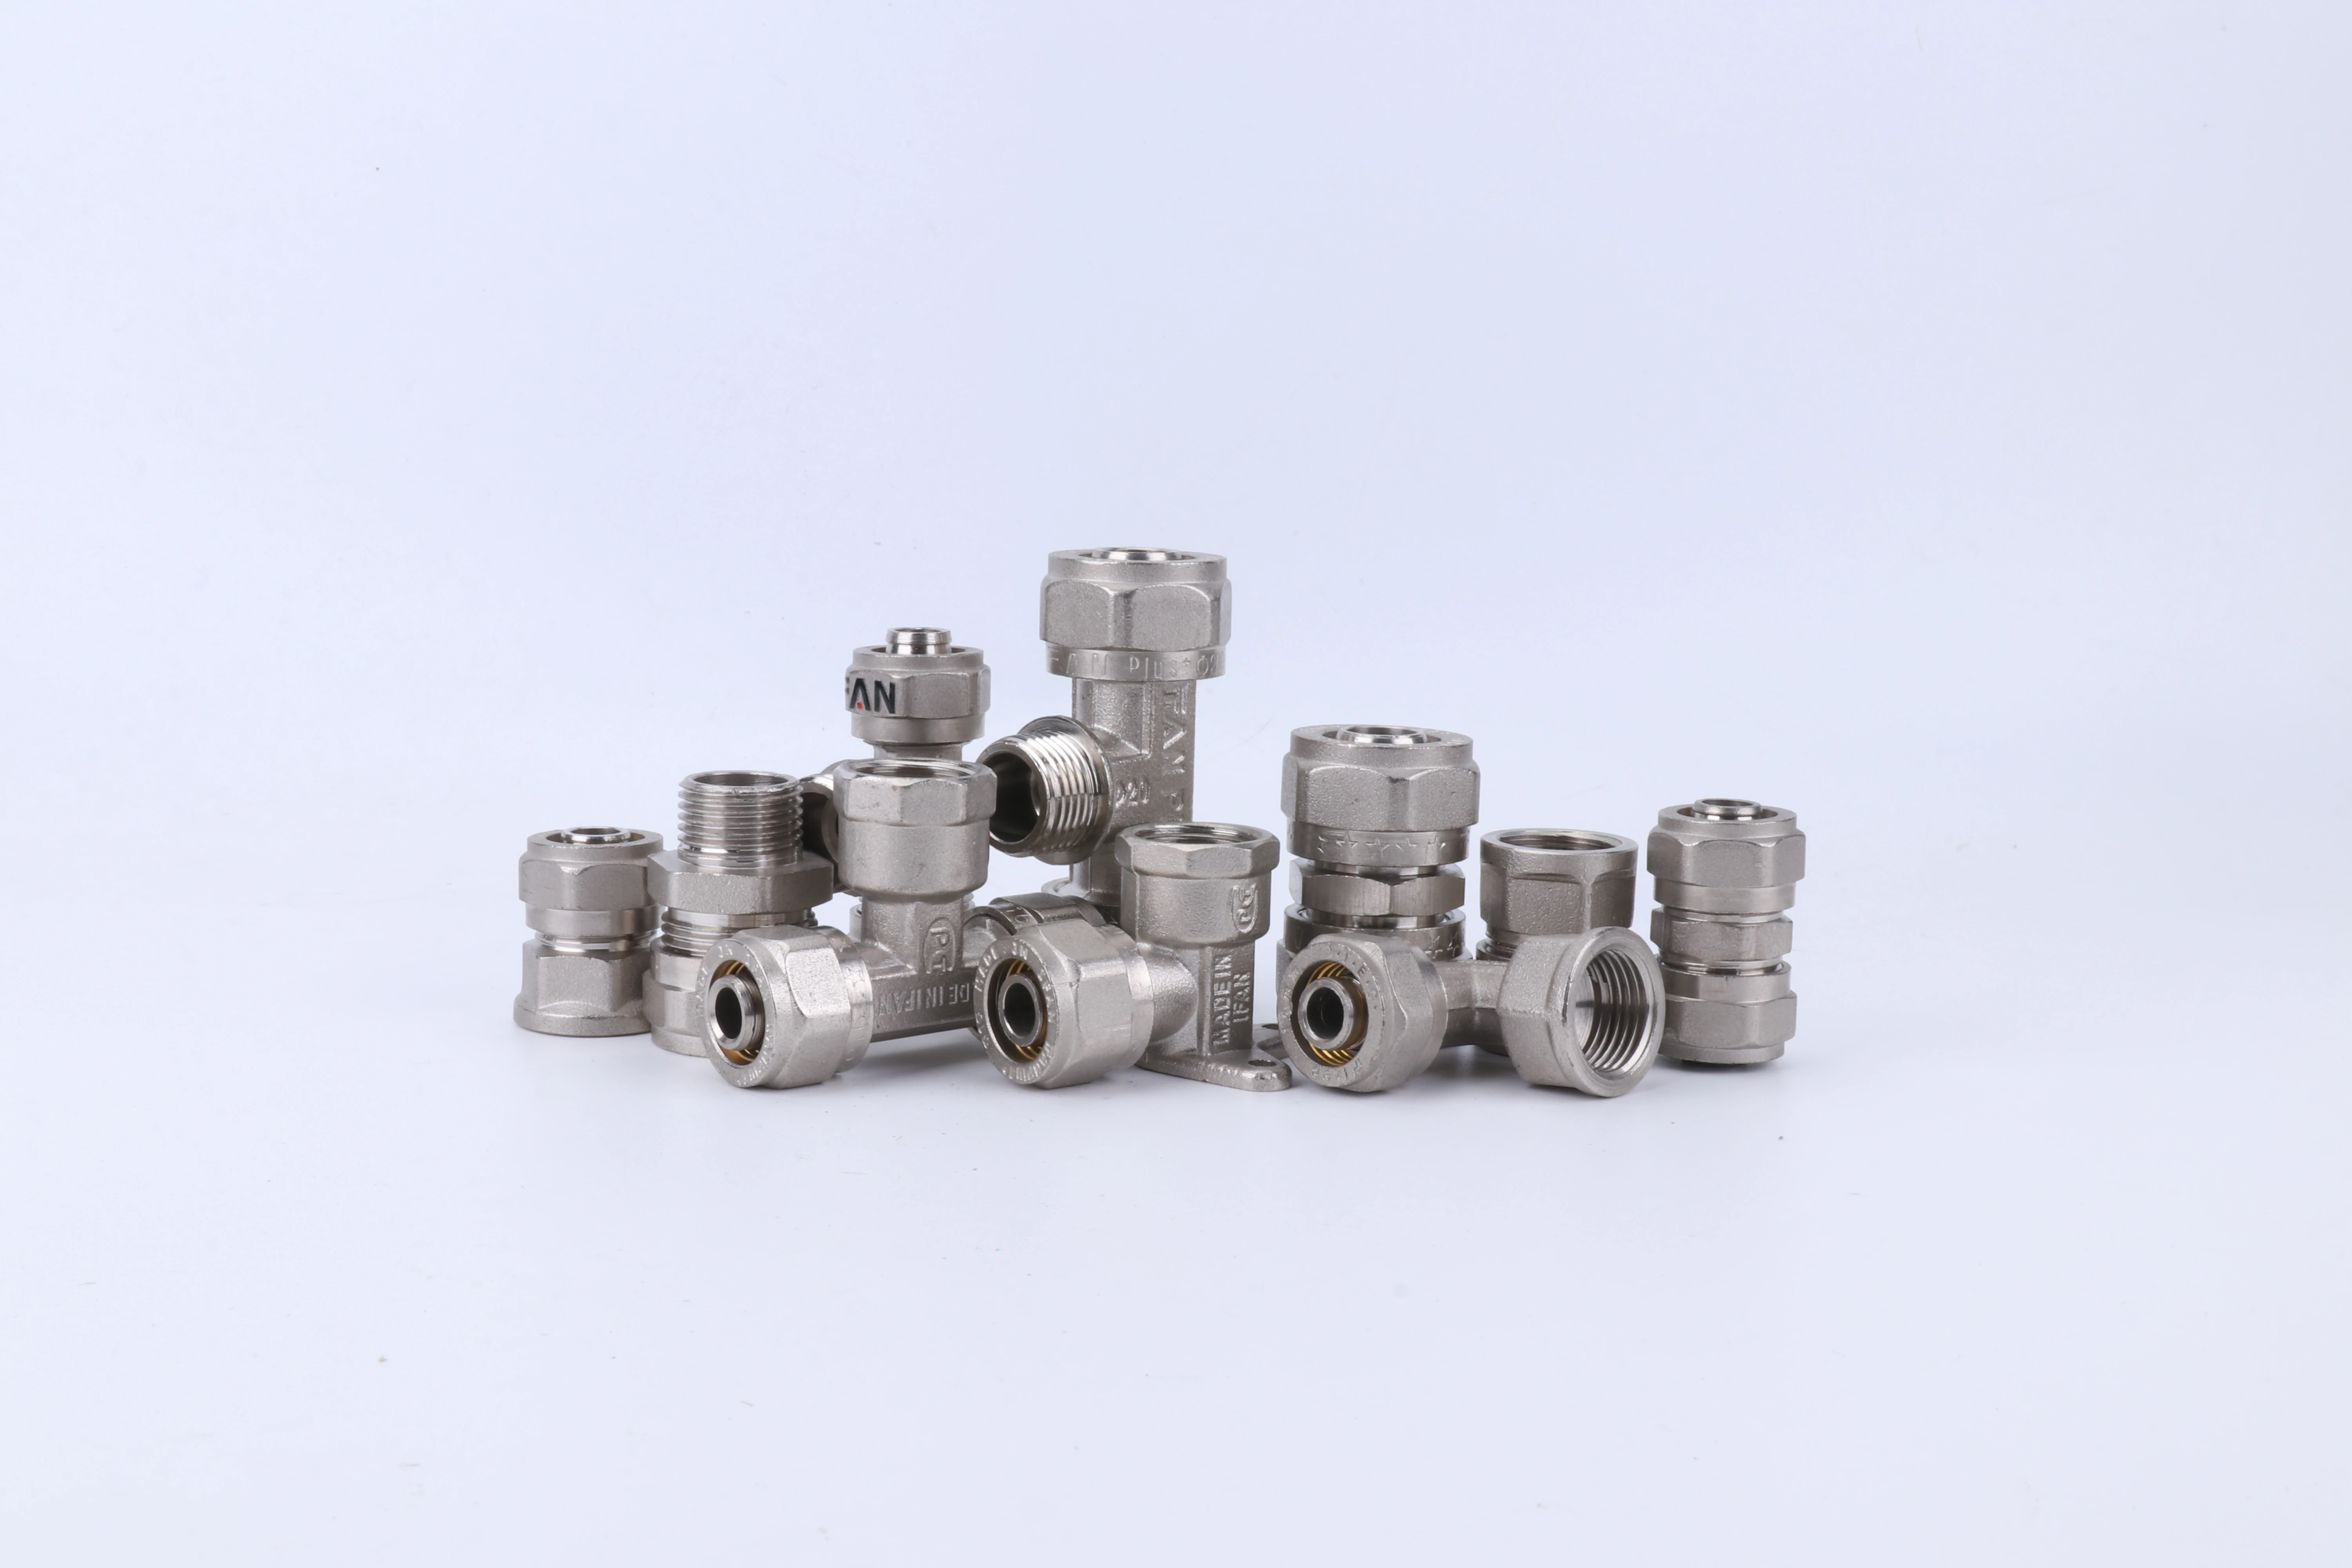
After testing various tool combinations across multiple job sites, I’ve standardized on a specific set that consistently delivers perfect crimps. The right tools not only make the job easier but actually prevent common installation errors.
Professional copper press sleeve installation requires four essential tools: a ratcheting PEX cutter for clean square cuts, a deburring tool for smooth edges, manufacturer-specific copper press sleeves, and a calibrated pressing tool with correctly sized jaws. Additional helpful tools include a go/no-go gauge and insertion depth marker for verification.
Essential Tool Specifications
Each tool serves a critical function in the installation process:
Precision Cutting Tools
Ratcheting PEX cutters provide:
- Clean, square cuts without deformation
- Minimal effort through mechanical advantage
- Consistent results across multiple users
- Quick blade replacement when needed
Pressing Tool Requirements
Professional pressing tools feature:
- Calibrated crimping pressure (typically 2,000-3,000 PSI)
- Quick-release mechanisms for efficiency
- Color-coded jaws for different sleeve sizes
- Battery or manual operation options
Measurement and Verification Tools
Quality assurance requires:
- Go/no-go gauges for instant crimp verification
- Depth markers for proper sleeve positioning
- Calibration certificates for pressing tools
- Torque verification devices
Tool Compatibility Considerations
Using matched components prevents failures:
| Tool Component | Compatibility Requirement | Consequence of Mismatch |
|---|---|---|
| Press Jaws | Must match sleeve manufacturer | Incomplete crimps, leaks |
| Sleeve Size | Must match PEX tubing size | Poor compression, failures |
| Tool Calibration | Must meet manufacturer specs | Under/over crimping |
| Battery Charge | Must maintain pressure | Incomplete crimp cycles |
How Do You Prepare PEX Tubing Before Applying Copper Press Sleeves?
I once investigated a series of leaks that all traced back to improper tube preparation. The installers had rushed the preparation steps, and the resulting failures cost thousands in repairs. This experience cemented my commitment to meticulous preparation protocols.
Proper PEX tubing preparation requires three critical steps: making square cuts using a ratcheting cutter, thoroughly deburring both internal and external edges, and ensuring the tube end is clean and round. Additionally, the tube must be free of ovality, scratches, or contamination that could compromise the seal.
Step-by-Step Preparation Process
Follow this sequence for perfect preparation:
Precision Cutting Technique
- Use a ratcheting PEX cutter positioned perpendicular to the tube
- Apply steady pressure until the blade completely severs the tube
- Avoid sawing motions that create uneven edges
- Inspect the cut for squareness before proceeding
Comprehensive Deburring Process
- Use a dedicated PEX deburring tool with both internal and external blades
- Rotate the tool clockwise around the external edge until smooth
- Insert the internal deburring blade and rotate to remove inner burrs
- Verify smoothness by running a finger around the edges
Final Preparation Checks
- Inspect the tube end for ovality or deformation
- Ensure the tube is clean and free of debris
- Check for scratches or scoring that might compromise the seal
- Verify the tube diameter matches the sleeve size
Common Preparation Errors to Avoid
Avoid these frequent mistakes:
Rushing the Cutting Process
- Using inferior tools that crush rather than cut
- Accepting angled cuts that prevent proper sleeve alignment
- Failing to inspect cuts before proceeding
- Not replacing dull cutting blades
Inadequate Deburring
- Skipping internal deburring entirely
- Applying insufficient pressure during deburring
- Using worn deburring tools that polish rather than cut
- Not verifying smoothness after deburring
What Is the Correct Technique for Crimping Copper Press Sleeves Securely?
After training dozens of installers, I’ve found that proper crimping technique separates professional results from problematic installations. The subtle details of hand position, tool alignment, and pressure application make all the difference in connection reliability.
Secure crimping requires perfect tool alignment perpendicular to the sleeve, steady pressure application until the tool releases, visual verification of complete crimp formation, and immediate inspection using a go/no-go gauge. The process demands proper body positioning and tool handling to ensure consistent, reliable results every time.
Professional Crimping Methodology
Master this systematic approach:
Tool Positioning and Alignment
- Hold the pressing tool perpendicular to the sleeve
- Ensure full jaw engagement around the entire sleeve circumference
- Position your body to apply force directly along the tool axis
- Support the fitting to prevent bending stress during crimping
Pressure Application Technique
- Squeeze the tool handles steadily and evenly
- Maintain pressure until the tool releases automatically
- Listen for the “click” indicating complete crimp cycle
- Avoid jerky motions or partial releases during crimping
Post-Crimp Protocol
- Release the tool smoothly without twisting
- Visually inspect the crimp immediately
- Verify using go/no-go gauge before proceeding
- Document successful crimps in quality control records
Advanced Technique Considerations
These subtleties improve results:
Multiple Connection Strategies
When installing several connections close together:
- Plan the sequence to avoid access issues
- Crimp the most difficult connections first
- Use extended jaws for tight spaces
- Verify each connection before moving to the next
Environmental Adaptations
Adjust techniques for challenging conditions:
- In cold weather, allow PEX to warm before installation
- In hot weather, work quickly to prevent sleeve movement
- In wet conditions, dry components thoroughly before crimping
- In tight spaces, use remote or compact tool options
How Can You Verify the Integrity of PEX Copper Press Sleeve Connections?
Our company implemented a rigorous verification protocol after discovering that visual inspection alone missed 15% of defective crimps. The current four-step verification process has eliminated crimp-related leaks across all our projects for three consecutive years.
Connection integrity verification requires four complementary methods: visual inspection for proper sleeve deformation, go/no-go gauge testing, pressure testing of completed systems, and periodic destructive testing for quality control. Each method detects different potential failure modes, providing comprehensive reliability assurance.
Comprehensive Verification Protocol
Implement this multi-layered approach:
Visual Inspection Criteria
Properly crimped sleeves display:
- Uniform indentation around entire circumference
- No gaps between sleeve and fitting body
- Symmetrical deformation without twisting
- Smooth transition from crimped to uncrimped areas
Go/No-Go Gauge Implementation
- Test every connection immediately after crimping
- Apply gauge with hand pressure only
- Gauge must not fit over properly crimped sleeve
- Document any failures for training purposes
Pressure Testing Standards
- Test completed systems at 1.5x working pressure
- Maintain pressure for minimum 30 minutes
- Monitor for pressure drops exceeding 5%
- Inspect for weeping or moisture during testing
Quality Assurance Documentation
Professional verification requires proper documentation:
Installation Records
- Document all verification results
- Note any corrective actions taken
- Record tool calibration dates
- Maintain installer certification records
Continuous Improvement Process
- Analyze any verification failures
- Update procedures based on findings
- Retrain installers as needed
- Share lessons across organization
Verification Equipment Specifications
Use these professional standards:
| Verification Method | Equipment Required | Acceptance Criteria |
|---|---|---|
| Visual Inspection | Trained eye, good lighting | Uniform crimp, no gaps |
| Go/No-Go Gauge | Manufacturer-specific gauge | Must not fit over crimp |
| Pressure Testing | Calibrated gauge, pump | ≤5% pressure drop in 30 min |
| Destructive Testing | Sample connections, cutting tools | Full sleeve engagement |
Conclusion
Mastering PEX copper press sleeve installation requires proper tool selection, meticulous tube preparation, precise crimping technique, and comprehensive verification—all working together to create reliable, leak-proof connections that withstand the test of time while meeting industry standards and building code requirements.









Recent Comments