
1. Why Choose PPR Pipes for Drinking Water Systems?
- Key Advantages:
- Non-toxic, odorless, and compliant with international drinking water safety standards (e.g., NSF/ANSI 61, ISO 22391).
- High resistance to corrosion, chemical damage, and bacterial growth.
- Thermal stability for hot and cold water applications (operating temperature: -10°C to 95°C).
- Lightweight and easy to handle, reducing installation labor costs.
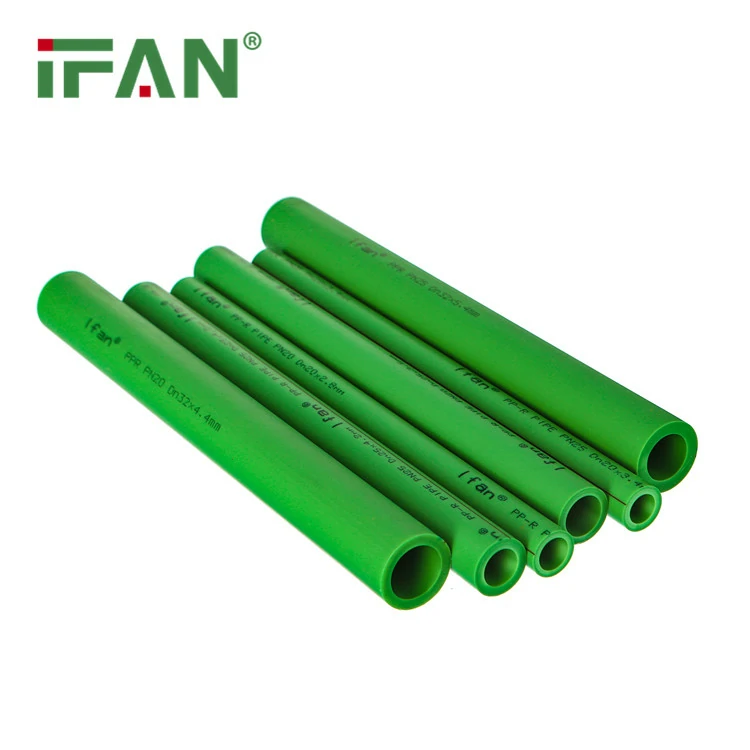
- ifan Pipeline’s PPR Pipes: Manufactured with food-grade raw materials, certified for potable water use, and tested for leachability and hygiene.
2. Tools & Materials You’ll Need
Essential Tools:
- PPR pipe cutter or hacksaw (for precise cuts).
- Hot melt welding machine (for fusion joints) or mechanical fittings (if using push-fit connections).
- Deburring tool or sandpaper (to smooth pipe edges).
- Measuring tape, marker, and pipe bender (for curved installations).
- Pressure test pump (to check for leaks).
Materials:
- PPR pipes (select the correct diameter and pressure rating, e.g., SDR11 for 16 bar pressure).
- Fittings: Elbows, tees, unions, valves, and end caps (ensure they are PPR-compatible).
- Sealing materials (if using mechanical fittings: O-rings, thread seal tape for metal connections).
- Support brackets or clamps (spaced 60-100 cm apart, depending on pipe diameter).
3. Pre-Installation Preparation
- Plan the Layout:
- Sketch the pipe route, avoiding direct sunlight (use insulation if exposed) and high-temperature areas.
- Mark locations for fixtures (taps, water heaters, filters) and ensure compliance with building codes (e.g., minimum distance from electrical wiring).
- Inspect Materials:
- Check for scratches, cracks, or deformities in pipes/fittings.
- Verify pressure ratings (drinking water systems typically require 10-16 bar for residential use).
- Prepare the Workspace:
- Ensure proper ventilation and safety gear (gloves, eye protection).
4. Step-by-Step Installation Process
Step 1: Cut Pipes to Size
- Use a pipe cutter for square, burr-free cuts (avoid hacksaws for large diameters to prevent uneven edges).
- Deburr both the inner and outer edges to prevent debris from entering the water system.
Step 2: Join Pipes & Fittings (Hot Melt Welding Method)
- Heat the welding machine to 260°C ± 5°C (standard temperature for PPR).
- Insert the pipe and fitting into the heating dies for the recommended time (e.g., 5-8 seconds for 20mm pipes, per manufacturer guidelines).
- Remove both parts and quickly align them, pushing the pipe fully into the fitting without rotating. Hold for 10-15 seconds to secure the joint.
Step 3: Install Pipes with Support Brackets
- Attach brackets to walls/floors using screws or adhesive (avoid over-tightening to prevent pipe deformation).
- For vertical runs, use adjustable brackets to accommodate thermal expansion (PPR expands ~0.15mm/m°C).
Step 4: Connect to Existing Systems
- Use transition fittings (e.g., PPR-to-copper or PPR-to-PEX adapters) for mixing with other pipe types.
- Ensure metal connections (e.g., threaded fittings) are sealed with food-grade thread tape to prevent contamination.
Step 5: Pressure Test the System
- Close all outlets and fill the system with water, bleeding air through faucets.
- Increase pressure to 1.5x the working pressure (e.g., 15 bar for a 10 bar system) and hold for 30 minutes.
- A pressure drop >0.1 bar indicates leaks—check joints and re-weld/fix as needed.
5. Post-Installation: Flush & Sanitize the System
- Flush the Pipes: Turn on all taps and let water run for 15-20 minutes to remove debris.
- Sanitize (Optional for New Systems):
- Mix a solution of 1-2% food-grade hydrogen peroxide or chlorine bleach.
- Circulate the solution through the pipes for 2-4 hours, then flush thoroughly with clean water until no odor remains.
- Inspect for Leaks: Check joints and brackets again after 24 hours of operation.
6. Common Mistakes to Avoid
- Using Non-Potable Grade Materials: Always verify that pipes/fittings are certified for drinking water (look for NSF 61 or WRAS approval).
- Overheating Joints: Excessive heat can degrade PPR, leading to weak connections—follow manufacturer welding times strictly.
- Ignoring Thermal Expansion: Install expansion loops or flexible connectors in long straight runs to prevent stress on joints.
- Skipping Pressure Testing: Even minor leaks can cause mold or structural damage over time.
Conclusion
Installing PPR pipes for drinking water is a reliable, long-lasting solution when done correctly. By following these steps—from material selection to pressure testing—you can ensure a safe, leak-free system that meets international hygiene standards. For high-quality PPR pipes and fittings designed for potable water applications, explore ifan Pipeline’s certified products at ifanultra.com.


Recent Comments