
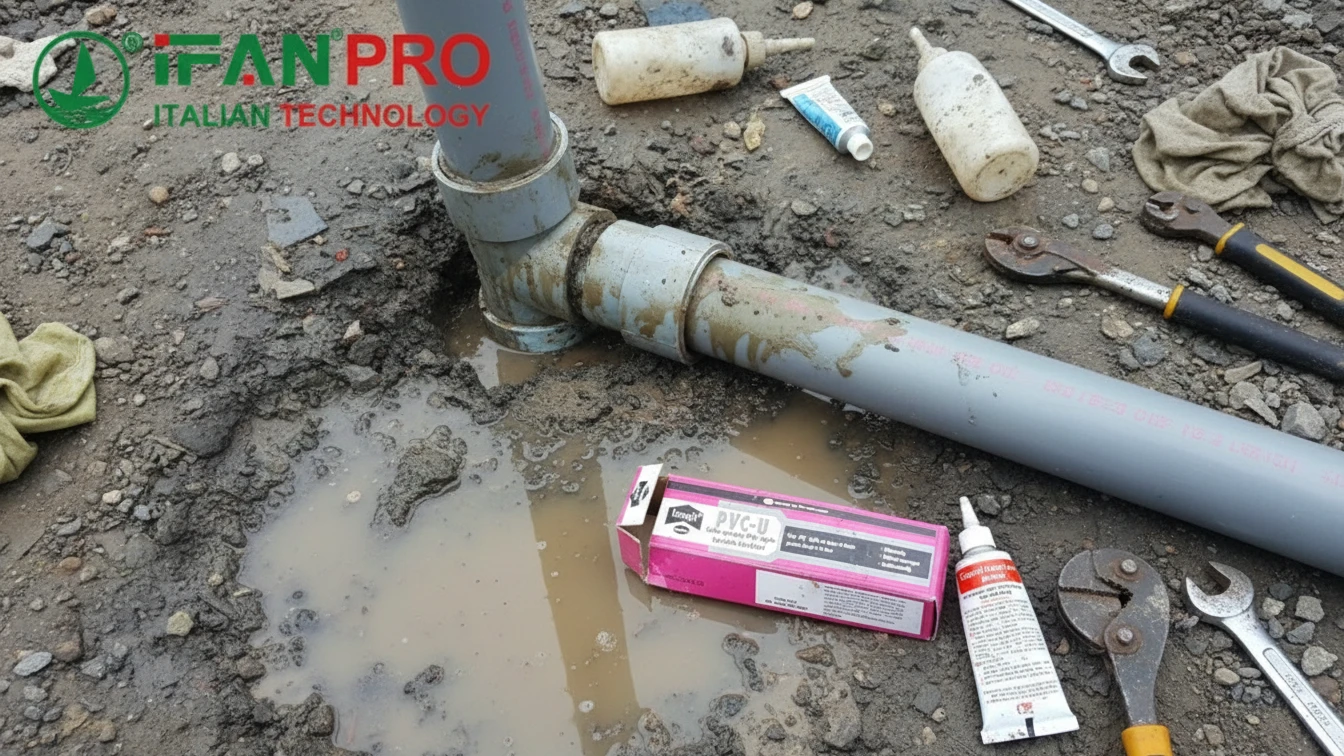
I once inspected a failed irrigation system where the pipes simply pulled apart. The installer had used it like regular glue, not understanding its true purpose. This is why knowing about solvent cement is critical.
Solvent cement is essential for PVC joints because it doesn’t just glue pipes together; it chemically melts and fuses the PVC materials, creating a permanent, homogeneous, and leak-proof bond. This welded joint becomes the strongest part of the entire PVC system, ensuring long-term integrity and safety under pressure.
This process is what makes PVC plumbing reliable. Therefore, let’s break down exactly how this works and why cutting corners here is never an option.
How Does Solvent Cement Chemically Weld PVC Pipes and Fittings Together?
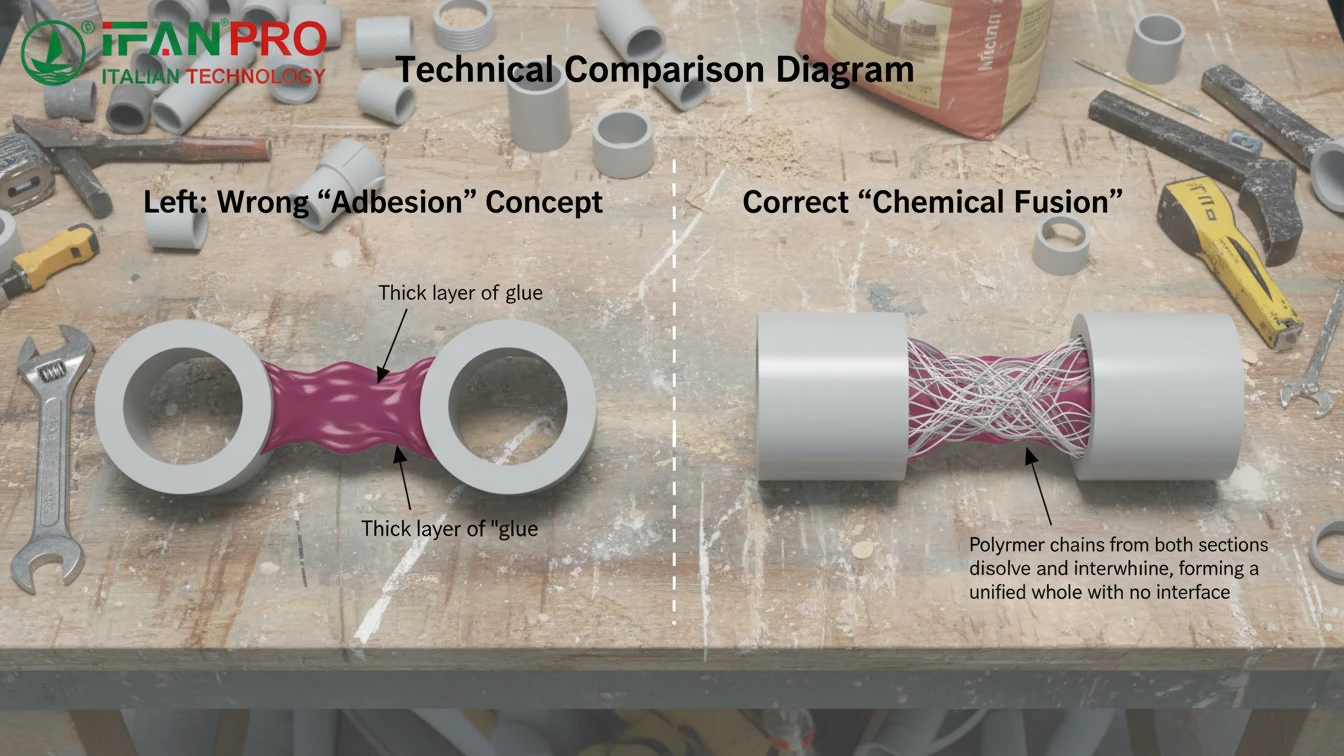
Many think solvent cement is just a strong adhesive. I’ve seen this misunderstanding lead directly to joint failure on a construction site.
Solvent cement chemically welds PVC by using powerful solvents to temporarily dissolve the surface layers of both the pipe and fitting. This creates a thick slurry of softened PVC material. When assembled, these dissolved layers mix and permanently fuse together as the solvents evaporate, forming a single, solid piece of plastic at the joint.
The Chemical Reaction, Step by Step
Understanding this process is key to using the product correctly. It’s not a physical bond but a chemical recombination.
First, the cement is applied. It contains two main types of ingredients: solvents and PVC resin. The solvents, like tetrahydrofuran (THF) and cyclohexanone, are the active agents. They are specifically chosen for their ability to attack and dissolve PVC plastic.
When you apply the cement to the pipe end and inside the fitting socket, these solvents immediately go to work. They don’t just sit on the surface; they penetrate and dissolve a thin layer of the rigid PVC material. This turns the solid plastic into a soft, gel-like state.
The Creation of a “Weld”
Next comes the assembly. You quickly push the pipe into the fitting with a quarter-turn twist. This action is crucial because it mixes the two dissolved PVC surfaces from the pipe and fitting together into one consistent, viscous solution. At this moment, the two separate parts are no longer distinct; their materials are combined.
Finally, the solvents evaporate. They escape through the plastic and into the air. What remains behind is the PVC resin from the cement itself, now thoroughly mixed with the re-solidified PVC from the pipe and fitting. As it cures, it hardens into a new piece of solid PVC that is continuous through the joint area.
Comparison: Mechanical vs. Chemical Joint
| Joint Type | How It Holds | Strength | Failure Risk |
|---|---|---|---|
| Mechanical (Threaded, Gasketed) | Physical force or compression | Depends on seal tightness | Can vibrate loose, seal degrades |
| Chemical (Solvent Cement) | Materials are fused into one piece | Joint is as strong as the pipe | Virtually zero if done correctly |
This is why we call it a “welded” joint. Just like two pieces of metal melted together, the PVC molecules from the pipe and fitting intermingle and re-form as one. Therefore, the resulting connection is monolithic. As a result, it resists vibration, pressure surges, and thermal expansion far better than any mechanical connection could.
What are the Consequences of Not Using Solvent Cement on PVC Joints?
Trying to save time or money by skipping proper cement is a guaranteed path to failure. I’ve documented leaks, floods, and costly repairs that all started with this one mistake.
The consequences of not using solvent cement are severe and inevitable: the joints will leak, fail under pressure, or simply pull apart. This leads to water damage, system shutdowns, costly rework, and potential safety hazards from spraying water or sewage, completely negating the reliability of the PVC system.
Immediate and Long-Term Failure Modes
A PVC joint without proper solvent cement welding is just two pieces of smooth plastic sitting together. There is no bond.
The most common and immediate consequence is leakage. Even at low pressure, water will find the microscopic gaps between the pipe and fitting. In a drain line, sewage will seep out, causing unsanitary conditions and foul odors. The leak might start small but will worsen over time.
More dangerously, the joint can catastrophically separate. Under normal water pressure, or from a slight impact or system vibration, the pipe can blow out of the fitting. This causes sudden, flooding water discharge. In an irrigation or pool system, this wastes huge amounts of water. In a home, it can ruin drywall, flooring, and personal belongings.
The Hidden Costs of Failure
The real impact goes beyond the initial leak. Consider these cascading problems:
- Property Damage: Water from a failed pressurized line can cause thousands of dollars in damage to a building’s structure and contents.
- System Downtime: The entire plumbing system must be shut down for repairs. This can halt business operations, delay construction projects, or leave a home without water.
- Costly Rework: Fixing the problem is much more expensive than doing it right the first time. You must cut out the failed section, which often means destroying multiple good fittings and pipes to access the bad joint, then purchase new materials and pay for additional labor.
- Loss of Trust: For contractors, a single failure damages your reputation. For homeowners, it creates lasting distrust in the system’s reliability.
Common “Shortcut” Attempts and Their Results
People sometimes try alternatives, all of which fail.
| Wrong Method Used | What Happens | Time to Failure |
|---|---|---|
| Using Standard “Glue” (e.g., Super Glue) | Bonds only the surface; brittle and cracks. | Days to weeks |
| Using Silicone Sealant | Forms a gasket but doesn’t bond to PVC; squeezes out under pressure. | Immediate or within weeks |
| Using No Cement at All | Pipes rely on friction; they pull apart easily. | Immediate during pressure test |
| Using Expired/Weak Cement | Solvents have evaporated; no chemical fusion occurs. | Months, leading to slow leaks |
In summary, omitting solvent cement turns a robust plumbing system into a network of potential failure points. Consequently, it invalidates all the benefits of using PVC in the first place. Therefore, the small cost and time of using the right cement are insignificant compared to the high risk and cost of failure.
How Do You Choose the Right Solvent Cement for Different PVC Applications?
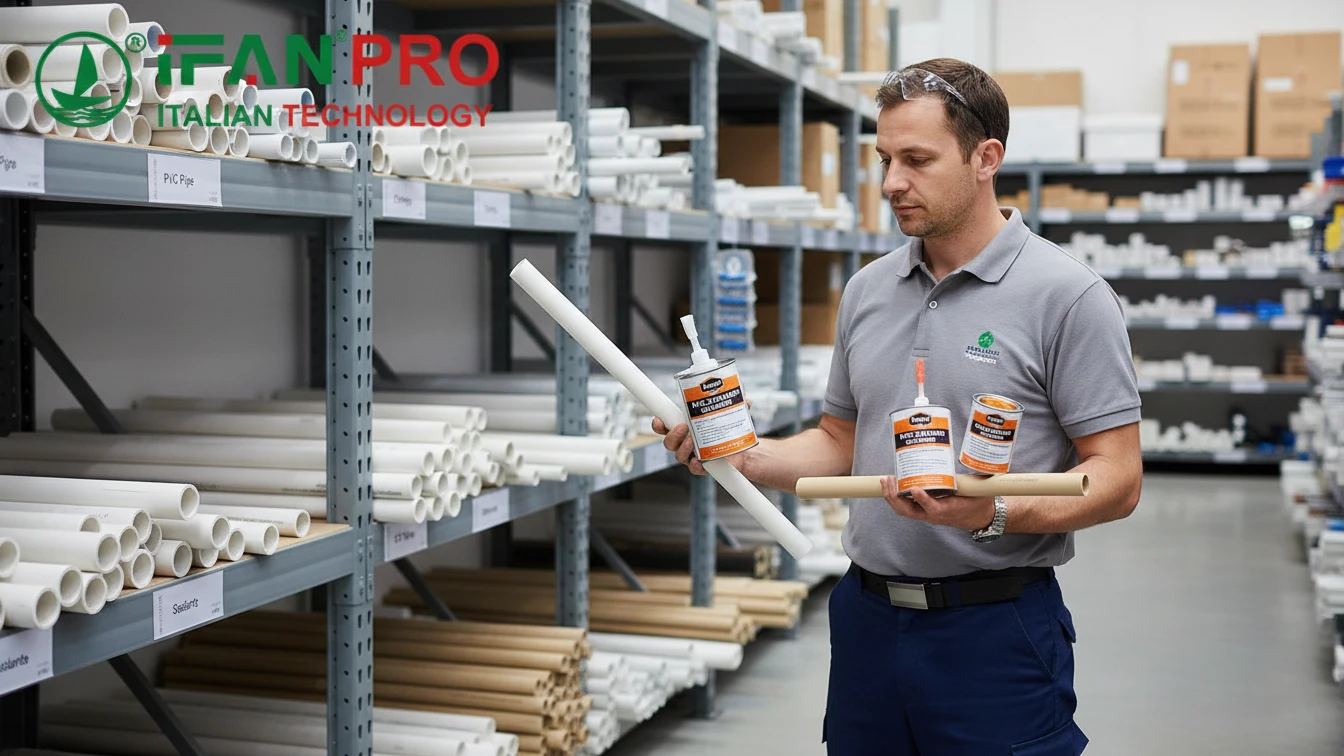
Not all solvent cements are the same. I once had a client use a regular cement on pressure pipes, which led to a slow, frustrating leak we had to diagnose.
You choose the right solvent cement by matching three key factors: the PVC type (like PVC-U or CPVC), the pipe size and application (pressure vs. drain), and the installation conditions (temperature, humidity). Always select a cement specifically formulated and certified for your exact pipe material and use case.
Step 1: Identify the PVC Material Type
This is the most critical rule. PVC comes in different formulations, and each requires a compatible cement.
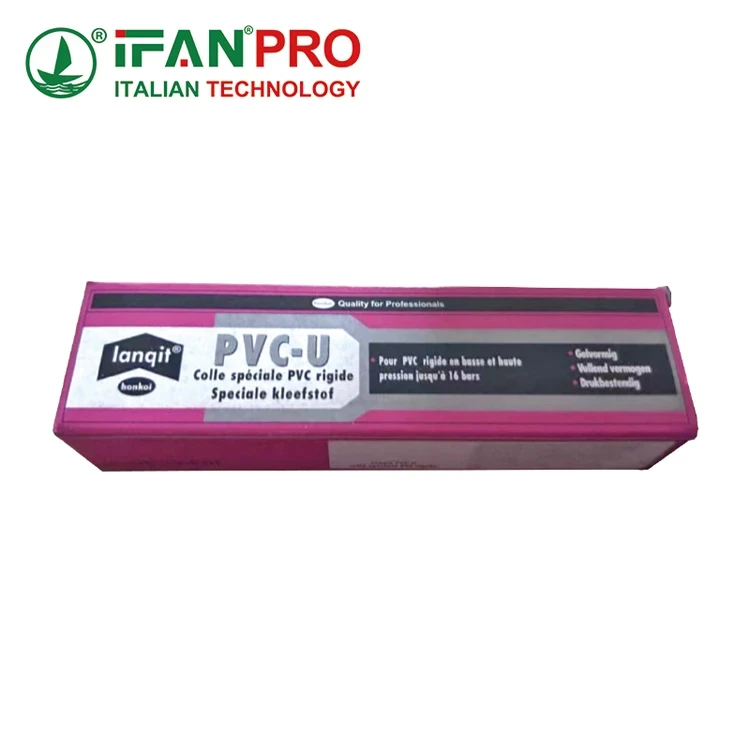
- PVC-U (Unplasticized PVC): This is the standard white or gray pipe used for cold water pressure lines, drainage, and sewer. It requires a standard PVC solvent cement.
- CPVC (Chlorinated Polyvinyl Chloride): This is the tan or light yellow pipe used for hot and cold water distribution. It can handle higher temperatures. You must use a CPVC-specific solvent cement. Standard PVC cement will not properly weld CPVC and will create a weak joint.
- ABS (Acrylonitrile Butadiene Styrene): A black plastic used for drain, waste, and vent (DWV) lines. Use ABS cement only. Do not mix ABS and PVC materials or cements unless using a special transition cement.
Step 2: Consider the Application and Pipe Size
The job demands dictate the cement’s formula.
- For Large Diameter Pipes (>4″): Use a heavy-bodied cement. It is thicker, dries slower, and fills the larger gap in big sockets better, ensuring full coverage.
- For Small Diameter Pipes (<2″): Use a medium- or regular-bodied cement. It is easier to apply in tight spaces and on small surfaces.
- For Pressure Applications: Always use cement labeled for pressure pipes. It has a higher resin content for a stronger weld.
- For Non-Pressure/Drain Applications: You can use standard drain-grade cement. It is often less expensive.
Step 3: Account for Installation Conditions
Weather and timing matter.
- Cold Weather Installations: Use a low-temperature formula cement. Standard cement’s solvents evaporate too slowly in the cold, drastically extending cure time and weakening the joint.
- Fast Assembly Needs: If you need to test the line quickly, a fast-set cement can be an option, but it requires very quick and precise work.
- Humid or Wet Conditions: Ensure pipes are dry. Some all-weather cements have better tolerance, but surface water must still be wiped away.
Solvent Cement Selection Guide
| Application Scenario | PVC Material | Recommended Cement Type | Key Reason |
|---|---|---|---|
| Residential Cold Water Supply | PVC-U | Pressure-rated, Regular Body | Safe for drinking water, strong weld |
| Residential Hot & Cold Water | CPVC | CPVC-specific, Pressure-rated | Withstands heat, proper chemical fusion |
| Underground Sewer/Drain Line | PVC-U | Heavy-Bodied | Fills gaps, good for large diameters |
| DWV inside a wall | PVC-U or ABS | Standard Body for that material | Easy application in tight spaces |
| Outdoor installation in winter | PVC-U | Low-Temperature Formula | Proper curing in cold conditions |
Always check the cement can’s label. For example, reputable brands like IFAN clearly list the compatible materials, pipe sizes, and application types. When in doubt, choose the cement made for the more demanding condition (e.g., pressure over drain, CPVC over PVC).
What is the Proper Technique for Applying Solvent Cement to PVC Joints?
The right cement applied poorly still fails. I train teams on this sequence because skipping one step, like the primer, is a common and costly error.
The proper technique involves five key steps: cut and deburr the pipe, dry fit the joint, clean with primer, apply cement to both surfaces, and quickly assemble with a quarter-turn twist. You must hold the joint steady for 15-30 seconds to prevent push-out and allow it to cure fully before handling or pressurizing.
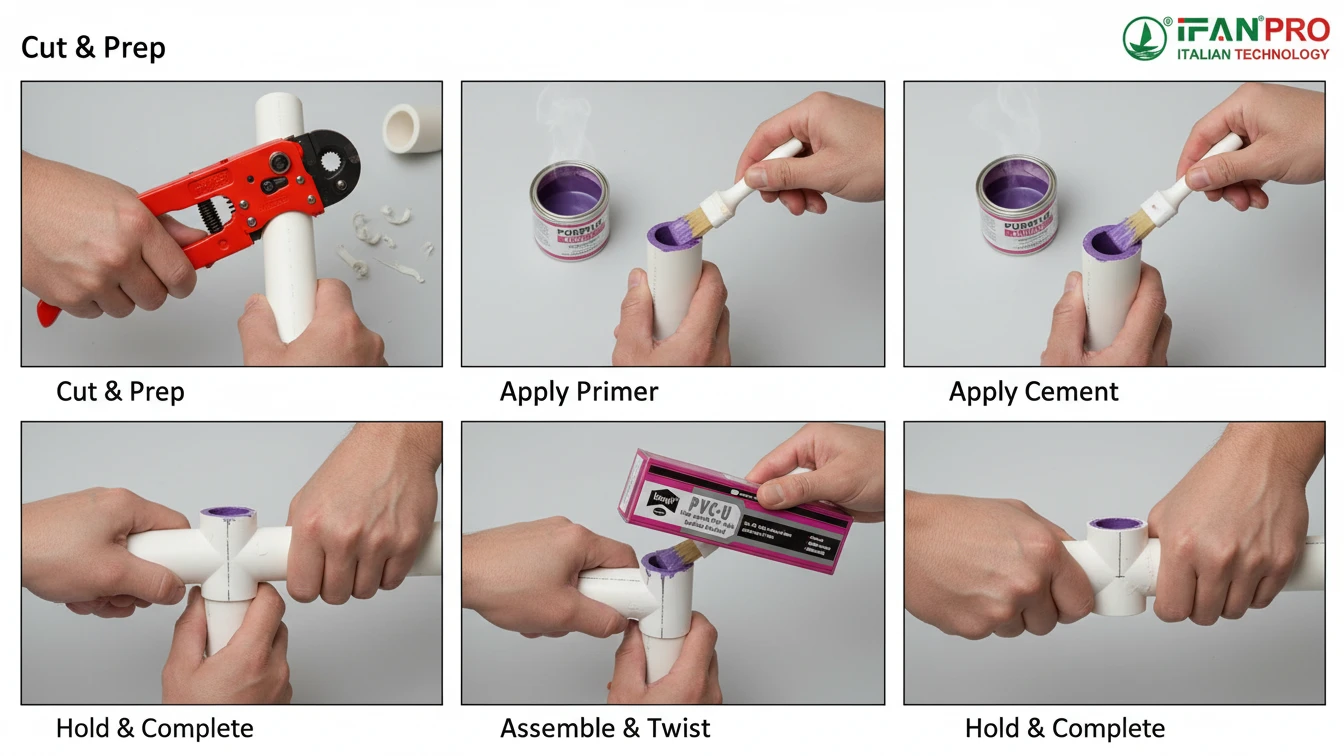
Step 1: Cut and Prepare the Pipe
First, use a sharp pipe cutter or fine-tooth saw for a clean, square cut. A crooked cut leaves gaps. Next, deburr the pipe. The cutting process leaves a slight ridge on the inside and outside of the pipe. Use a deburring tool or file to remove this ridge. An inside burr restricts water flow; an outside burr can scrape cement off the fitting socket during assembly.
Step 2: Dry Fit and Mark the Joint
Then, push the pipe into the fitting by hand until it bottoms out. Mark a line across the joint with a pencil. This shows you the full insertion depth. Now, take the pieces apart. This step checks for proper fit and gives you a visual guide for final assembly.
Step 3: Clean and Apply Primer
After that, wipe dirt and moisture off the pipe end and fitting socket with a clean cloth. Then, apply PVC primer. This purple (or clear) liquid is not glue. It cleans the plastic and further softens the surface to prepare it for the cement. Apply it generously to the pipe end (about 1.5 times the socket depth) and inside the fitting socket. Let it soak for a few seconds. The purple color is helpful as it shows you where primer has been applied.
Step 4: Apply Cement and Assemble
Immediately after the primer becomes tacky, apply a uniform, even coat of solvent cement. Use the applicator brush in the can. First, coat the inside of the fitting socket liberally. Then, coat the pipe end from the mark back toward the end. Apply a second, lighter coat to the pipe end. The surfaces should look wet and shiny.
Quickly push the pipe into the fitting, twisting it a quarter turn (90 degrees) as you go. This spreads the cement evenly. Push until the pipe bottoms out in the socket, aligning your pencil mark. Hold the joint firmly together for 15 to 30 seconds to prevent the pipe from pushing back out due to the hydraulic pressure of the soft cement. A small bead of cement should form around the rim of the joint—this is a good sign.
Step 5: Allow for Proper Curing Time
Finally, remember the joint is not ready for pressure immediately. The solvents need time to fully evaporate.
- Handling Time: Wait at least 2 minutes before carefully moving the joint.
- Cure Time Before Pressure Test: This depends on pipe size and temperature. Follow the chart on the cement can. As a general rule, wait 15 minutes for small pipes (up to 1-1/4″) and 2 hours for larger pipes (1-1/2″ and up) at 60-100°F before testing with water pressure.
- Full Cure: The joint reaches full strength in 24 hours.
Common Mistakes to Avoid
| Mistake | Result | How to Prevent |
|---|---|---|
| Skipping Primer | Weak, incomplete fusion; joint may leak later. | Always use primer for pressure applications. |
| Insufficient Cement | Dry spots, no fusion, weak joint. | Apply a thick, even coat to both surfaces. |
| Over-application | Cement runs inside pipe, causing blockages or contamination. | Avoid puddling; don’t drip cement into the pipe. |
| Not Twisting on Assembly | Uneven cement distribution, potential dry channels. | Always give that crucial quarter-turn. |
| Moving Joint Too Soon | Joint separates or weakens internally. | Hold firmly for 30 seconds, then leave it undisturbed. |
In conclusion, mastering this technique is simple but non-negotiable. It ensures the chemical weld forms perfectly, giving you a joint as reliable as the pipe itself.
Conclusion
Proper solvent cement is the key to a permanent, leak-proof PVC system. For reliable performance, always use high-quality, application-specific products like IFAN’s range of PVC and CPVC solvent cements and primers.


Commentaires récents