
PPR (Polypropylene Random Copolymer) elbow fittings are essential in any piping system where the direction of flow needs to change—commonly by 90° or 45°. However, improper installation of these fittings often leads to leaks, system failure, or costly repairs.
In this article, we’ll guide you through a step-by-step process to properly install PPR elbow fittings, highlight common mistakes to avoid, and introduce you to reliable wholesale solutions from ifanpro, a leading PPR pipe and fitting manufacturer in China.
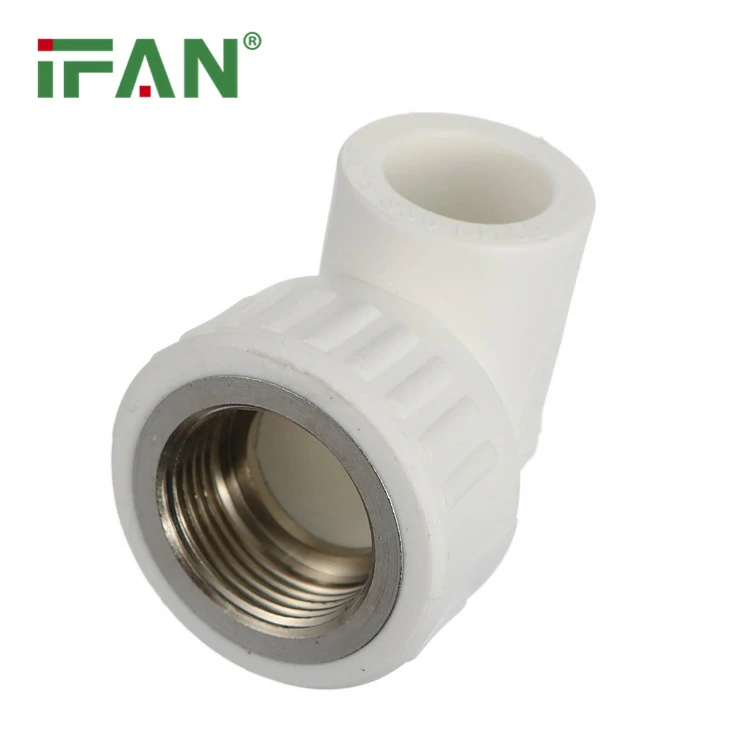
🔧 What Are PPR Elbow Fittings?
PPR elbow fittings are pipe connectors that allow water to flow around corners. They come in various angles, most commonly:
- 90-degree elbows (for right-angle turns)
- 45-degree elbows (for smoother flow transitions)
These fittings are widely used in:
- Residential plumbing
- Commercial buildings
- Industrial piping systems
- Heating and cooling networks
✅ Tools You’ll Need
Before you begin installation, make sure you have the following tools:
- PPR pipe cutter
- Socket fusion welding machine
- Marker for alignment
- Deburring tool
- Measuring tape
- Clean cloth
🛠️ Step-by-Step Guide: How to Install PPR Elbow Fittings Leak-Free
Step 1: Measure and Cut
- Measure the pipe length required to reach the elbow.
- Cut the PPR pipe cleanly using a pipe cutter.
- Ensure the cut is straight and free from burrs.
Step 2: Prepare the Pipe and Fitting
- Clean both the pipe end and the elbow socket using a dry cloth.
- Use a deburring tool to remove sharp edges or shavings.
- Mark the insertion depth on the pipe (typically 1.5 to 3cm depending on pipe diameter).
Step 3: Heat the Pipe and Elbow
- Heat the outer surface of the pipe and the inner socket of the elbow using a PPR socket fusion machine.
- Standard heating time: 5–7 seconds for 20mm–32mm, longer for larger diameters.
Step 4: Join Quickly and Correctly
- Immediately insert the pipe into the elbow socket in a straight motion (no twisting).
- Hold in place for 10–30 seconds to allow the joint to cool and set.
- Ensure alignment is correct—misaligned elbows can cause stress and eventual leakage.
Step 5: Cool and Inspect
- Allow the joint to fully cool for at least 30 minutes before pressurizing the system.
- Inspect for gaps, surface burns, or misalignment.
⚠️ Common Mistakes That Cause Leaks
- ❌ Overheating or underheating during fusion
- ❌ Inserting the pipe at an angle or twisting during welding
- ❌ Using dirty or oily surfaces before welding
- ❌ Using non-standard or low-quality elbow fittings
- ❌ Failing to check alignment before cooling
🔍 Pro Tip: Use Certified, High-Precision Fittings
Not all PPR elbow fittings are created equal. Low-grade products may have:
- Irregular socket dimensions
- Poor material quality
- Weak resistance to heat or pressure
To ensure leak-free installation, always source fittings from trusted, certified manufacturers.
🌍 Wholesale PPR Elbow Fittings from ifanpro
At ifanpro, we specialize in the production and global export of:
- 90° and 45° PPR elbows
- DIN 8077/8078 and ISO 15874 certified fittings
- Sizes from 20mm to 160mm
- Color and branding customization (OEM available)
Why choose us?
- 🏭 In-house manufacturing and QC control
- 🚢 Bulk supply with fast global shipping
- 🔧 Technical support for installers and importers
- 🌱 Eco-friendly and recyclable materials
Visit ifanpro.com to explore our full range or request a quote today.
✅ Conclusion
Proper installation of PPR elbow fittings is key to ensuring a long-lasting, leak-proof piping system. By following correct fusion welding steps, using the right tools, and sourcing high-quality fittings, you can eliminate the risk of joint failures and system downtime.
Whether you’re a contractor, distributor, or project buyer, ifanpro offers reliable wholesale solutions to support your needs—backed by expertise, certification, and customer-first service.


Commentaires récents