
I once watched a DIY installation fail because someone skipped the preparation steps. The joint leaked within hours, causing water damage. This taught me that proper CPVC installation starts long before you open the cement can.
To install CPVC with solvent cement, you need to properly prepare the pipes, apply cement correctly, allow full curing time, and test the connections. The process involves cutting and deburring pipes, cleaning with primer, applying solvent cement to both pipe and fitting, joining immediately, and holding firmly for 30 seconds before allowing full cure time.
Getting CPVC installations right requires attention to each step of the process. Let me walk you through the crucial stages for a successful, leak-free system.
What are the Essential Preparation Steps for CPVC Solvent Cement Installation?
I’ve seen too many failures from poor preparation. Last month, a client called about a leaking joint – the pipe surface wasn’t properly cleaned before cement application.
The essential preparation steps include: measuring and cutting CPVC pipes straight, removing all burrs from cut ends, cleaning both pipe and fitting surfaces with CPVC cleaner, and applying primer evenly. Proper preparation ensures the solvent cement can properly fuse the materials together for a permanent bond.
Getting Your Materials and Workspace Ready
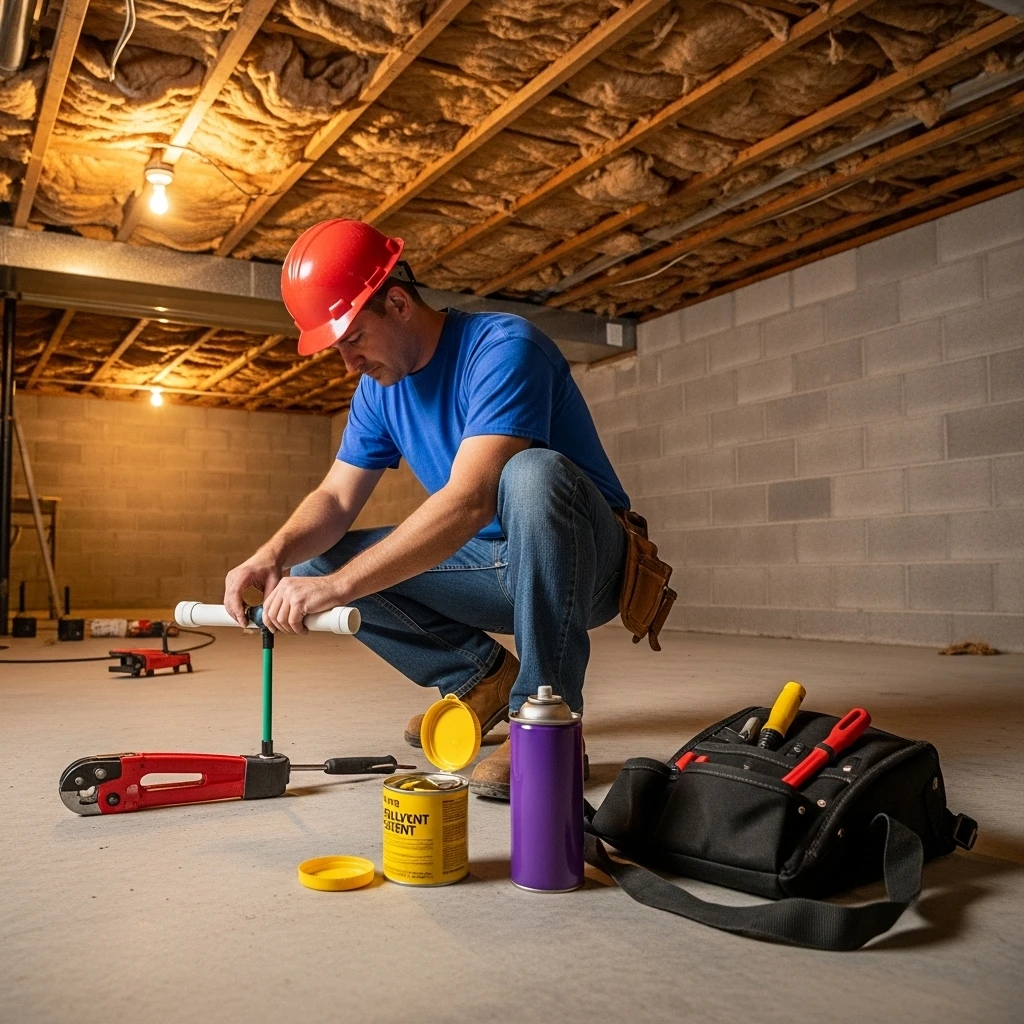
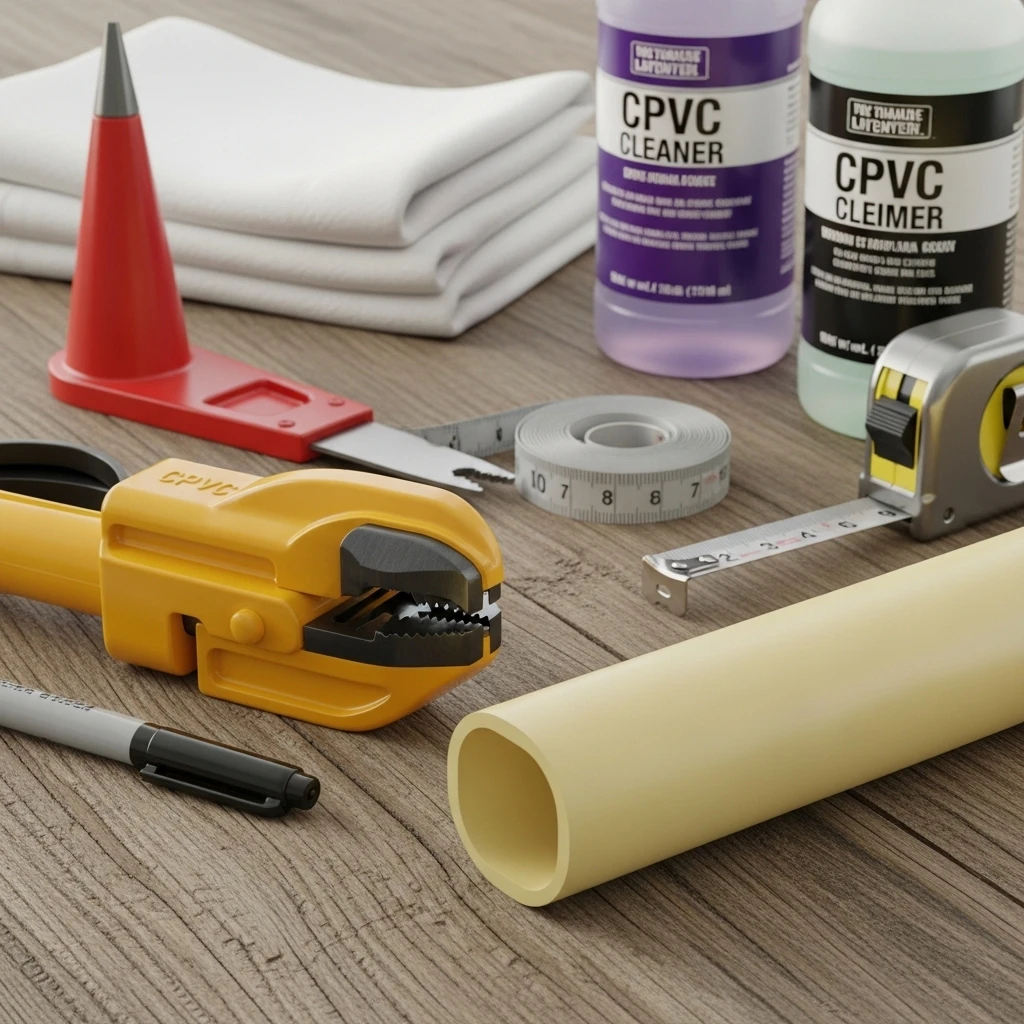
Before touching any CPVC pipe, you need to gather all necessary tools and materials. Having everything within reach makes the process smoother and prevents rushed work. You’ll need a CPVC cutter or fine-tooth saw, deburring tool, measuring tape, marker, CPVC cleaner, primer, and solvent cement rated for CPVC.
Make sure your workspace is well-ventilated. Solvent cement fumes can be strong, so open windows or work outdoors if possible. Wear protective gloves and safety glasses throughout the process.
Cutting and Deburring Process
Measure your pipe lengths carefully and mark cutting points with a marker. Use a CPVC cutter for the cleanest cuts, or a fine-tooth saw if that’s what you have available. Either way, ensure your cut is perfectly square – angled cuts create gaps that lead to leaks.
After cutting, you must remove all burrs from both inside and outside the pipe. Internal burrs restrict water flow and create turbulence. External burrs can scrape cement from the fitting socket during assembly. Use a deburring tool or a sharp knife for this step.
Cleaning and Priming Requirements
This is where many installations go wrong. CPVC surfaces must be absolutely clean for proper bonding. Use CPVC cleaner and a clean cloth to remove all dirt, moisture, and oils from both the pipe end and fitting socket.
Apply primer evenly to both surfaces. The primer softens the CPVC material, allowing the solvent cement to penetrate deeply. Many professionals use different colored primers to easily verify complete coverage.
Essential Preparation Checklist
| Preparation Step | Tools Needed | Common Mistakes to Avoid |
|---|---|---|
| Measuring & Marking | Tape measure, marker | Inaccurate measurements, unclear marks |
| Cutting | CPVC cutter or fine-tooth saw | Angled cuts, rough edges |
| Deburring | Deburring tool or knife | Skipping internal deburring, leaving sharp edges |
| Cleaning | CPVC cleaner, clean cloth | Incomplete cleaning, using dirty cloth |
| Priming | CPVC primer, applicator | Uneven application, insufficient coverage |
Proper preparation might seem time-consuming, but it’s the foundation of a reliable CPVC system. Rushing this stage almost guarantees problems later.
How Do You Properly Apply Solvent Cement to CPVC Pipes and Fittings?
I recall a project where uneven cement application caused joint failure. The installer applied too little cement on one side, creating a path for leaks.
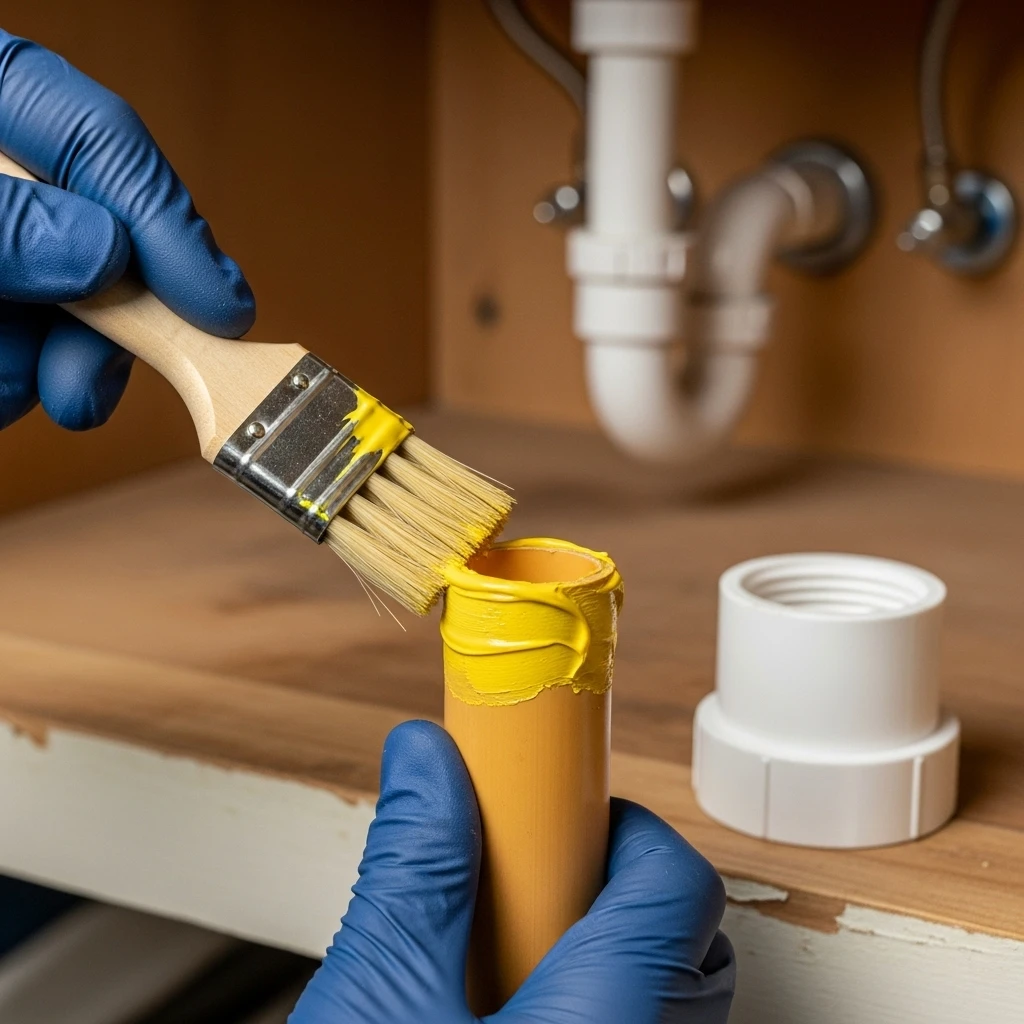
Apply solvent cement using a natural bristle brush of the correct size. Apply a thick, even layer to the outside of the pipe end and a medium layer to the inside of the fitting socket. Work quickly but carefully, then immediately join the parts with a quarter-turn twisting motion and hold firmly for 30 seconds.
Choosing the Right Cement and Tools
Not all solvent cements work with CPVC. You must use cement specifically labeled for CPVC applications. Using the wrong cement can result in weak bonds or chemical damage to the pipes.
Use natural bristle brushes – synthetic brushes can dissolve in the cement. The brush size should match your pipe diameter. For pipes up to 1 inch, use a 1/2-inch brush; for 1.5 to 2-inch pipes, use a 1-inch brush.
Application Technique Matters
Start by stirring the solvent cement gently – don’t shake it, as this creates bubbles. Apply cement to the pipe end first, covering from the end back to the insertion depth. Then apply a thinner coat to the fitting socket.
The cement layer should be thick enough to form a continuous film but not so thick that it runs or drips excessively. A common rule is to apply cement to the pipe end using two smooth, even strokes, and to the fitting with one smooth stroke.
Joining and Alignment Process
You have about 10-30 seconds after application to join the parts. Insert the pipe into the fitting while giving it a quarter-turn. This spreads the cement evenly throughout the joint. Align the parts properly immediately, as you have very little time for adjustment.
Hold the joint firmly together for at least 30 seconds to prevent push-out. Wipe away excess cement from the joint bead with a clean cloth, but don’t disturb the internal cement.
Cement Application Guidelines by Pipe Size
| Pipe Size | Cement Brush Size | Application Time | Holding Time |
|---|---|---|---|
| 1/2″ – 3/4″ | 1/2 inch | 10-20 seconds | 30 seconds |
| 1″ – 1-1/4″ | 1/2 inch | 20-30 seconds | 30 seconds |
| 1-1/2″ – 2″ | 1 inch | 30-45 seconds | 45 seconds |
| Over 2″ | 1 inch or larger | 45-60 seconds | 60 seconds |
Proper technique ensures the cement forms a continuous, bubble-free bond throughout the joint. Practice on scrap pieces if you’re new to this process.
What are the Critical Curing Times for Solvent Cement Joints in CPVC Systems?
A contractor once tested a system too early, damaging freshly made joints. Understanding curing times prevented similar incidents on future projects.
Critical curing times include: initial set time (30 seconds to 2 minutes), handling time (5-15 minutes), pressure test time (2-8 hours), and full cure time (24-48 hours). These times vary based on pipe size, temperature, and humidity, with longer times needed for larger pipes and cooler conditions.

Understanding the Curing Process
Solvent cement doesn’t “dry” – it works by chemically melting the CPVC surfaces, which then fuse together as the solvents evaporate. This process continues long after the joint feels solid to the touch.
The initial set occurs within minutes, creating a bond strong enough to hold the joint together. However, the joint remains vulnerable to stress during this period. Full chemical fusion takes much longer.
Temperature’s Crucial Role
Temperature dramatically affects curing times. In cold weather (40-60°F), curing times can double or triple. In hot weather (90-100°F), times may shorten by 30-50%. Ideal application temperature is between 60°F and 90°F.
If working in cold conditions, store materials in a warm area before use. In hot conditions, work in shaded areas and avoid direct sunlight on freshly made joints.
Handling and Pressure Testing Schedules
After the initial hold time, joints can typically be handled carefully after 5-15 minutes. However, they shouldn’t be subjected to stress or strain during this period.
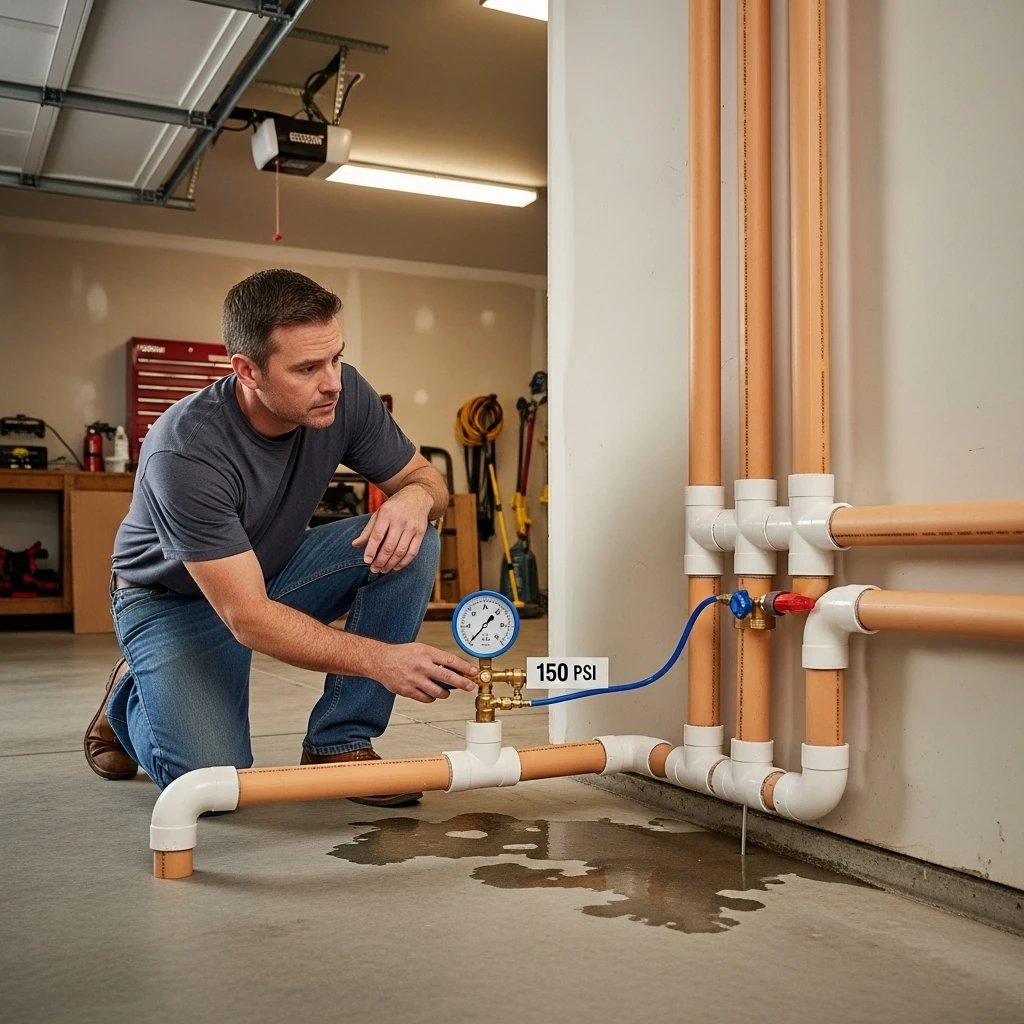
Wait at least 2 hours for small pipes (up to 1 inch) and 8 hours for larger pipes (over 2 inches) before pressure testing. Always start with a low-pressure test (about 10-15 PSI) before proceeding to full system pressure.
Comprehensive Curing Time Guide
| Pipe Size | Handling Time | Pressure Test Time | Full Cure Time |
|---|---|---|---|
| 1/2″ – 3/4″ | 5 minutes | 2 hours | 24 hours |
| 1″ – 1-1/4″ | 10 minutes | 4 hours | 36 hours |
| 1-1/2″ – 2″ | 15 minutes | 6 hours | 48 hours |
| Over 2″ | 30 minutes | 8 hours | 72 hours |
Special Considerations for Different Conditions
High humidity can extend curing times, while low humidity may shorten them slightly. Always check manufacturer recommendations for specific products, as formulations vary.
For critical applications, consider adding a safety margin to the recommended times. It’s better to wait longer than to risk joint failure from incomplete curing.
How Can You Test and Verify the Reliability of Solvent Cement CPVC Connections?
After a client discovered leaks only after wall closure, we implemented stricter testing protocols that saved countless repairs.
Test CPVC connections using visual inspection, low-pressure air testing, and full hydrostatic pressure testing. Verify reliability by checking for complete cement beads around joints, monitoring pressure gauges for drops, and physically examining joints for defects after testing. Document all testing procedures and results.
Visual Inspection Protocols
Before any pressure testing, conduct thorough visual inspections. Check for complete cement beads around all joints – this indicates proper cement application. Look for gaps, misalignments, or obvious defects.
Examine the entire system for proper support and alignment. Stresses from improper support can cause joint failure over time. Ensure all joints are accessible for inspection during initial testing.
Air Testing Method
Air testing provides an initial check before introducing water. Connect an air compressor with a pressure regulator to the system. Gradually increase pressure to 10-15 PSI and spray all joints with soapy water. Look for bubbles that indicate leaks.
Maintain pressure for at least 15 minutes while monitoring the gauge. Any pressure drop indicates potential leaks. Mark leaking joints for repair before proceeding to hydrostatic testing.
Hydrostatic Pressure Testing
This is the definitive test for CPVC systems. Slowly fill the system with water, bleeding all air from high points. Gradually increase pressure to 1.5 times the system’s working pressure, but never exceed the CPVC rating.
Maintain test pressure for at least 2 hours while continuously monitoring the pressure gauge. Industry standards allow for minor pressure drops due to temperature changes, but significant drops indicate leaks.
Testing Schedule and Standards
| Test Type | Test Pressure | Duration | Acceptance Criteria |
|---|---|---|---|
| Initial Visual | N/A | Complete inspection | Full cement beads, no gaps |
| Air Test | 10-15 PSI | 15 minutes | No bubble formation, stable pressure |
| Hydrostatic Test | 1.5x working pressure | 2 hours | Pressure drop < 2 PSI |
| Final Inspection | Operating pressure | 24 hours | No leaks at normal pressure |
Documentation and Quality Assurance
Keep detailed records of all testing, including dates, pressures, durations, and results. This documentation is valuable for warranty purposes and future maintenance.
For critical systems, consider conducting additional tests after 24 hours of operation. Sometimes, minor leaks only appear after the system experiences thermal cycling and normal operation.
Conclusion
Proper CPVC installation requires careful preparation, precise cement application, adequate curing time, and thorough testing. For reliable CPVC pipes and professional-grade solvent cement, choose IFAN – your trusted partner for quality plumbing solutions.


Commentaires récents