
I once received an urgent call from a property manager whose main galvanized pipe valve failed, flooding a basement. That moment showed me why a correct installation isn’t just a task—it’s essential protection.
To install a shut-off valve on a galvanized pipe, you need to cut out a section of the old pipe, thread the cut ends, and screw on a new threaded valve using sealant. The key is using the right tools to create clean threads and applying proper sealant to ensure a leak-proof, durable connection that can withstand pressure.
Replacing or adding a valve to an old galvanized system can be tricky. But with the right approach, you can achieve a professional, reliable result. Let’s walk through the complete process.
What Tools and Materials Are Needed for Galvanized Pipe Valve Installation?
Starting a job without the right tools leads to frustration and poor results. I’ve seen DIY attempts fail because of a missing pipe wrench or the wrong sealant.
You will need a pipe cutter or reciprocating saw, a pipe vise, a galvanized pipe threader (die), cutting oil, two large pipe wrenches, and a wire brush. For materials, you need the correct threaded shut-off valve, high-quality pipe thread sealant (pipe dope) or Teflon tape, and a short nipple (if needed).
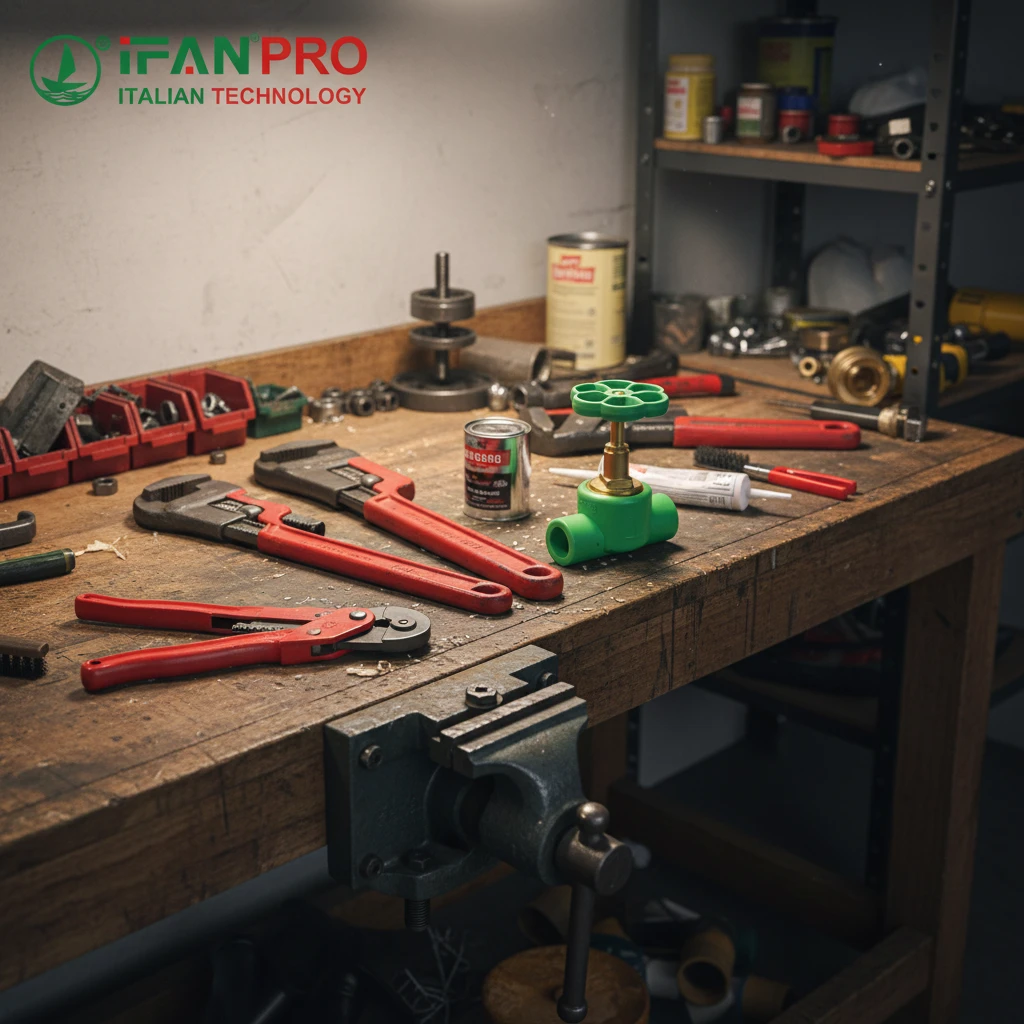
Essential Tools for Cutting and Threading
Galvanized pipe is steel coated with zinc, making it very hard. You cannot simply solder or glue a valve onto it. The standard method is to create threaded connections. Therefore, your tool list focuses on cutting and threading metal.
First, you need a way to cut the pipe. A reciprocating saw with a metal-cutting blade is fast and common. For a cleaner, square cut, a wheel-type pipe cutter is better. A clean, square cut is critical for making good threads.
Next, you must hold the pipe securely. A pipe vise mounted on a sturdy workbench is non-negotiable. Trying to thread a pipe that is moving will ruin the die and create crooked threads.
The most specialized tool is the pipe threader (die and die stock). You need a die that matches your pipe’s diameter (e.g., 1/2″, 3/4″). Always use cutting oil generously while threading. It cools the die, lubricates the cut, and helps produce smooth, clean threads that will seal properly.
Gripping and Cleaning Tools
You will need two large pipe wrenches. One holds the existing pipe steady (back-up wrench), while the other turns the new valve or fitting. This prevents putting stress on the entire plumbing system.
After cutting and threading, use a wire brush to clean all the new metal shavings and debris from the threads, both inside and out. Clean threads are essential for a good seal.
Required Materials for a Secure Connection
For materials, the valve choice is key (covered in the next section). You will also need a high-quality pipe thread sealant, often called “pipe dope.” Look for a brand that is rated for galvanized pipe, potable water, and high pressure. Teflon tape (the thick, pink type for water pipes) is an alternative but can be trickier on galvanized threads. Often, professionals use both.
You may also need a short nipple (a small piece of pre-threaded pipe) to bridge a gap if your cut removes too much pipe.
Tool Checklist Table
| Tool Category | Specific Tool | Purpose |
|---|---|---|
| Cutting | Pipe Cutter or Reciprocating Saw | To make a clean, square cut in the galvanized pipe. |
| Holding | Pipe Vise & Chain Vise | To secure the pipe firmly for threading. |
| Threading | Pipe Die & Die Stock, Cutting Oil | To create new threads on the cut end of the pipe. |
| Gripping | Two Pipe Wrenches (12″+) | To hold and turn pipes and fittings without damage. |
| Cleaning | Wire Brush | To clean metal shavings and debris from new threads. |
How Do You Choose the Right Shut Off Valve for Your Galvanized Pipe System?
Choosing the wrong valve is a common mistake. I recall a client who bought a cheap brass valve that cracked under pressure, causing a major leak.
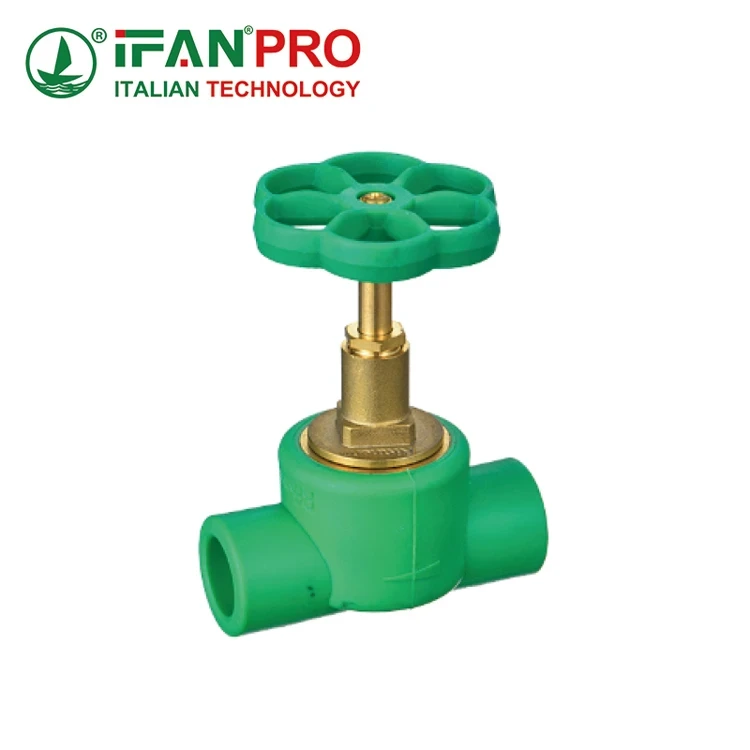
Choose a valve made of forged brass or stainless steel with a threaded connection that matches your pipe’s diameter and thread type (NPT). For galvanized systems, a ball valve is best for main shut-offs due to its full flow and reliability, while an angle-stop valve is used under sinks. Always ensure the valve’s pressure rating exceeds your home’s water pressure.

Matching Valve Type to Function
Not all shut-off valves are the same. The right choice depends on where you’re installing it and what you want it to do.
For a main water line or a major branch line, a full-port ball valve is the strongest and most reliable choice. When the handle is parallel to the pipe, water flows freely with almost no restriction. When it’s turned 90 degrees, the flow stops completely. This design is less prone to failure over time compared to older gate valves.
For connections under a sink, toilet, or washing machine, you typically use an angle-stop valve or straight-stop valve. These have a compression fitting on one end to connect to flexible supply lines. The other end is threaded to connect to your galvanized pipe. Make sure you get the type (angle or straight) that matches your plumbing layout.
Critical Specifications to Check
Once you know the type, you must check three critical specs:
- Material: The valve must be durable. Forged brass is the standard for residential use. Avoid thin, cheap valves. The valve should be substantial and heavy in your hand.
- Size and Thread: This is crucial. Measure your pipe’s outside diameter. A 1/2″ galvanized pipe has an outer diameter of about 0.84 inches. A 3/4″ pipe is about 1.05 inches. The valve must be labeled for the same pipe size (e.g., “1/2″ NPT”). NPT stands for National Pipe Tapered thread, the standard in the US.
- Pressure Rating: Look for the valve’s pressure rating on the packaging (e.g., 150 PSI, 200 PSI WOG). WOG means “Water, Oil, Gas.” Your home’s municipal water pressure is usually between 40-80 PSI. Choosing a valve with a rating of 150 PSI or higher provides a safe margin.
Valve Selection Guide Table
| Valve Type | Best For | Key Advantage | Material to Look For |
|---|---|---|---|
| Full-Port Ball Valve | Main shut-offs, branch lines. | Reliable, full water flow, easy on/off operation. | Forged Brass, Stainless Steel |
| Angle-Stop Valve | Sinks, toilets, appliances. | Directs water at a 90-degree angle to save space. | Heavy-Duty Brass |
| Gate Valve | Older system replacement (not recommended for new installs). | Familiar design. | Brass (Heavy Duty) |
A note on mixing metals: Connecting a brass valve to a galvanized steel pipe is standard and acceptable. Using a dielectric union (a special fitting that separates metals) can prevent long-term corrosion from electrolysis, but for a simple valve job, brass-to-galvanized is a direct and common connection.
What Are the Steps to Connect a Valve to Galvanized Pipe Without Leaks?
Leaks happen when steps are rushed. The goal is a methodical process where each step sets up the next for success.
The key steps are: 1) Shut off water and drain pipes, 2) Cut the pipe squarely, 3) Thread the pipe ends correctly, 4) Clean threads thoroughly, 5) Apply sealant properly, and 6) Tighten the valve using two wrenches. Working patiently and keeping threads clean are the most important factors for a leak-free seal.
Step-by-Step Installation Guide
Let’s break down the process from start to finish. Following these steps in order is vital.
Step 1: Prepare the Area and Drain Water
First, locate the main water shut-off for the house and turn it off. Open the faucets at the highest and lowest points in the house to drain the system. This prevents a flood when you cut the pipe. Place a bucket under your work area to catch any remaining water.
Step 2: Cut the Pipe
Mark the section of pipe you need to remove. Use your pipe cutter or reciprocating saw to make a clean, square cut. If using a saw, file down any burrs inside and outside the pipe. The goal is a perfectly round, clean end.
Step 3: Thread the Pipe
Secure the pipe tightly in your vise. Place the correct die over the pipe end, ensuring it is square. Apply a generous amount of cutting oil. Start turning the die stock slowly, applying steady pressure. After every full turn, back off half a turn to break the metal chips. Continue until you have about 5-7 full threads showing. Apply more oil throughout.
Step 4: Clean Everything
Use your wire brush to clean all the metal shavings from the new threads on the pipe. Also, clean the female threads inside the new valve. Blow out or rinse the pipe to remove any debris inside. Any debris left will cause a leak.
The Art of Sealing and Tightening
Step 5: Apply Pipe Sealant
This step is critical. If using pipe dope, apply a consistent, moderate layer to the male threads of the pipe. Cover all threads but avoid globs that can break off and clog the valve. If using Teflon tape, wrap it clockwise (as you look at the thread end) 4-6 times. Do not cover the first thread; start from the second.
Step 6: Screw on the Valve
Start threading the valve onto the pipe by hand. It should turn smoothly. If it binds, remove it—the threads may be damaged or cross-threaded. Once hand-tight, use your two pipe wrenches. One wrench grips the existing pipe to hold it steady (this is the “back-up” wrench). The other wrench turns the valve. Tighten firmly until the valve is oriented correctly (e.g., handle accessible). Galvanized connections typically need to be tightened 2-3 full turns past hand-tight. Do not over-tighten, as this can crack fittings.
Common Pitfalls to Avoid
- Cross-threading: This is the number one cause of leaks. Always start threads by hand. Forcing them with a wrench will ruin both the pipe and the valve.
- Insufficient Threads: If you don’t cut enough new threads, the valve won’t screw on far enough to seal.
- Dirty Threads: Shavings act as a spacer, preventing a metal-to-metal seal.
- Under-tightening: A connection that is only hand-tight will leak as soon as pressure is applied.
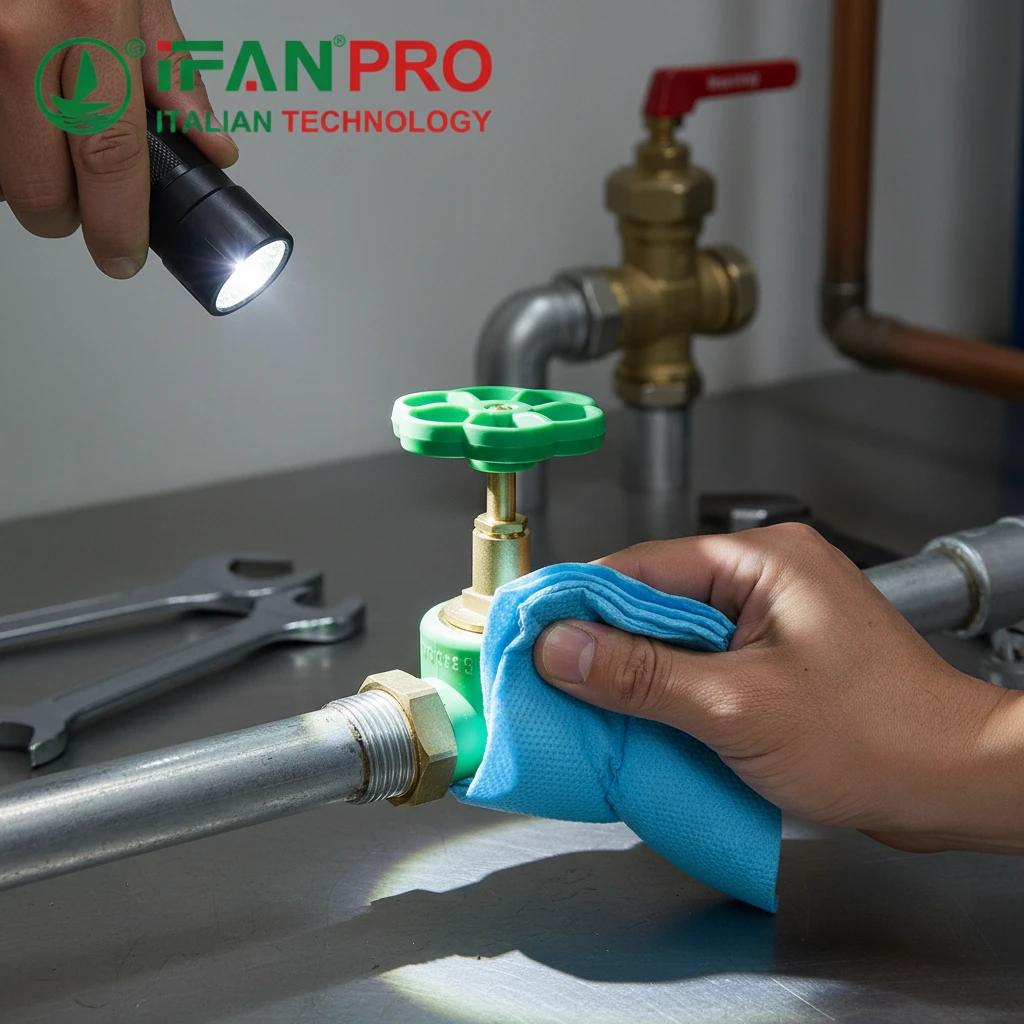
How Can You Test the Shut Off Valve Installation on Galvanized Pipe?
A test is your final quality check. Never assume a connection is good just because it looks right.
To test the installation, first close the new valve. Then, slowly turn the main water supply back on. Check the valve connections for any drips or weeping. Next, open the new valve and let water run through it for a minute, checking again for leaks. Finally, operate the valve on/off several times under pressure to ensure it works smoothly and holds.
The Pressurization Test
The most critical test happens when you restore water pressure to the system. This must be done slowly and carefully.
First, ensure the new shut-off valve is in the CLOSED position. Also, make sure several faucets in the house are still open to allow air to escape. Now, go to the main water shut-off and turn it on very slowly. This allows water to fill the pipes gradually, preventing a sudden pressure surge (water hammer) that could stress your new joint.
With the main water on and the new valve still closed, immediately inspect the threaded connections around the new valve. Look closely for any weeping (a slow bead of water forming) or dripping. Run your finger around the joint to feel for moisture. A common spot for leaks is at the base of the valve where it screws onto the pipe.
Flow and Function Test
If the closed valve holds with no leaks, the next step is to test it in the open position. Slowly open the new valve. Let water flow through it for at least 30-60 seconds. This does two things: it clears any debris from the valve seat, and it allows you to check for leaks again, now under full flow pressure. Sometimes a joint will hold when static but leak when water is moving through it.
Now, test the valve’s operation. Close and open it 3-4 times. It should operate smoothly. A ball valve should turn a full 90 degrees with moderate pressure. It should not feel gritty or stick. This tests the internal mechanism.
Final Inspection and Monitoring
After the initial tests, do a final, thorough visual inspection. Use a dry paper towel and wipe it around all the connections. A damp spot on the towel indicates a slow leak you might not see.
Monitor the area over the next 24 hours. Check it a few hours after installation and again the next day. Sometimes, a tiny leak takes time to show. Pay attention to any sounds of dripping inside walls.
Testing Protocol Summary Table
| Test Phase | Action | What to Check For | Pass Criteria |
|---|---|---|---|
| Initial Pressurization | Turn main water on SLOWLY with new valve CLOSED. | Weeping or dripping at threaded joints. | Bone-dry connections. |
| Flow Test | Open new valve, let water run. | Leaks at joints under flow; valve operation smoothness. | No leaks, smooth handle operation. |
| Function Test | Cycle valve open/closed 3-4 times. | Grinding, sticking, or difficulty turning. | Easy, positive 90-degree turns. |
| Long-Term Monitor | Check area over 24 hours. | Delayed seepage, water stains. | Area remains completely dry. |
If you find a leak at a threaded joint, do not simply tighten it more. You must shut off the water again, fully disassemble the connection, clean off the old sealant, re-apply new sealant, and reassemble. Overtightening a leaking joint rarely fixes the problem and often makes it worse.
Conclusion
Installing a valve on galvanized pipe requires the right tools, a quality valve, careful threading, and thorough testing. For durable, reliable threaded ball valves and angle stops compatible with galvanized systems, trust IFAN.


Commentaires récents