
A client once called me in a panic after adjusting a fitting, fearing a leak. I assured them a proper design is made for exactly that. The short answer is yes, but it relies on specific design features.
Yes, a properly designed adjustable elbow can absolutely maintain a reliable seal after angle adjustment. Its capability depends on internal components like a compressible O-ring or gasket and a precision-machined sealing surface that work together to re-establish a watertight barrier every time the fitting is repositioned and secured.
This functionality solves a major pain point, but understanding how it works is key to using it correctly. Let’s examine the components and steps that make resealing possible.
What Internal Components Allow for Resealing After the Angle Is Changed?
The ability to reseal is not magic; it’s engineering. I’ve dismantled many fittings to show clients the simple, smart parts inside.
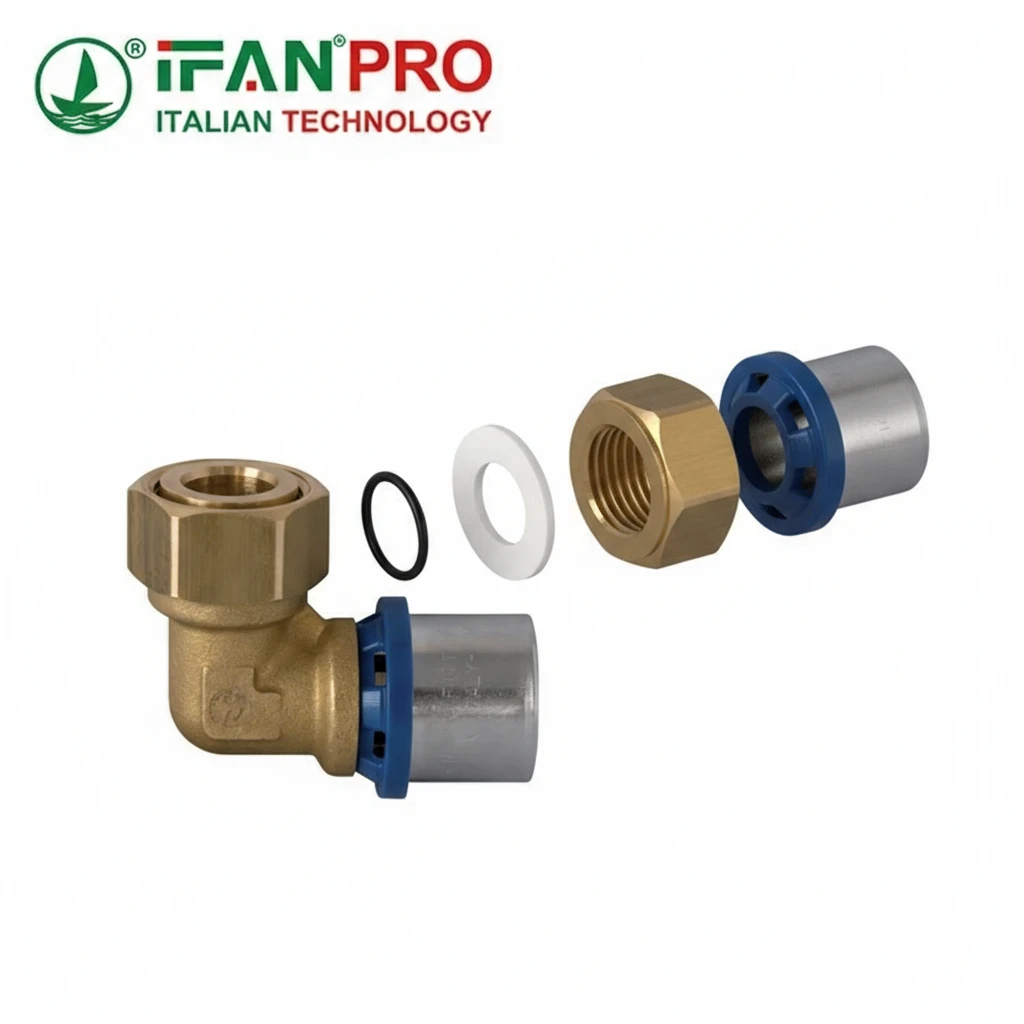
Two core internal components allow for resealing: 1) a resilient, elastic O-ring or flat gasket made of EPDM or similar rubber, and 2) a smooth, tapered or flat sealing surface (seat) machined into the polypropylene body of the fitting. These two parts create a reliable, re-sealable interface.
The Heart of the System: The Elastic Seal
The star of the resealing process is the O-ring or gasket. This component is not a rigid washer; it is specifically designed to be compressed.
When you first install the fitting, you tighten the nut, which squeezes this soft rubber ring between two hard plastic surfaces. The rubber deforms, flowing into all the microscopic imperfections on the sealing seat. This creates a perfect, custom seal. Now, here is the crucial part: because the rubber is elastic, it can return to its original shape when pressure is released and then be compressed again into a new, equally effective seal.
Think of it like a memory foam pillow. It shapes to your head, then springs back. The O-ring “remembers” its original form, ready to adapt again.
The Critical Partner: The Precision Seating Surface
The seal cannot work alone. It needs a high-quality partner: the sealing seat on the fitting body. This surface must be perfectly smooth and consistent. Any scratches, mold lines, or uneven spots will create a path for water to escape, and the O-ring cannot compensate for major flaws every time.
In a high-quality fitting, this seat is precision-machined or molded. This ensures that every time you tighten the nut, the O-ring meets the same flawless surface, enabling a perfect reseal. Cheap fittings often fail here because their seating surface is rough or uneven, preventing consistent resealing.
The Role of the Compression Nut and Swivel
The other key internal parts are the compression nut and the swivel mechanism. The nut applies the force needed to compress the seal. The swivel joint, usually a ball or cone shape behind the seal, allows for movement. Importantly, the seal sits in front of the pivot point. This means the sealing surfaces themselves do not grind against each other during adjustment; only the behind-the-scenes mechanical parts move. This design protects the critical sealing faces from wear.
Is Retightening the Union Nut Required After an Angular Adjustment?
This is the most common question and the most common mistake. The answer is a definitive yes.
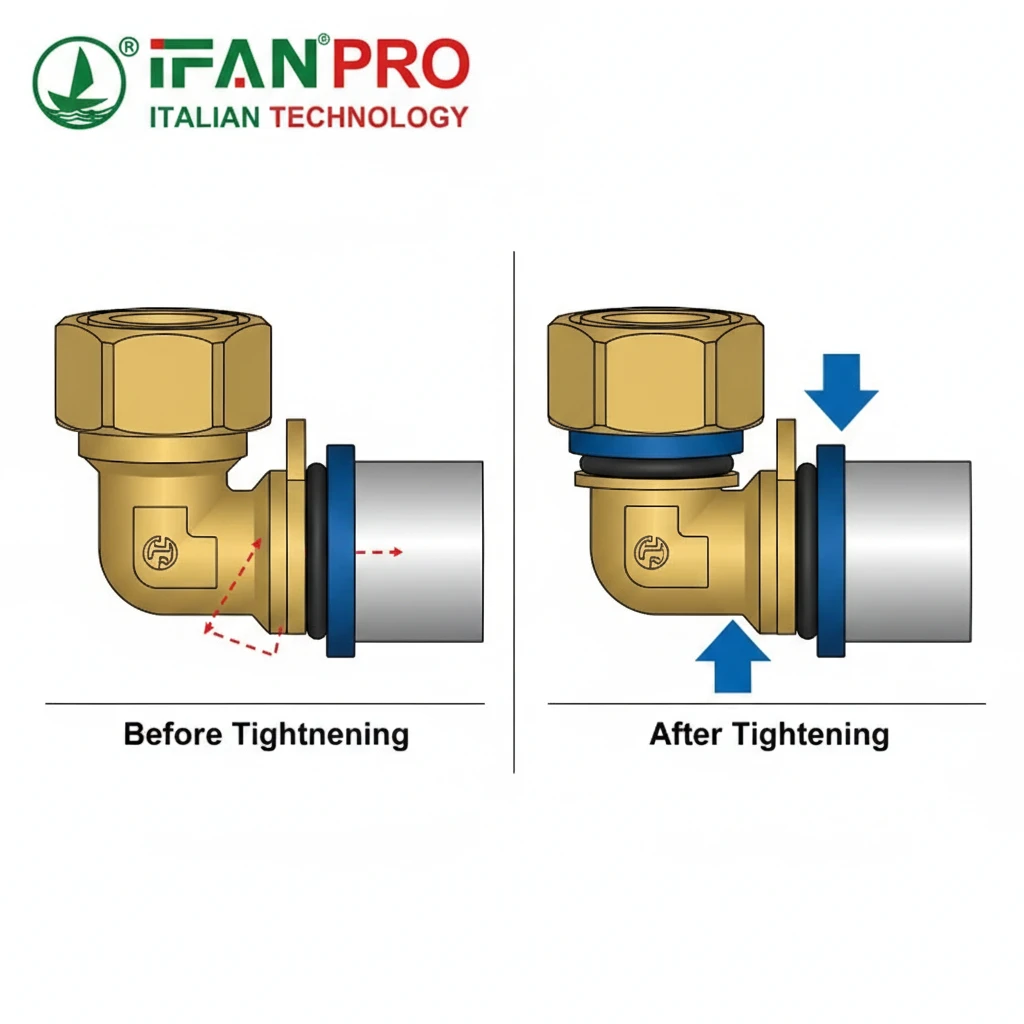
Yes, retightening the union nut is absolutely required after any angular adjustment. Loosening the nut is what allows the elbow to swivel. Once set at the new angle, you must retighten the nut to recompress the O-ring against the sealing seat and restore the necessary pressure to create a leak-proof barrier.
Why You Cannot Skip This Step
The sealing action is 100% dependent on compression. When you loosen the nut to adjust the angle, you release the pressure on the O-ring. At that moment, the seal is broken. The O-ring may stay in place, but it is no longer pressed tightly enough to block water under pressure.
If you simply adjust the angle and do not retighten, the fitting will almost certainly leak. It is like closing a door without latching it—it might stay shut for a moment, but any pressure will push it open.
The Correct Tightening Procedure
Proper retightening is simple but important:
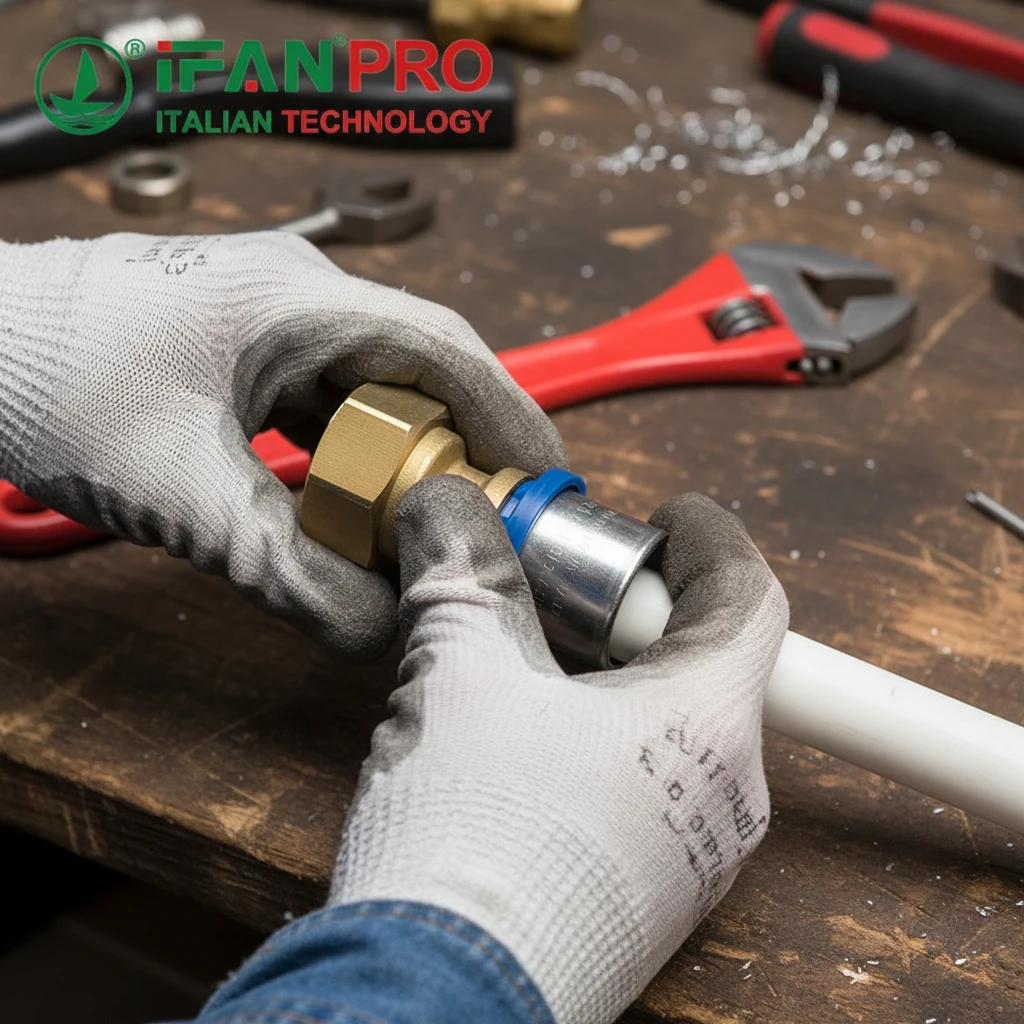
- Hand-Tighten First: After achieving the desired angle, turn the compression nut by hand until it is snug. This ensures the threads are aligned and the O-ring is roughly seated.
- Use the Correct Tool: Then, use an appropriate wrench (often an open-ended or spanner wrench) to tighten it further. The goal is firm compression, not extreme force.
- Avoid Overtightening: Overtightening can be as harmful as under-tightening. It can crush the O-ring excessively, causing it to extrude and fail, or even crack the plastic nut or body. A firm, quarter to half-turn with the wrench after hand-tight is usually sufficient. Always refer to the manufacturer’s specific instructions.
For frequent adjustments, this process remains the same. The design allows for countless adjustment cycles, provided you follow the simple loosen-adjust-tighten sequence every single time.
How Does the Gasket or O-Ring Re-Seat Itself Against the Sealing Surface?
The “re-seating” sounds complex, but it’s a straightforward physical process driven by elasticity and compression.
The O-ring re-seats itself through its material elasticity and the guided force from the compression nut. When the nut is tightened, it pushes the O-ring axially (in a straight line) along the smooth sealing surface until it is firmly compressed. The elastic rubber conforms to the shape of the seat, automatically filling any space to create a new, complete seal.
The Step-by-Step Re-Sealing Process
Let’s break down what happens during retightening:
- Initial Contact: As you begin to tighten the nut, it pushes the O-ring forward along the body of the fitting. The O-ring makes first contact with the tapered or flat sealing seat.
- Axial Squeeze: The key is that the force is applied straight on, not sideways. This axial force squeezes the O-ring uniformly against the hard plastic seat. The O-ring’s initial round cross-section begins to flatten.
- Elastic Conformation: Because it is elastic, the rubber flows outward, filling the entire contact area. It pushes into every tiny groove on the seat surface (and the surface of the nut). This action is automatic and instantaneous.
- Forming the New Seal: Once fully compressed, the O-ring has created a new, custom-shaped gasket that is perfectly matched to the surfaces at that specific moment. The water pressure from the system later will actually push the O-ring tighter into this seat, improving the seal.
Design Features That Aid Re-Seating
- O-Ring Groove: Many fittings have a specific groove in the nut or body that holds the O-ring in place. This prevents it from rolling or twisting during tightening, ensuring it compresses evenly.
- Tapered Seat: A slightly tapered seat helps guide the O-ring into the correct position and creates a wedging effect as the nut tightens, improving sealing force.
- Material Quality: A high-quality, virgin EPDM O-ring retains its elasticity over countless cycles. A cheap, recycled rubber O-ring can take a “set” (become permanently deformed) and lose its ability to spring back and re-seat effectively.
The process is highly reliable because it is simple physics: elastic material + controlled compression = a seal.
What Visual or Physical Check Confirms the Seal Is Intact Post-Adjustment?
Never assume a seal is good; always verify it. A simple check can prevent major water damage later.
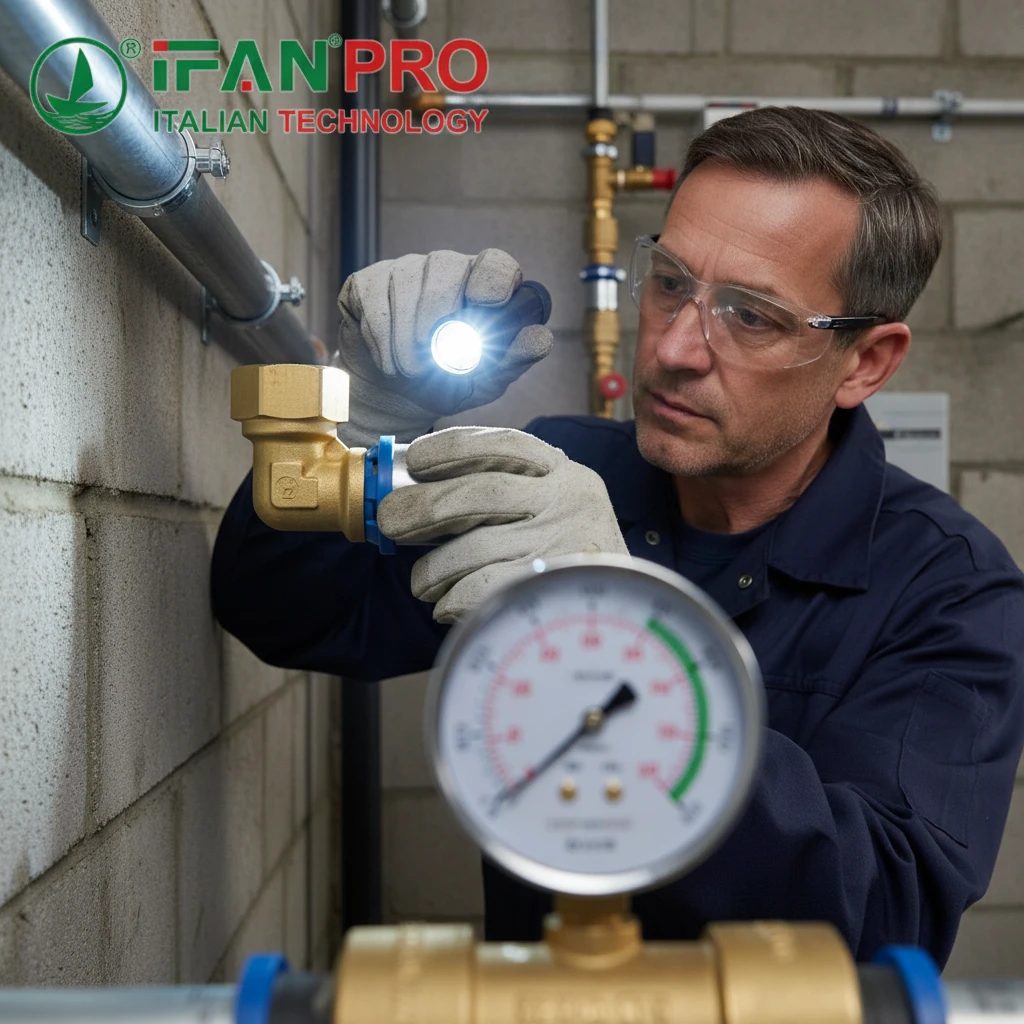
A definitive check requires a pressure test. However, for a quick initial confirmation, perform a visual and tactile inspection: ensure the nut is fully tightened (no visible gaps), check that the fitting is aligned correctly (not under stress), and look for any immediate signs of weeping or moisture at the joint after turning the water on briefly.
The Initial On-Site Check (Quick Method)
After adjusting and retightening a fitting during installation or maintenance, follow this quick checklist:
- Visual Gap Check: Look at the joint between the compression nut and the fitting body. There should be no visible gap. The nut should be seated flush against the shoulder of the fitting.
- Alignment Check: Ensure the pipe runs are aligned naturally. The adjustable elbow should not be forcing the pipes into a strained position, which can put side-load stress on the seal.
- Tactile Check: With the water supply still off, feel around the joint with a dry finger or paper towel. It should be completely dry.
- Initial Water Test: Slowly turn on the water supply to the section. Watch the adjusted joint closely for the first 30 seconds. Look for any immediate dripping, spraying, or even a fine mist (weeping). If you see any moisture, immediately turn off the water, loosen the nut, reposition if necessary, and retighten.
The Professional Verification: Pressure Testing
For complete confidence, especially after adjusting multiple fittings or working on a critical system, a pressure test is non-negotiable. This is the only way to confirm the seal holds under normal operating conditions.
Simple Pressure Test Steps:
- Isolate the Section: Close valves to isolate the part of the system you worked on.
- Pressurize: Connect a test pump and fill the section with water. Pump the pressure to at least 1.5 times the normal system operating pressure (e.g., 120 PSI for an 80 PSI system).
- Hold and Observe: Close the inlet valve and let the pressure sit for 15-30 minutes. Watch the pressure gauge. A stable needle means no leaks. A falling needle indicates a leak, likely at a recently adjusted joint.
- Physical Inspection: During the test, closely inspect all adjusted joints for any sign of water beads.
Relying solely on a quick look while the system is at low pressure is a common mistake that leads to callbacks. A proper pressure test is the ultimate seal-confirmation method.
Conclusion
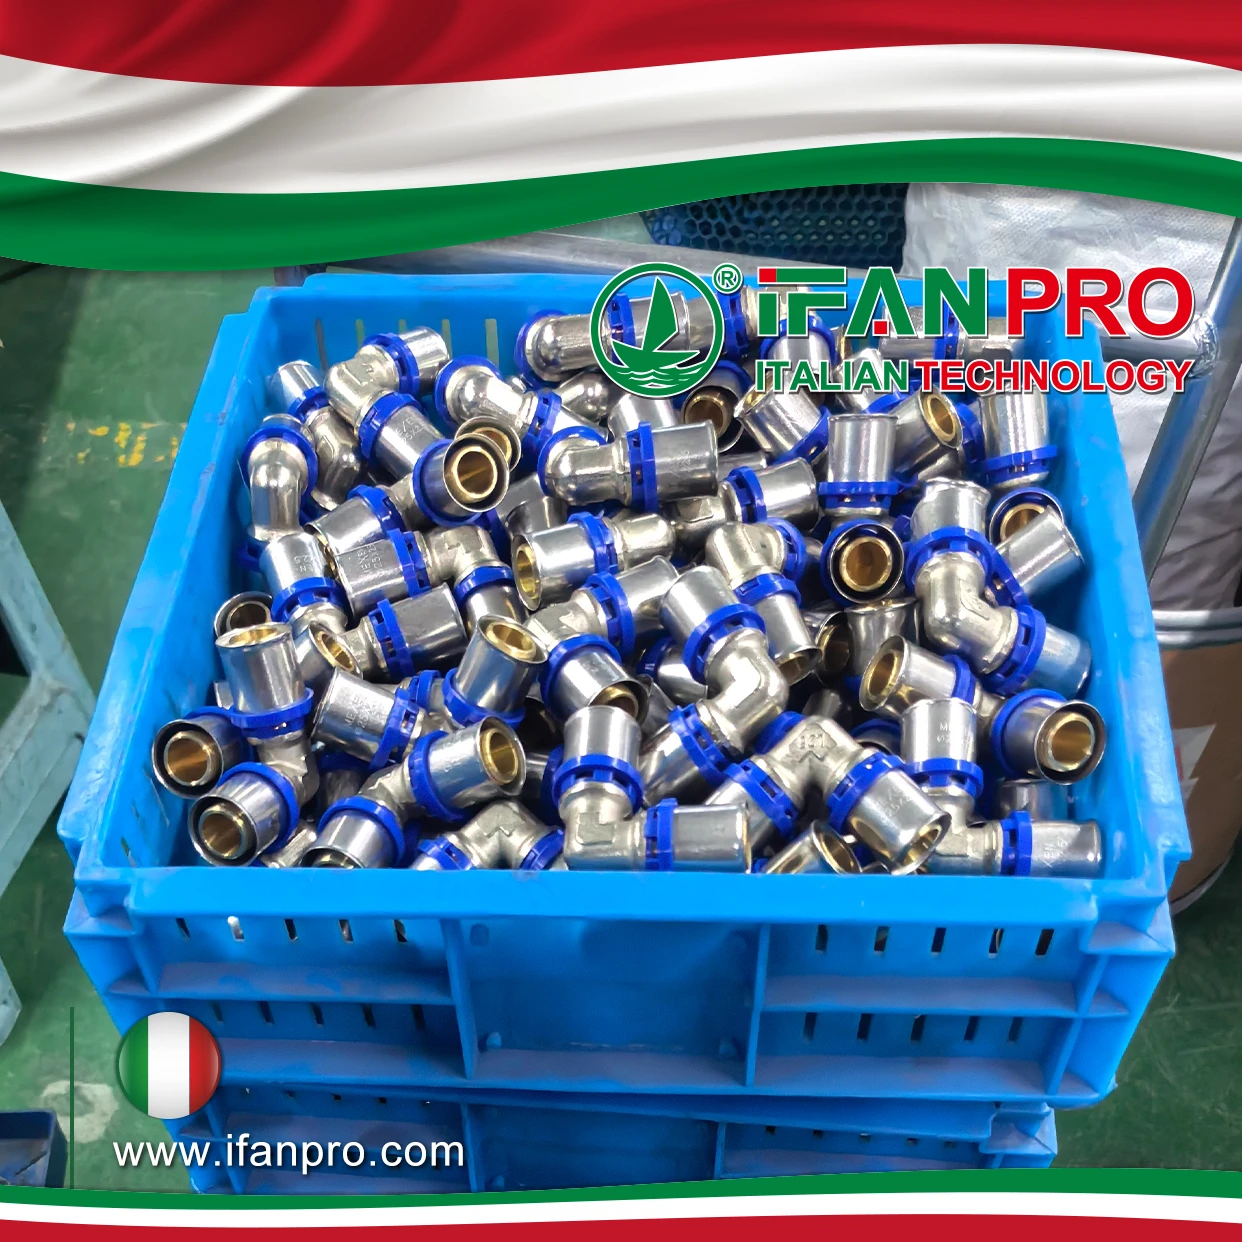
Yes, a quality adjustable elbow can reseal reliably after adjustment if you retighten it properly. For fittings engineered to reseal perfectly every time, choose IFAN’s adjustable elbows with precision EPDM seals.


Commentaires récents