
I’ve seen too many projects delayed by leaks from the wrong coupling. Choosing the correct one is the first step to a reliable PVC system.
You typically use a PVC socket coupling, which is a short piece of pipe with a socket (female end) on both sides to join two pipe ends together. However, for different situations, you might also use compression couplings, repair couplings, or threaded couplings. The right choice depends on your project’s pressure requirements, pipe schedule, and access needs.
While the basic coupling is common, understanding all your options prevents future problems. Let’s break down the types, choices, and steps for a perfect connection.
What Are the Common Types of Couplings Available for Connecting PVC Pipes?
Mistakes happen when people think all couplings are the same. I keep a sample kit to show clients the real differences.
The common types include standard socket couplings, slip couplings for repairs, threaded couplings (male or female) for transitioning to equipment, compression couplings for no-glue connections, and flange couplings for connecting to pumps or valves. Each type serves a specific purpose in a PVC piping system.
Understanding the Standard Socket Coupling
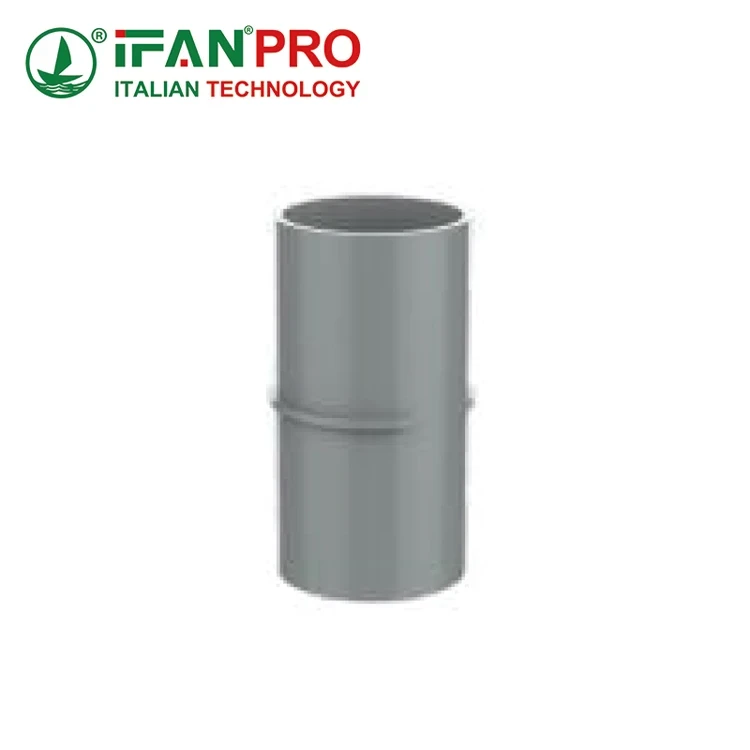
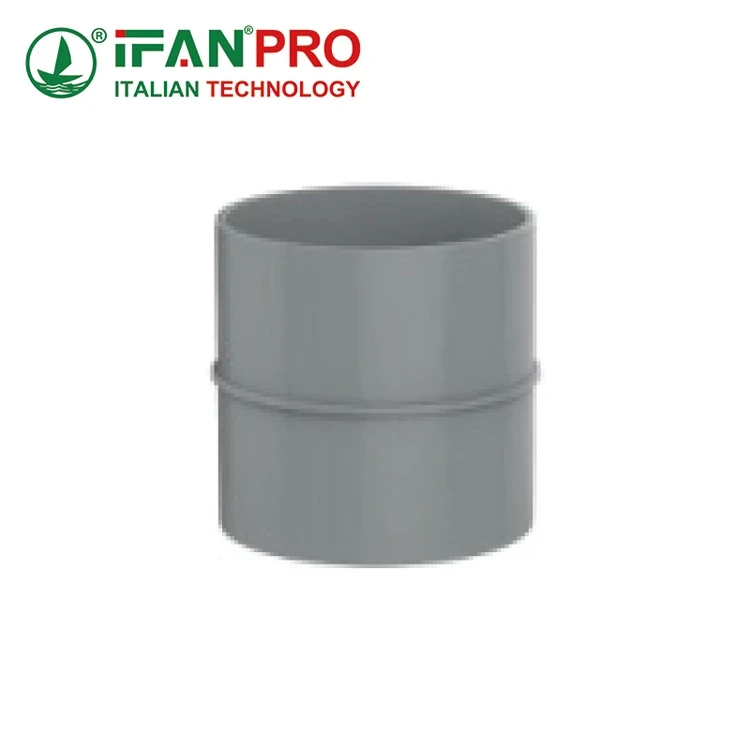
This is the most common and fundamental type. It looks like a very short piece of PVC pipe with a bell-shaped socket on each end. You apply PVC primer and cement to the pipe end and the inside of the coupling, then push them together. The solvent weld creates a permanent, pressure-tight bond. These are used for most underground, in-wall, or permanent above-ground installations.
Exploring Specialized Coupling Designs
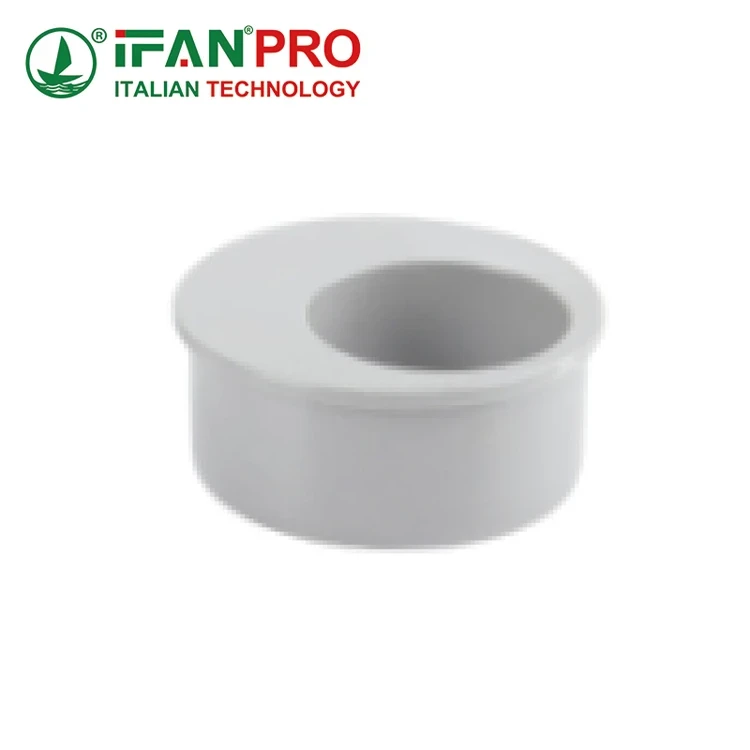
For repairs and tight spaces, you need different designs. A slip coupling looks like a short piece of plain pipe with no socket or stop in the middle. It can slide over the pipe to bridge a cut or break, which is impossible with a standard coupling that has an internal stop. It’s a lifesaver for fixing leaks without replacing long sections.
When you need to connect PVC to a threaded metal port, like on a tank or pump, you use a threaded coupling. A Female Threaded Adapter (FTA) has socket ends to glue onto the PVC pipe and female threads to screw onto a male nipple. A Male Threaded Adapter (MTA) has a socket end and male threads.
No-Glue and High-Pressure Options
Sometimes, you need a temporary or glue-less connection. A compression coupling uses rubber gaskets and compression nuts to seal around the pipe. It’s not for high pressure but is perfect for low-pressure drain lines or where future disassembly might be needed.
For high-pressure systems or connections to heavy equipment, flange adapters are used. You glue a PVC flange adapter to the pipe end, which then bolts to a matching metal flange on a pump or valve, creating a strong, sealed, and removable connection.
Comparison of Common PVC Coupling Types
| Coupling Type | Best For | Connection Method | Permanent? |
|---|---|---|---|
| Standard Socket | New installations, most pressure applications. | Solvent Welding (Glue) | Yes |
| Slip Coupling | Repairing a damaged section without moving pipes. | Solvent Welding (Glue) | Yes |
| Threaded Adapter | Connecting PVC pipe to threaded equipment (pumps, filters). | Glue + Thread Seal Tape | Semi-Permanent |
| Compression Coupling | Low-pressure drains, temporary lines, or where glue is not wanted. | Gasket & Nut Compression | No |
| Flange Adapter | Connecting to flanged equipment like pumps or valves. | Glue + Bolts | Semi-Permanent |
Knowing these types helps you plan your project correctly from the start and avoids costly mid-project changes.
How Do You Choose the Right PVC Coupling for Your Specific Project Needs?
Choosing the wrong coupling leads to leaks and callbacks. I ask clients four key questions to guide them to the right part.
You choose the right PVC coupling by matching it to your pipe’s schedule (thickness), the system’s pressure/temperature, the connection’s purpose (permanent or removable), and the installation environment. Always check the pipe’s printed markings for size and schedule, and consult pressure rating tables for the coupling.
Step 1: Match the Pipe Size and Schedule
This is the most critical step. PVC pipe comes in different wall thicknesses, called schedules. Schedule 40 is common for household plumbing. Schedule 80 has thicker walls for higher pressure. A coupling must match both the pipe’s nominal size (e.g., 1 inch) AND its schedule. A Schedule 40 coupling will not fit properly on a Schedule 80 pipe. The pipe’s schedule is printed right on it.
Step 2: Consider Pressure and Fluid Type
What will flow through the pipe? Water, chemicals, or air? Each coupling has a pressure rating (PSI) for a certain fluid at a specific temperature. Hot water lowers the pressure rating. For chemical applications, you must ensure the PVC material (usually PVC Type I, Type II, or CPVC) is compatible with the chemical. Using a standard PVC coupling for hot chlorinated water, for example, is a common mistake.
Step 3: Define the Connection’s Purpose
Ask yourself: Is this a permanent installation or might it need to be opened later?
- Permanent: Use standard solvent-weld socket couplings.
- Future Access Needed: Use a union, which is a special two-part coupling that can be unscrewed.
- Connection to Equipment: Use threaded or flange adapters.
- Repair: Use a slip coupling.
Step 4: Assess the Installation Environment
Where is the pipe? Underground, in a wall, or exposed in a factory?
- Underground: Use heavy-duty, solvent-weld couplings. Avoid threaded connections below ground as they can leak.
- In a Wall: Use standard solvent-weld couplings. Ensure the connection is fully accessible until the glue sets.
- Exposed, Vibrating Equipment: Use flange adapters with resilient gaskets to absorb vibration.
Selection Guide Table
| Project Need | Key Factor | Recommended Coupling Type |
|---|---|---|
| Residential Drain Line | Schedule 40, Low Pressure | Standard Socket Coupling |
| Connecting to a Water Heater | Heat & Pressure, Threaded Port | CPVC Male Threaded Adapter |
| Repairing a Buried Sewer Line | Same Size/Schedule, Permanent Repair | Slip Coupling |
| Industrial Process Line | High Pressure, Frequent Disassembly | Flange Adapter & Union |
| Temporary Construction Dewatering | Easy Installation & Removal | Compression Coupling |
By working through these steps, you move from guessing to making a confident, informed selection that ensures system longevity.
What Steps Ensure a Proper and Secure Installation of PVC Pipe Couplings?
A good coupling installed poorly will still leak. I follow a strict, step-by-step ritual for solvent welding that never fails.
To ensure a proper installation, follow these steps: 1) Dry fit and mark the pipes, 2) Clean and prime all surfaces, 3) Apply cement evenly to both the pipe and coupling socket, 4) Immediately push and twist the pipe into the coupling, 5) Hold firmly for 15-30 seconds, and 6) Allow full cure time before pressurizing.
The Step-by-Step Installation Process
A secure PVC joint relies on a chemical weld普遍使用“weld”更易懂,不是“bond”。, not just glue. The primer and cement melt the surface layers of plastic, fusing the pieces into one.
First, prepare the pipe. Cut it square using a PVC cutter or a fine-tooth saw. Deburr the inside and outside of the cut pipe end with a utility knife or sandpaper to remove any sharp edges or plastic strands. A smooth edge ensures a clean fit.
Second, perform a dry fit. Without any cement, push the pipe into the coupling until it bottoms out against the internal stop. Mark a line across the joint with a pencil. This shows you how deep it goes. Now, pull it apart. The marks will help you align the pipe during the glued assembly to ensure it’s fully seated.
The Critical Priming and Cementing Stage
Third, clean and prime. Wipe the pipe end and inside the coupling with a clean, dry cloth. Then, apply a liberal coat of purple PVC primer to both surfaces. The primer cleans and softens the plastic, preparing it for the cement. It should cover the entire area that will be bonded.
Fourth, apply cement. While the primer is still wet, apply a thick, even coat of clear PVC cement to the pipe end. Apply a medium coat to the inside of the coupling socket. Do this quickly. The cement begins to work immediately.
The Final Assembly and Cure
Fifth, assemble immediately. Within 20 seconds of applying the cement, push the pipe into the coupling, twisting it a quarter turn as you go. Align your pencil marks. Push until the pipe hits the bottom stop. Hold the joint firmly together without moving for 15 to 30 seconds to prevent it from pushing back out.
Sixth, wipe and cure. After holding, wipe away the excess cement bead around the joint with a rag. Then, you must let the joint cure. The joint sets quickly but gains strength over time.
Solvent Weld Cure Time Guidelines
| Pipe Size | Handling Time (Can move pipe) | Full Cure Time (Before pressure test) |
|---|---|---|
| 1/2″ to 1-1/4″ | 2 minutes | 15 minutes |
| 1-1/2″ to 2″ | 5 minutes | 30 minutes |
| 2-1/2″ to 4″ | 10 minutes | 1 hour |
| 6″ and larger | 30 minutes | 2+ hours |
Important: These times are for temperatures above 60°F (16°C). Cold weather drastically increases cure time. Never rush the cure time. Pressurizing a joint too early will cause a weak bond and likely lead to failure.
How Can You Test and Verify a Leak-Proof Connection After Installing PVC Couplings?
Never assume a joint is good. A simple test can prevent a major flood. I insist on testing every pressurized system we work on.
You can test connections with a visual inspection, an air pressure test, or a water pressure test. For critical systems, a hydrostatic pressure test is the best method, where you fill the system with water, purge air, and pressurize it to 1.5 times the working pressure for a set time, checking for any pressure drop or visible leaks.
The Initial Visual Inspection
The first test happens right after installation. Look at every glued joint. You should see a small, continuous bead of cement that has been squeezed out all around the joint. This indicates enough cement was used and the pipe was fully seated. Check for any gaps, cracks, or signs of dry, un-cemented areas.
Air Pressure Testing for Low-Pressure Systems
For non-pressure drain lines or air lines, a simple air test works. Plug all ends of the system except one. Attach an air compressor with a pressure regulator and gauge to the open end. Pressurize the system to a low pressure (e.g., 5-10 PSI). Spray all joints with a soapy water solution. Bubbles will form at any leak. This is a fast, clean way to find leaks before a system is buried or enclosed.
Water Pressure (Hydrostatic) Testing for Pressure Systems
For water supply lines, a hydrostatic test is the professional standard. This is a two-part process.
First, you fill the system. Connect a water hose to a test port, often at the lowest point. Open the highest faucets to let air escape. Slowly fill the entire system with water until it runs freely from the highest outlet, ensuring all air is purged. Air pockets can give false pressure readings.
Second, you pressurize and monitor. Close all outlets. Connect a pressure test pump (a hand pump) to a test port. Pump the system up to 1.5 times its designed working pressure. For a household system rated for 80 PSI, you would test at 120 PSI. Once at test pressure, close the valve to the pump and watch the gauge.
Hydrostatic Test Evaluation Criteria
| Test Result | What It Means | Action |
|---|---|---|
| Pressure holds steady for 15-30 min. | System is leak-free. | Test Passed. |
| Pressure drops slowly. | There is a small leak. | Inspect all joints for seepage. |
| Pressure drops rapidly. | There is a significant leak or burst. | Depressurize immediately and locate the fault. |
Important: The test pressure must not exceed the pressure rating of the lowest-rated component in the system (like a valve or fixture). Also, ensure the test water is not freezing.
If a leak is found, mark it, depressurize the system completely, and drain the section. The faulty joint must be cut out and replaced with a new section of pipe and couplings. A proper test gives you and your client absolute confidence in the installation’s integrity.
Conclusion
Choosing and installing the right PVC coupling ensures a durable, leak-free system. For high-quality, reliable PVC couplings for any project, trust IFAN’s comprehensive range of fittings.


Commentaires récents