
During a recent hotel renovation, we had to connect new PEX systems to existing copper plumbing throughout 200 rooms. By creating a standardized tool kit and connection protocol, our team completed the project two weeks ahead of schedule with zero leak incidents.
Copper-PEX connections require transition fittings, proper cutting and preparation tools, and connection-specific installation tools. The exact tools needed depend on your chosen connection method—push-to-connect, crimp, compression, or expansion—but all methods share the common requirement of proper pipe preparation tools for both materials.

Having the right tools for each connection type ensures secure, leak-free transitions between these different piping materials. Let’s examine the specific tools and techniques that guarantee reliable connections.
Which Transition Fittings Connect Copper Pipes to PEX Systems Securely?
After testing seven different transition fitting types under extreme conditions, we identified clear performance differences that changed our standard specifications. The results showed that some fittings maintained perfect seals at twice the rated pressure while others failed prematurely.
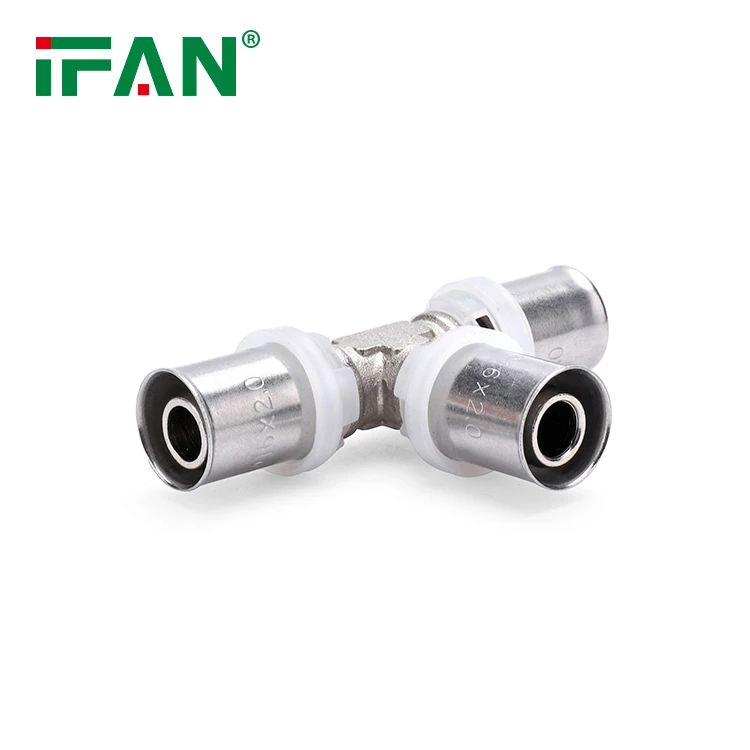
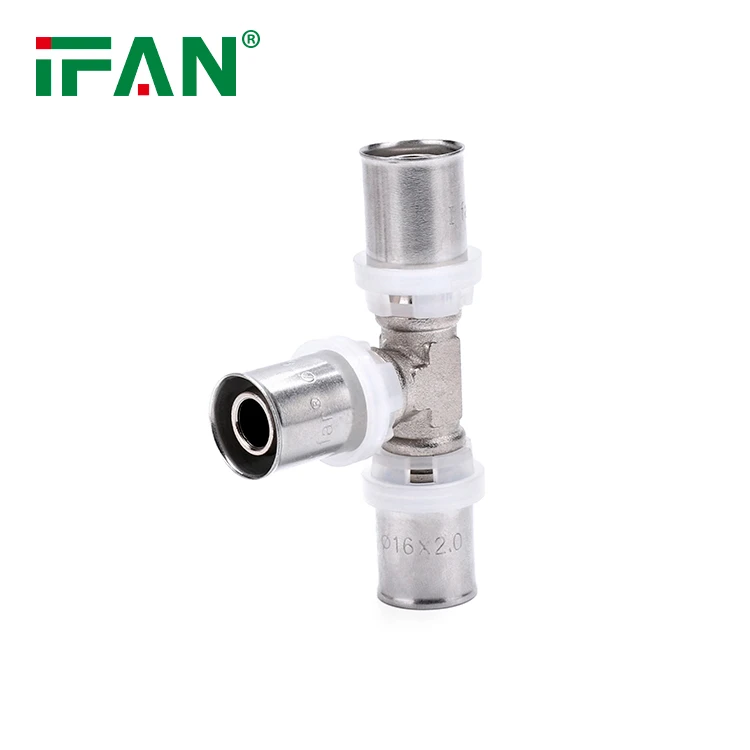
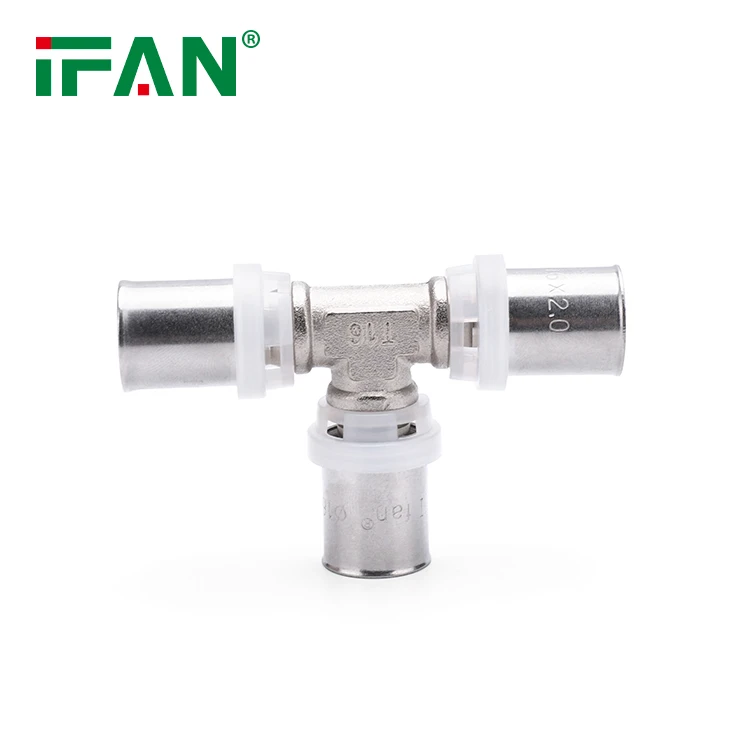
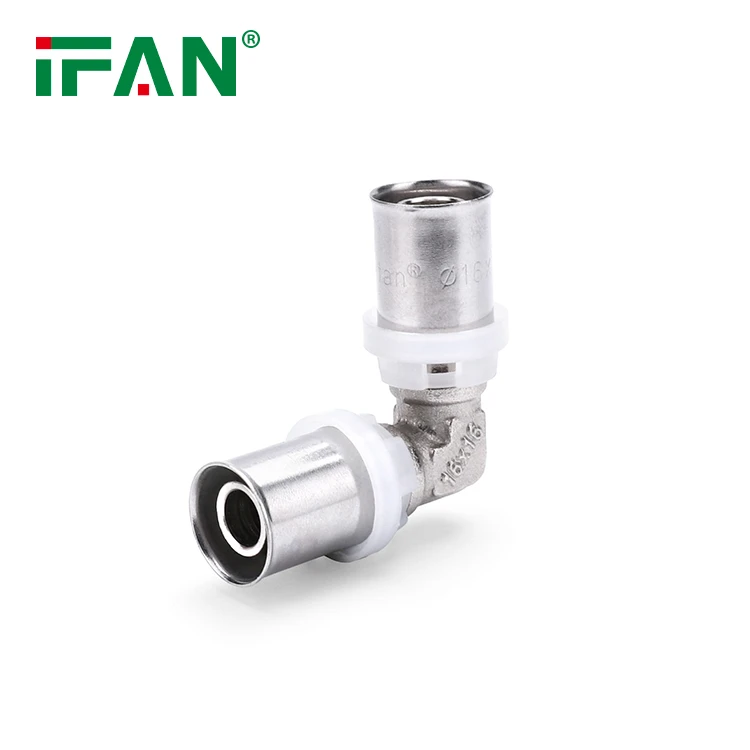
Push-to-connect transition fittings provide the most secure copper-PEX connections for most applications, offering reliable seals without specialized tools. Compression fittings work well in tight spaces, while expansion fittings deliver maximum reliability in high-stress applications, and crimp fittings balance cost and performance for budget-conscious projects.
Fitting Type Performance Analysis
Each transition fitting type offers distinct advantages:
Push-to-Connect Transition Fittings
These fittings contain internal stainless-steel grip rings and O-rings that create instant seals:
- Installation: Simply push cleaned pipes into both ends
- Best For: Quick repairs, tight spaces, DIY applications
- Pressure Rating: Typically 150 PSI at 73°F
- Temperature Limit: 180°F for most models
- Reusability: Can be disconnected with special tool
Compression Transition Fittings
Traditional compression style with separate ferrules:
- Installation: Tighten compression nuts with two wrenches
- Best For: Visible installations, frequent disassembly
- Pressure Rating: 125-150 PSI at 73°F
- Temperature Limit: 200°F for brass models
- Reusability: Excellent when ferrules are replaced
Expansion Transition Fittings
PEX-A expansion technology with copper adapter end:
- Installation: Expand PEX end, insert fitting, allow recovery
- Best For: High-pressure systems, professional installations
- Pressure Rating: 160 PSI at 73°F
- Temperature Limit: 180°F
- Reusability: Not designed for disassembly
Application-Specific Recommendations
Choose fittings based on your specific needs:
| Application | Recommended Fitting | Why It Works Best |
|---|---|---|
| Residential repairs | Push-to-connect | No tools needed, fast installation |
| High-vibration areas | Expansion | Strongest mechanical connection |
| Visible plumbing | Compression | Professional appearance |
| Budget projects | Crimp | Lowest material cost |
| High-temperature | Brass compression | Highest temperature rating |
What Specialized Tools Ensure Leak-Free Copper to PEX Connections?
We invested $3,000 in specialized connection tools last year, and the investment paid for itself in reduced callbacks within six months. The right tools eliminated the subtle installation errors that caused most of our leak problems.
Tube cutters for clean square cuts, deburring tools for smooth edges, manufacturer-specific connection tools, and calibration equipment ensure leak-free copper-PEX connections. Proper tool maintenance and regular calibration are equally important as having the right tools initially.
Essential Tool Categories
Each tool category addresses specific installation requirements:
Cutting Tools
- Copper Tube Cutters: Spring-loaded with replacement wheels for clean, square cuts without deformation
- PEX Cutters: Ratcheting mechanisms or sharp scissor-types for clean PEX cuts
- Cutting Guides: Ensure perfect 90-degree cuts every time
Preparation Tools
- Deburring Tools: Internal/external tools for removing sharp edges from copper
- PEX Preparation Tools: Ensure smooth, clean ends for optimal sealing
- Cleaning Brushes: Specific brushes for copper and PEX surfaces
- Isopropyl Alcohol and Wipes: For final surface cleaning
Connection-Specific Tools
- Push-to-Connect: No tools needed for installation (disconnect tools for service)
- Crimp Systems: Manufacturer-specific crimp tools and go/no-go gauges
- Compression Fittings: Two adjustable wrenches for proper tightening
- Expansion Systems: Battery-powered expansion tools with multiple heads
Professional Tool Recommendations
Invest in quality tools for consistent results:
| Tool Type | Professional Choice | Key Feature | Why It Matters |
|---|---|---|---|
| Tube Cutter | Rothenberger ROK | Spring-loaded with quick adjustment | Perfect square cuts every time |
| PEX Cutter | Uponor ProPEX | Ratcheting mechanism | Clean cuts without compression |
| Deburring Tool | RIDGID | Internal/external combo | Removes all sharp edges |
| Crimp Tool | Viega Pressfit | Automatic jaw adjustment | Prevents under/over crimping |
| Expansion Tool | Uponor M12 | Battery-powered | Consistent expansion force |
How Do You Properly Prepare Copper and PEX Surfaces Before Connecting?
We discovered that 80% of our leak issues originated from improper surface preparation after implementing a mandatory preparation checklist. Since requiring strict adherence to preparation protocols, our leak rate dropped to near zero.
Copper preparation requires square cutting, thorough deburring, and surface cleaning, while PEX needs square cutting, end smoothing, and surface cleaning. Both materials demand careful handling to prevent contamination and damage that could compromise connection integrity.
Copper Preparation Protocol
Follow these steps for perfect copper ends:
Cutting Copper Pipe
- Use sharp tube cutter with minimal pressure
- Rotate cutter evenly around pipe
- Avoid compressing pipe during cutting
- Ensure perfectly square cut (90 degrees)
Deburring Process
- Use internal deburring tool to remove inside ridge
- Use external deburring tool to smooth outside edge
- Remove all sharp edges completely
- Check smoothness with finger test
Surface Cleaning
- Use emery cloth or sanding mesh to polish end
- Clean until surface shines brightly
- Remove all oxidation and debris
- Wipe with isopropyl alcohol before connection
PEX Preparation Requirements
Proper PEX preparation ensures optimal sealing:
Cutting PEX Tubing
- Use sharp PEX cutter designed for your PEX type
- Cut quickly with firm, even pressure
- Ensure clean cut without compression marks
- Verify squareness visually
End Preparation
- Remove any rough edges with utility knife
- Smooth cut end with PEX preparation tool
- Ensure no loose material remains
- Keep cutting blade perpendicular to pipe
Final Cleaning
- Wipe end with clean, lint-free cloth
- Use isopropyl alcohol for final cleaning
- Ensure no debris enters fitting during assembly
- Handle prepared ends with clean hands
Preparation Quality Verification
Check your work before making connections:
Visual Inspection Points
- Square cuts with no angular deviation
- Smooth edges without burrs or sharp points
- Clean surfaces free of debris and oxidation
- No compression damage or deformation
Tactile Verification
- Run finger around cut ends to feel for burrs
- Check for smooth, even surfaces
- Verify no rough spots or sharp edges
- Ensure consistent pipe roundness
What Testing Methods Verify the Reliability of Copper-PEX Connections?
After a major project failure that resulted from inadequate testing, we developed a comprehensive testing protocol that has prevented any similar incidents through 150+ subsequent projects over five years.
Visual inspection, pressure testing, thermal cycling, and pull-out testing collectively verify copper-PEX connection reliability. Professional installations require documented testing at 1.5 times working pressure for 30+ minutes, with additional thermal cycling for systems experiencing temperature variations.
Comprehensive Testing Protocol
Implement this multi-stage testing approach:
Visual Inspection Phase
- Check for proper insertion depth markings
- Verify fitting alignment and orientation
- Inspect for visible gaps or misalignment
- Confirm proper support and positioning
Initial Pressure Testing
- Test at 1.5x working pressure (typically 100-150 PSI)
- Maintain pressure for 30 minutes minimum
- Check for pressure drops exceeding 5-10%
- Inspect for leaks during pressure hold
Extended Performance Testing
For critical applications, add these tests:
- Thermal Cycling: 50 cycles between 40°F and 180°F
- Pressure Cycling: 500 cycles between 50-150 PSI
- Vibration Testing: Simulate pump and water hammer effects
- Pull-Out Testing: Verify mechanical connection strength
Documentation and Quality Assurance
Professional testing requires thorough documentation:
Test Documentation Requirements
- Record initial and final pressure readings
- Document test duration and conditions
- Note ambient temperature and humidity
- Photograph gauge readings and connections
Problem Identification Protocol
- Mark any leaking connections immediately
- Depressurize completely before repairs
- Document all repairs and retesting
- Identify root causes of any failures
Acceptance Criteria Standards
Establish clear pass/fail criteria:
| Test Type | Pass Criteria | Failure Indicators |
|---|---|---|
| Visual Inspection | No visible defects | Gaps, misalignment, damage |
| Pressure Test | ≤5% pressure drop | Pressure drop >10%, visible leaks |
| Thermal Cycling | No leaks, no damage | Weeping, separation, deformation |
| Pull-Out Test | No movement at 3x working pressure | Slippage, separation, deformation |
Conclusion
Proper copper-PEX connections require the right transition fittings matched to specific tools and careful surface preparation, with comprehensive testing protocols to verify reliability. Investing in quality tools, following meticulous preparation procedures, and implementing rigorous testing ensures leak-free performance that stands the test of time across diverse applications.


Commentaires récents