

I’ve seen too many pump projects fail from a single leaking valve connection. The resulting water damage and downtime are completely avoidable.
To install a PVC pump valve without leaks, you must combine the right thread sealant, meticulous surface preparation, precise tightening technique, and a final pressure test. Skipping any of these steps is the most common reason for failure in threaded PVC connections.
Following a clear, step-by-step process is the key to success. Let’s break down each critical step to ensure your next installation is perfectly sealed.
Which Sealants Work Best for Creating a Leak-Proof PVC Valve Connection?
Using the wrong sealant is a guarantee of future leaks. I’ve had to fix connections where tape alone failed under pressure.
For a leak-proof PVC valve connection, a combination of a high-quality PTFE (Teflon) tape and a paste-style thread sealant made for plastic works best. The tape fills the thread gaps, while the paste lubricates for even tightening and seals any microscopic imperfections that tape might miss.
Understanding the Role of Each Sealant
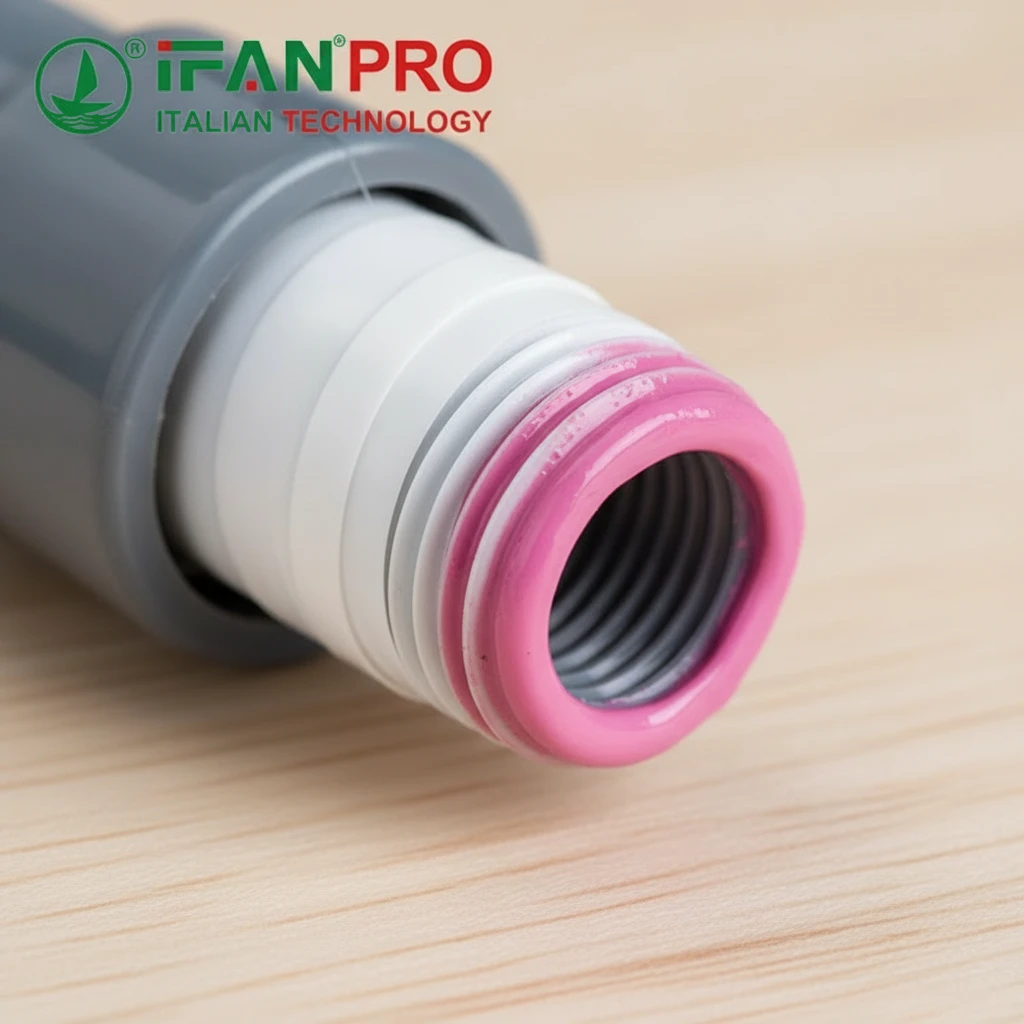
You cannot rely on just one product. Threads on PVC fittings are not perfectly smooth. They have tiny gaps and imperfections. The goal of a sealant is to fill these spaces and create a plastic-to-plastic seal, since the threads themselves are not designed to be watertight.
PTFE tape is excellent for filling the void between threads. However, tape can sometimes tear or bunch up during tightening, leaving channels for leaks. This is where a compatible paste sealant adds crucial security. The paste ensures complete coverage, acts as a lubricant to prevent friction-based cracks, and remains slightly flexible after curing to handle vibration from the pump.
Choosing the Right Products
Never use a sealant that contains harsh solvents or is labeled for metal pipes only. These can chemically attack and weaken the PVC, causing the fitting to crack days or weeks after installation.
Recommended Sealant Combination
Here is a simple table to guide your selection:
| Sealant Type | Purpose | Key Feature to Look For |
|---|---|---|
| PTFE Tape | Fills thread valleys and reduces friction. | High-density, suitable for water and plastics. Apply 3-4 wraps. |
| Paste Sealant | Lubricates and seals micro-gaps. | Labeled “Safe for Plastic” or “For use on PVC.” |
Application Order Matters
First, clean the threads (as detailed in the next section). Then, follow this order:
- Wrap the male threads only with PTFE tape. Wrap in the direction of the threads (usually clockwise). This prevents the tape from unraveling when you screw the valve on. Do 3-4 complete wraps.
- Apply a moderate bead of plastic-safe paste sealant over the tape-wrapped threads. You don’t need a lot; the goal is to coat the tape.
This two-step method gives you the highest chance of a perfect, long-lasting seal on the first try.
How Do You Properly Prepare and Clean PVC Threads Before Valve Installation?
Dirt or old sealant is like a wall between your new sealant and the pipe. I always tell my team: clean threads are the foundation of a good seal.
You properly prepare PVC threads by first removing all old sealant and debris with a clean, dry rag and a plastic-bristle brush. Then, you must wipe the threads with a cleaner like isopropyl alcohol to remove any invisible oils or residues, ensuring the new sealant can bond directly to the plastic surface.

The Two-Stage Cleaning Process
Preparation is not just wiping off dust. It’s a deliberate process to create a perfectly clean, dry, and oil-free surface. Let’s look at the two necessary stages.
Stage 1: Physical Debris Removal
Never use metal brushes or scrapers on PVC threads. They will scratch and gouge the soft plastic, creating paths for leaks. Here’s what to do:
- Use a clean, dry, lint-free cloth to wipe away loose dirt.
- For stubborn, cured old sealant, gently use a plastic or nylon-bristled brush or a wooden pick. The goal is to dislodge the material without damaging the threads.
Stage 2: Chemical Cleaning for Invisible Contaminants
After the threads look clean, they are likely still contaminated. Mold release agents from manufacturing, skin oils from handling, or lubricants can create a film that prevents sealant from adhering.
This is the most skipped but critical step:
- Soak a clean cloth or paper towel with 99% isopropyl alcohol or a PVC-specific cleaner.
- Thoroughly wipe down both the male and female threads.
- Allow the cleaner to evaporate completely. This usually takes less than a minute.
The threads must be completely dry before you apply any new sealant. Water or solvent trapped under the sealant will cause it to fail.
Pre-Installation Checklist
Follow this simple checklist before applying sealant:
| Step | Tool/Material | Goal |
|---|---|---|
| 1. Wipe | Dry, lint-free cloth | Remove loose dirt and dust. |
| 2. Scrub (if needed) | Nylon brush/wooden pick | Remove old, cured sealant. |
| 3. Degrease | Cloth with isopropyl alcohol | Remove oils and invisible residues. |
| 4. Dry | Air dry for 60 seconds | Ensure no moisture remains. |
Only after completing all four steps are your threads truly ready for the sealant and valve installation.
What Is the Correct Technique for Tightening PVC Valves to Prevent Cracking?
Overtightening is the number one cause of cracked PVC fittings. The “one more turn for safety” mindset will break your valve.
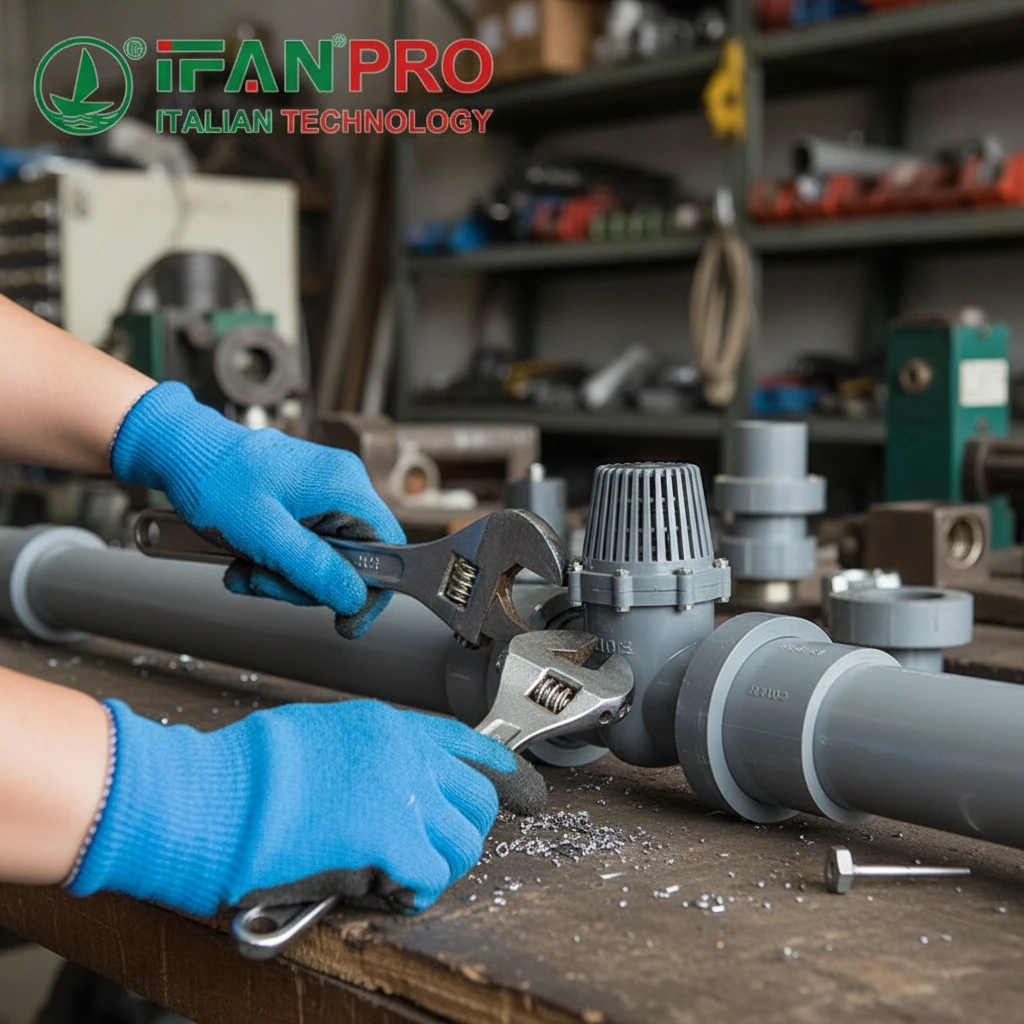
The correct technique is to tighten the valve hand-tight first, then use a tool for only an additional 1 to 2 turns—no more. You should hold the pipe you are threading into with a second wrench to prevent it from twisting and stressing other joints. Stop tightening as soon as you feel steady resistance.
Why PVC Cracks So Easily
PVC is a rigid plastic. Unlike metal, it does not bend or flex much under stress. When you overtighten, you create two destructive forces:
- Hopping Stress: The threads act like a wedge, prying the fitting apart from the inside.
- Torsional Stress: The twisting force can create microscopic cracks that grow under pressure.
Your goal is to make the connection snug and sealed, not as tight as physically possible.
The Step-by-Step Tightening Method
Use two wrenches for this entire process: one to turn the valve, and one to hold the pipe or fitting it is being threaded into.
Step 1: Hand-Tight Engagement
Start by screwing the valve onto the pipe threads by hand. Turn it clockwise until you can no longer tighten it with your fingers. This ensures the threads are properly aligned and engaged. Cross-threading at this stage will ruin the connection.
Step 2: The Final Tool Tightening
Place one wrench on the valve body. Place the second “backup” wrench on the pipe fitting you are threading into to hold it perfectly still.
- Slowly turn the valve with your wrench.
- After it is hand-tight, you will typically need only 1 to 2 full turns with the tool to achieve a proper seal.
- You will feel a clear increase in resistance. This is the point to stop.
A Guide to Knowing When to Stop
This table summarizes the key signals:
| Action | What You Should Feel/See | When to STOP |
|---|---|---|
| Hand-tightening | Threads engaging smoothly; increasing friction. | When you cannot turn it further by hand. |
| Tool tightening (first turn) | Steady, moderate resistance. | If the valve body or pipe begins to distort visibly. |
| Tool tightening (second turn) | Firm, significant resistance. | IMMEDIATELY upon feeling this firm resistance. |
If you see the pipe or fitting starting to whiten (a sign of “stress whitening”) or deform, you have gone too far and have likely compromised the integrity of the plastic. It is better to be slightly undertightened, test for leaks, and then make a tiny adjustment if needed, than to crack the fitting and have to replace everything.
How Can You Perform a Pressure Test to Verify a PVC Valve Installation Is Leak-Free?
Never assume a connection is good. A pressure test is the only way to be sure, and it saves you from major problems later.
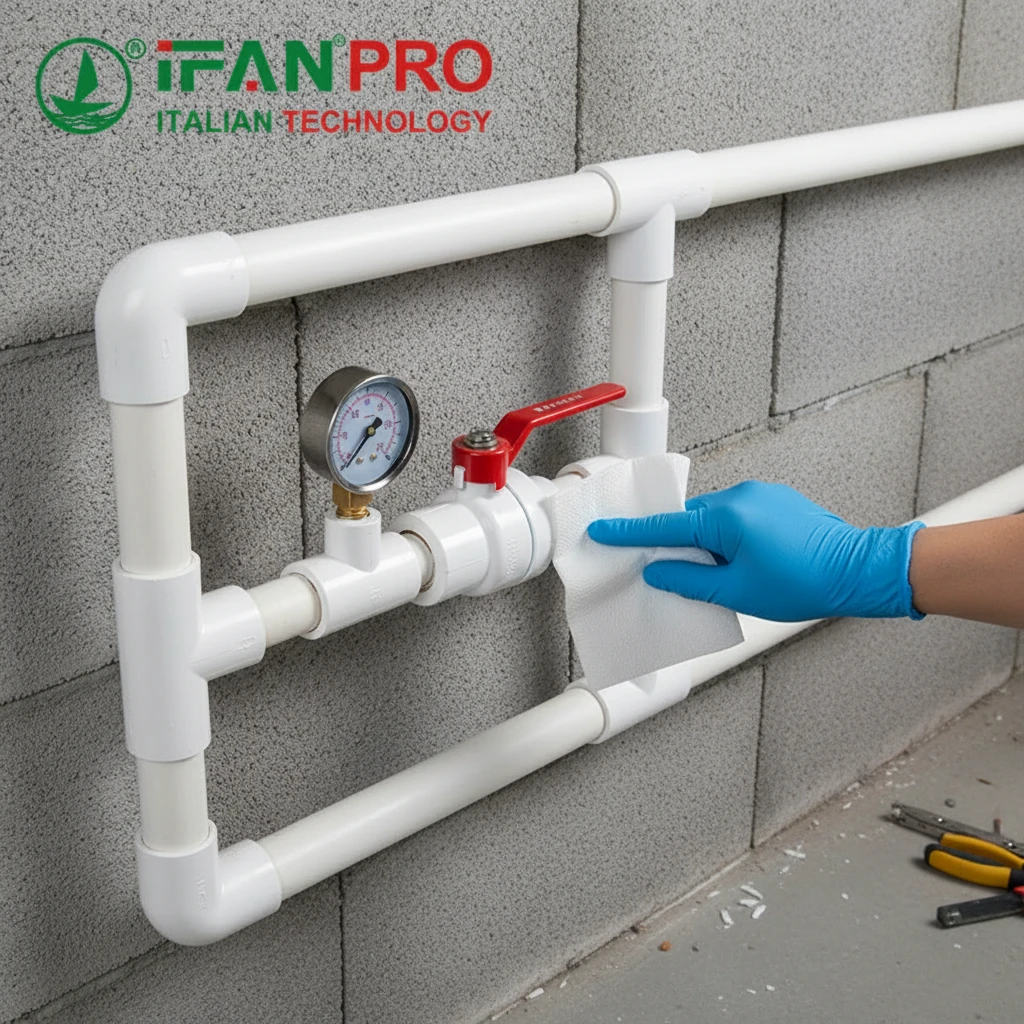
You perform a pressure test by closing the valve, isolating the newly installed section, and filling it with water at a pressure higher than its normal operating pressure (typically 1.5 times the working pressure) for at least 15 minutes. You then visually and physically inspect all connections, including the valve stem and body, for any drops or moisture.
Setting Up for a Safe and Effective Test
The pressure test is your final quality check. It proves your preparation, sealing, and tightening were all done correctly.
First, you need to plan how to isolate the section with the new valve. This might involve closing other valves upstream and downstream. The goal is to create a sealed “chamber” that includes your new valve and its connections.
Important Safety Note: Always check the pressure rating of all components (pipe, valve, fittings) before testing. Never exceed the lowest pressure rating in the test loop.
The Testing Procedure
Follow these steps in order:
- Isolate: Ensure the test section is closed off from the rest of the system.
- Pressurize: Slowly fill the section with water. It is crucial to remove all air from the system, as compressed air can store dangerous energy and make the test inaccurate. Open high-point bleed valves until only water comes out.
- Pressurize to Test Level: Use a pump to raise the pressure to your test level. A common standard is to test at 150% of the system’s normal working pressure. For example, if the pump operates at 50 PSI, test at 75 PSI.
- Hold and Observe: Once at the test pressure, shut off the pump and close the inlet. Let the system sit for a minimum of 15 minutes. During this time, the pressure should remain perfectly stable.
- Inspect: While the system is under pressure, carefully inspect every part of the new installation:
- The threaded connections at both ends of the valve.
- The valve stem packing (where the stem enters the body).
- The valve body itself for any cracks.
How to Interpret Test Results
Use this table to understand what you see:
| Observation | What It Means | Action |
|---|---|---|
| Pressure holds steady; no visible water. | PASS. The installation is leak-free. | Proceed to system startup. |
| Pressure drops slowly. | FAIL. A small leak is present. | Pressurize again and use a paper towel to find the weeping connection. Dry, tighten slightly (1/8 turn max), and retest. |
| Pressure drops rapidly or water is visible. | FAIL. A significant leak or crack. | Depressurize completely. Disassemble, inspect for damage or improper sealing, replace parts if needed, and restart the entire installation process. |
Do not ignore a failing test. A leak under static test pressure will only get worse under the vibration and pulsation of a running pump system. Taking the time to test properly guarantees a reliable, worry-free installation.
Conclusion
By following these steps—using the right sealants, cleaning thoroughly, tightening carefully, and testing rigorously—you can install PVC pump valves with confidence. For reliable, high-quality PVC valves and fittings that make leak-free installations easier, choose IFAN.


Recent Comments