
I remember the first time I had to connect a copper pipe to a new PEX line. I stared at the two different materials, unsure where to even begin.
The best methods for joining pipes of different materials involve using purpose-made transition fittings, such as dielectric unions, push-fit adapters, or specialized compression fittings. The key is to select a method that prevents galvanic corrosion, accommodates different expansion rates, and ensures a permanent, leak-proof seal.
Mixing pipe materials is common in renovations and repairs, but doing it wrong can lead to leaks, corrosion, and costly water damage. This guide will walk you through the most reliable connection methods, from preparation to the final, pressure-tight joint.
What are the most common pipe material combinations?
Walking through any hardware store, the variety of pipes can be overwhelming. Knowing which combinations you’ll likely face is half the battle.
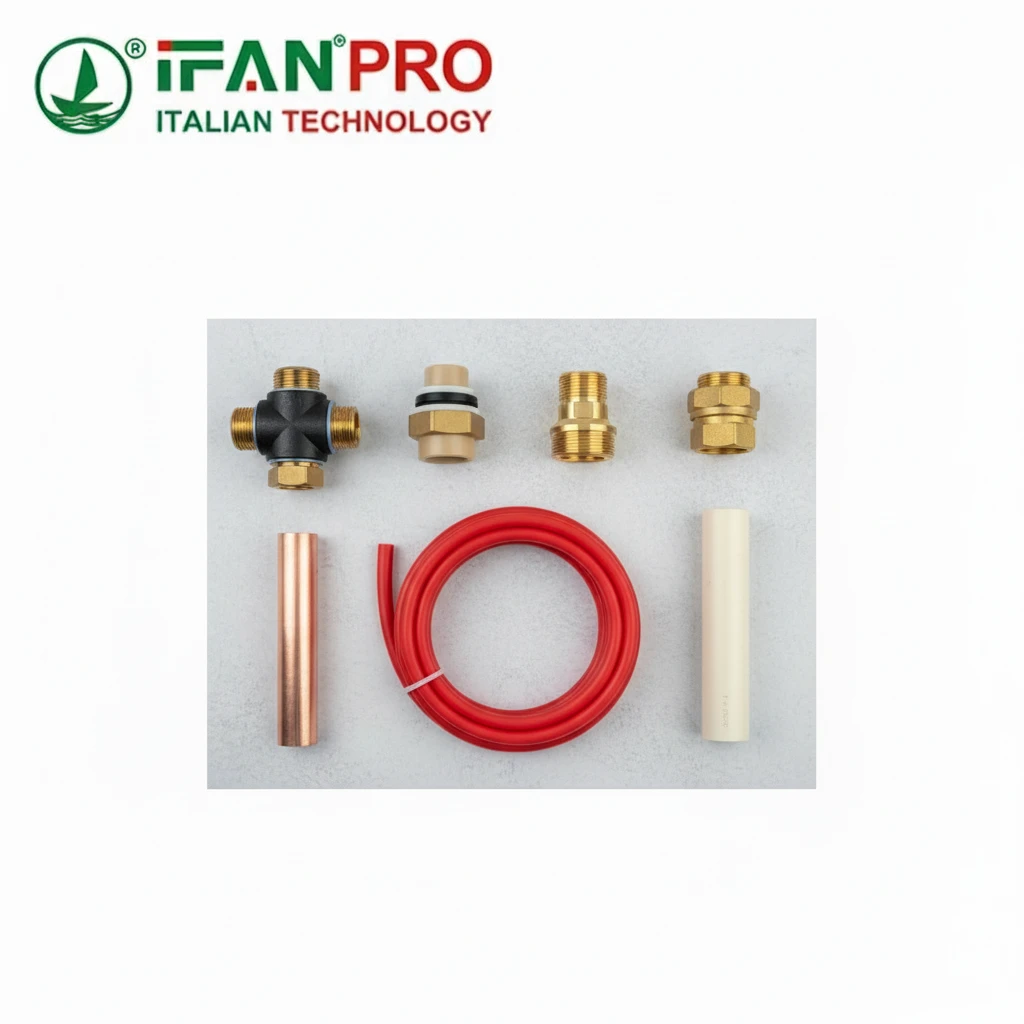
The most common pipe material combinations involve connecting modern plastic pipes (like PEX or CPVC) to traditional metal pipes (like copper or galvanized steel), or connecting different metals together. These transitions often occur at water heaters, fixture shut-off valves, and during system updates.

Understanding why these combinations are so frequent helps you choose the right connection method. It’s not random; it’s driven by the evolution of plumbing materials, cost, and the practicalities of home improvement. Let’s break down the typical scenarios you’ll encounter.
Plastic to Metal: The Modern Standard
This is arguably the most common join today. Homeowners and plumbers are often replacing sections of old metal piping with newer, more flexible, and corrosion-resistant plastics like PEX (cross-linked polyethylene) or CPVC (chlorinated polyvinyl chloride). You might see this when adding a new bathroom, running a line to a refrigerator ice maker, or repiping an old house section by section. The challenge here is creating a strong mechanical bond between the smooth plastic and the harder metal, while also considering their different thermal expansion rates.
Copper to Galvanized Steel: The Legacy Problem
In older homes, you’ll frequently find this combination. Galvanized steel was the standard for decades before copper took over. When repairs or extensions were made, copper was often spliced into the existing galvanized system. This is a particularly problematic combination due to galvanic corrosion. When two dissimilar metals are connected in the presence of an electrolyte (water), one metal (the anode) corrodes faster than it would alone, while the other (the cathode) is protected. In this case, the steel usually corrodes away, leading to leaks and blockages from rust.
Copper to Brass or Stainless Steel
These are more compatible metal-to-metal connections. Brass fittings are commonly used as intermediaries because their composition is closer to copper, reducing galvanic action. Stainless steel is also relatively noble. Connections here are less about preventing catastrophic corrosion and more about ensuring a proper seal with the right thread type or solder method.
| Common Combination | Typical Location | Primary Challenge |
|---|---|---|
| PEX to Copper | Fixture supply lines, water heater connections, repiping projects | Different connection methods (crimp vs. solder), expansion rates |
| CPVC to Copper | Hot and cold water lines, especially in warmer climates | Brittleness of CPVC, requiring support; use of transition cement |
| Copper to Galvanized Steel | Old home main lines, pre-1970s plumbing systems | Severe galvanic corrosion, different thread types (NPT vs. compression) |
| PEX to Galvanized | Updating old systems without full repiping | Connecting to old, possibly corroded threads; preventing future rust |
How do you prepare different pipe materials for joining?
A perfect fitting won’t seal on a poorly prepared pipe. I learned this the hard way with a small drip that turned into a redo.
Proper preparation involves cleaning, deburring, and sometimes priming the pipe ends to ensure a clean, smooth, and oxide-free surface. The specific steps vary by material: sanding metal, cutting plastic squarely, and applying the correct primer or flux is critical for a successful joint.
Rushing the prep work is the number one cause of failed DIY joints. Each material has its own quirks. Let’s dive into the essential preparation steps for the most common pipe types to ensure your connection has the best possible foundation.
Preparing Metal Pipes (Copper & Galvanized Steel)
For copper, start by cutting the pipe squarely with a tube cutter. Rotate the cutter around the pipe until it severs completely. Then, use the reaming blade on the cutter or a separate file to remove the internal burr. This ridge can restrict water flow and trap debris. Next, clean the outside of the pipe end and the inside of the fitting with a specialty emery cloth or sanding mesh until they shine brightly. This removes oxidation and dirt. Finally, apply a thin, even layer of flux to the cleaned areas immediately before soldering to prevent new oxidation and to draw the solder into the joint.
For galvanized steel, preparation is about the threads. If connecting to existing threaded pipe, use a wire brush to clean the male threads thoroughly. If you’re cutting new threads, use a sharp die and cutting oil. It’s crucial to remove all metal shavings. For a transition to a non-threaded system, you may need to cut the pipe squarely and use a fitting that clamps onto the smooth exterior, which must be cleaned of any rust or paint.
Preparing Plastic Pipes (PEX & CPVC)
For PEX, use a sharp PEX tubing cutter or a very fine-toothed hacksaw. The goal is a perfectly square cut; a crooked cut can cause an uneven seal in a crimp or clamp fitting. After cutting, gently ream the inside edge to smooth it and use a deburring tool or sandpaper on the outside edge to remove any slight ridge. Ensure the pipe end is perfectly round and not ovalized from the cutting process.
For CPVC, a plastic tubing cutter is best, but a fine-toothed saw works if you’re careful. Deburr the inside and outside thoroughly. The critical step here is priming. You must apply a purple CPVC primer to the end of the pipe and the inside of the fitting socket. This primer softens and cleans the plastic, preparing it for the solvent cement. It’s not an optional step for a pressure-tight, permanent joint.
| Material | Cutting Tool | Cleaning/Deburring Tool | Critical Prep Step |
|---|---|---|---|
| Copper | Tube Cutter | Emery Cloth/Sanding Mesh, Reamer | Sand to bright finish, apply flux |
| Galvanized Steel | Hacksaw/Threader | Wire Brush, File | Clean threads of rust/debris |
| PEX | PEX Cutter | Deburring Tool, Sandpaper | Ensure square, round cut |
| CPVC | Plastic Cutter/Fine Saw | Deburring Tool, Rag | Apply purple primer before cement |
What specific fittings work for dissimilar material connections?
The fitting aisle used to confuse me. So many shiny parts, but which one actually solves my problem?
Specific fittings designed for dissimilar materials include dielectric unions, push-fit transition fittings, and specialized compression or threaded adapters. These fittings incorporate materials like brass or plastic sleeves to separate metals or adapt between different connection systems safely.
Using a standard fitting for a mixed-material joint is asking for trouble. The right fitting does more than connect; it manages the fundamental differences between the pipes. Here’s a detailed look at the heroes of the plumbing world that make safe, reliable transitions possible.
Dielectric Unions: The Corrosion Stopper
This is the go-to fitting for connecting copper to galvanized steel or any other dissimilar metals. A dielectric union has a metal union nut on one side (e.g., steel threads) and a soldered or threaded connection on the other (e.g., copper). The magic is in the middle: a plastic or rubber sleeve and a washer (often made of dielectric material) that physically separate the two metals, breaking the electrical circuit that causes galvanic corrosion. Some models use a brass middle section, which is closer on the galvanic scale to both metals, reducing the corrosion potential. They are essential at water heaters, where copper lines meet steel tanks.
Push-Fit Transition Fittings: The DIY Favorite
Brands like SharkBite have revolutionized DIY plumbing. These fittings have a stainless-steel grab ring and an O-ring seal inside. You simply push the prepared pipe end into the fitting, and it locks in place, creating a watertight seal. Their brilliance for dissimilar materials lies in their design: one end can be a push-fit for PEX or copper, and the other end can be threaded (NPT) for connecting to a galvanized steel pipe or a valve. They are excellent for quick, reliable transitions without tools (aside from a disassembly tool). They are approved for behind-the-wall use in many areas, but always check local code.
Threaded & Compression Transition Adapters
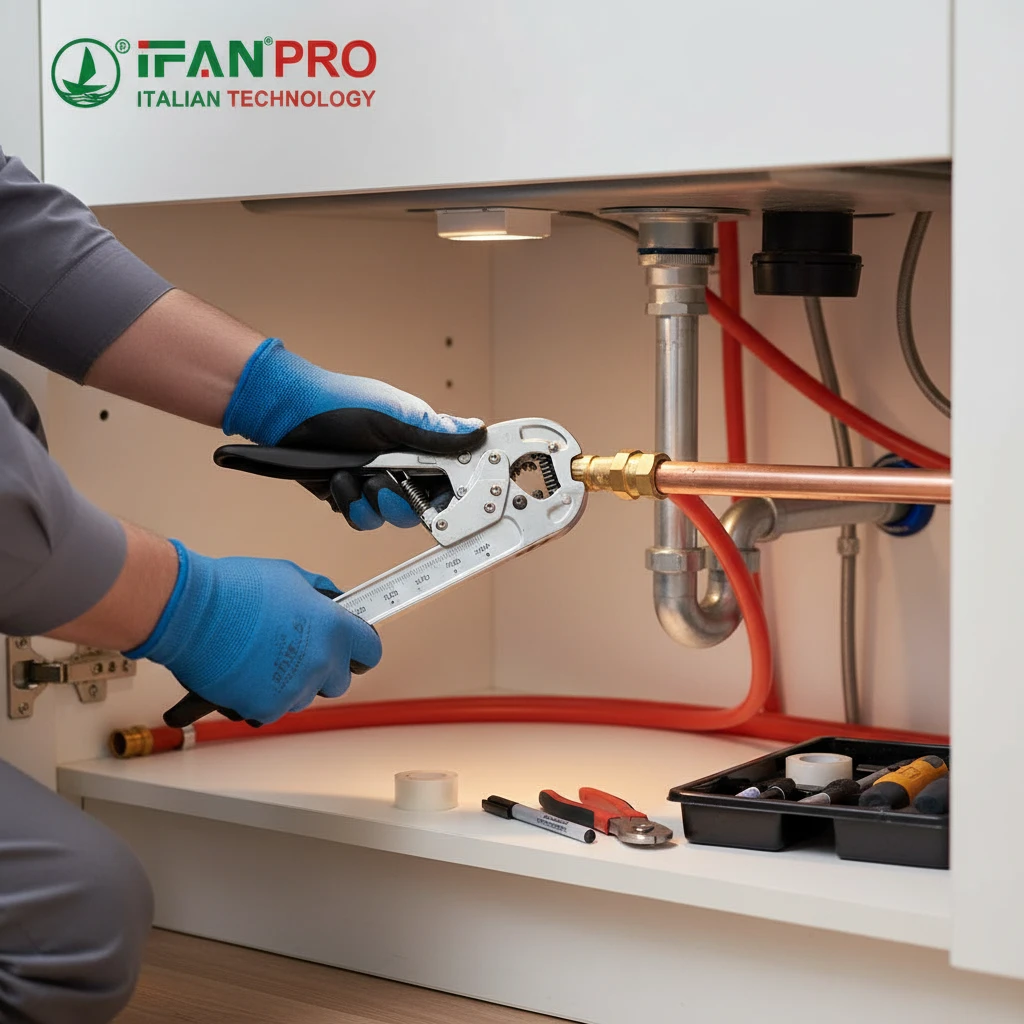
These are more traditional but highly effective. A threaded adapter might have male iron pipe (MIP) threads on one end to screw into a galvanized fitting and female copper sweat (solder) connection on the other. You solder your copper pipe into it. A compression transition fitting typically has a brass body. One side has a compression nut and ferrule (ring) that tightens onto a smooth copper or plastic pipe. The other side may have threads or a different compression setup. They provide a strong mechanical seal without soldering.
| Fitting Type | Best For Transition | Key Mechanism | Pros | Cons |
|---|---|---|---|---|
| Dielectric Union | Copper to Galvanized Steel | Plastic/rubber sleeve isolates metals | Prevents galvanic corrosion, very durable | Bulky, requires wrenches to install |
| Push-Fit (e.g., SharkBite) | PEX/Copper to Threaded Port | Internal grab ring & O-ring seal | Tool-free, fast, removable, versatile | More expensive per fitting, requires perfect pipe prep |
| Threaded Adapter | Metal to Metal systems | Combines NPT threads with sweat socket | Inexpensive, very strong when installed correctly | Requires soldering and threading skills |
| Compression Adapter | Copper to Valve or Fixture | Nut compresses ferrule onto pipe | No heat or cement needed, good for tight spaces | Can overtighten and damage pipe, less tolerant of pipe imperfections |
How can you ensure a leak-proof and durable joint?
After all the prep and fitting selection, the final act is making the joint itself. This is where confidence meets technique.
To ensure a leak-proof and durable joint, follow the manufacturer’s instructions precisely, use the correct tools (proper crimpers, torque wrenches), pressure test the system before closing walls, and support the pipes adequately to prevent stress on the fitting from movement or water hammer.
A joint can look perfect but fail over time due to hidden stresses or minor installation errors. Durability isn’t just about the initial seal; it’s about how the joint holds up under years of pressure, temperature cycles, and occasional bumps. Let’s explore the final, critical steps that separate a professional-quality joint from a temporary fix.
Follow the Instructions & Use the Right Tools
This sounds obvious, but it’s the most common mistake. Every fitting type has specific requirements. For a soldered joint, that means heating the fitting, not the pipe, and applying solder until a bead appears at the rim. For a PEX crimp ring, you must use the exact brand-specific crimping tool and gauge to check the crimp diameter. An under-crimped ring will leak; an over-crimped one can crack the fitting. For threaded joints, use the correct sealant—Teflon tape for most applications, applied clockwise on male threads, or pipe dope (thread sealant) for a more robust seal, especially on gas or larger pipes.
The Critical Role of Pressure Testing
Never assume a joint is good. After completing your connections, you must pressure test the system. Close all valves and fixtures, then introduce water pressure. For a new section, you can use a dedicated pressure test pump. Look for any drips, even tiny ones, at every joint. A small weep under static pressure can become a spray under the dynamic pressure of daily use. Let the system hold pressure for at least several hours, or overnight if possible. This is non-negotiable before covering pipes with drywall or insulation.
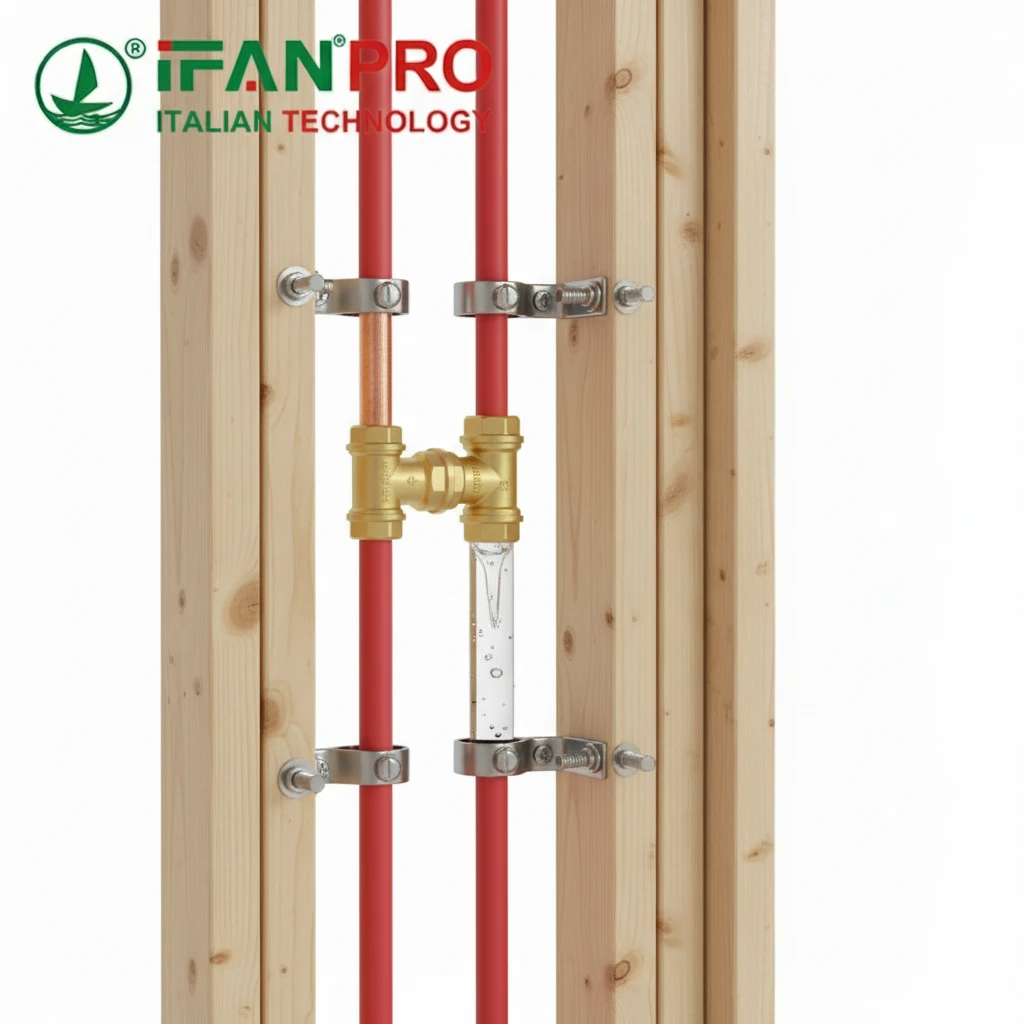
Support and Protect the Joint
A fitting is not a pipe hanger. You must support the pipes on both sides of the transition fitting within the manufacturer’s recommended distance (usually 6-12 inches). Use appropriate pipe straps or hangers. This prevents the weight of the pipe from pulling or bending on the joint. Also, consider movement. If connecting a rigid pipe (like CPVC) to a more flexible one (like PEX), ensure the rigid side is well-supported so vibration and expansion/contraction forces are absorbed by the flexible pipe, not the fitting. Finally, in areas where freezing is possible, insulate pipes properly. A frozen pipe can burst, but the pressure often blows apart the joints first.
Conclusion
Joining different pipes is manageable with the right knowledge, fittings, and careful preparation. Focus on preventing corrosion and ensuring a solid mechanical seal for a lasting repair.


Recent Comments